Jump to content
  • Articles

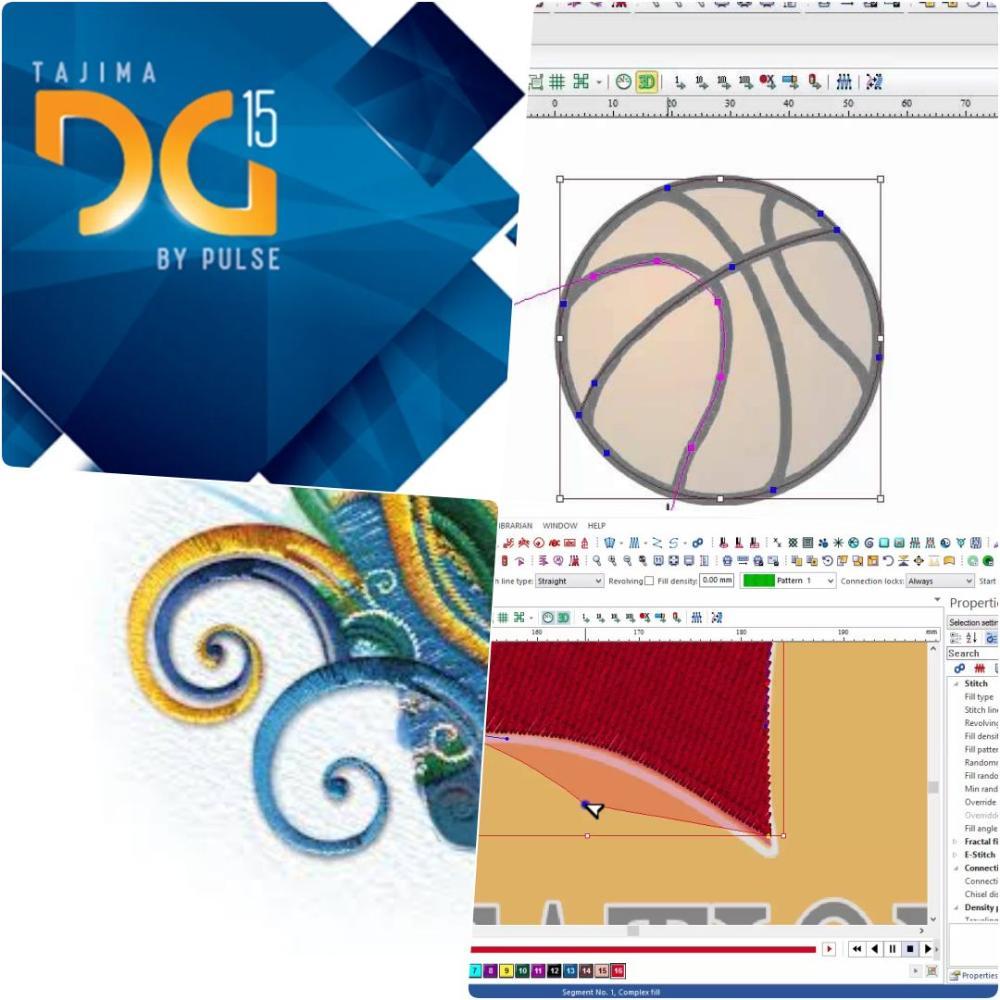
    Treading on Disaster in machine embroidery

    I went to customer's shop over the Holidays and he expressed concern that he was having quite a few thread breaks and other issues of late in his shop, I wanted to see why, the designs he has run worked for previously on his equipment and he mentions he having a lot of issues now. I got there and he said they added the screen printing business several months ago to their shop and the printing press is very close to the embroidery area. I said this is a problem.. If it's not causing you issues now it will down the road. When you screen print you often use a lot of aerosol and chemicals which also put a film on items in the environment. I took a look at the machine and the threads on the wall and they all had a film on it. I told him he was treading on disaster, the environment is and will impact his embroidery machine.
    Environment in machine embroidery
    The environment for any embroidery machine should be as clean as possible as the needles and threads are very delicate. You should be cleaning the machines, tables, and threads areas often as dust will build up in the area and impact your materials, and possibly your garments.

    I suggest that you keep the thread in boxes, or clear containers this will help minimize the dust on the threads. Did you know dust on the threads can cause tension issues, gumming up the top threading mechanism, dust can cause thread breaks and even broken needles if the particle is too large for the eye of the needle.
    Your machine area should also be cleaned regularly, this means wiping it down, oiling the machine, and making sure it's a clean environment. This will go a long way to helping your machine run smoothly.
    Embroidery threads
    Depending on the type of thread, and size of thread you use this could also effect your embroidering experience, Most shops use polyester thread and its more durable and generally easier to use. It's a bit stronger than cotton threads and sometimes cheaper. The average thread types for most shops is 40wt  this is the most common size, If you do a lot of small detail or letters you may have 50wt or 60wt thread on hand, if so you will need to be able to change the tension on your machine to accommodate the change, same goes if you use 20wt or 30wt thread you will need to be able to change your tension.
    Tension
    Everyone needs to know how to adjust their machines but their is a simple test to check the machine, make a column stitch with no underlay or compensation for each needle of your machine, the columns should be a quarter inch thick and each column should be a different color, then sew each column out, flip it over and look at the image below and gauge the tension of each needle.

    Now its good leave it alone, if its too tight, loosen it with a quarter turn, if its too loose tighten it with a quarter turn. LEFT LOOSY, RIGHTY TIGHTY is the easiest way to remember your tension guides. Check your machine manual for adjusting the thread on the machine as each machine may be a bit different.
    Metallic machine embroidery threads
    When working with metallic threads you will also need to loosen your tension as they need a little more give as they often have a fleck embedded in the twine and it doesn't have the same give as a polyester thread. Use the above guide to set your tension for specialty threads.
    Needles
    When on customer sites I often ask them when the last time they change their needles, and I often get that they break,, A needle can drastically effect the clarity of your work, as well as the sharpness of the design, a dull needle will often tear through the fabric instead of spreading the fibers, this can affect quality, thread breaks, and more,
    There are also different tips of the needles, different sizes, and different size holes, which all can impact using threads.
    Important Points to Remember
    Needles DO NOT last forever, they should be replaced approximately every 8 hours The eye of the needle should be 40% larger than the diameter of the thread When going to a larger size of thread, a larger needle should be used Use the appropriate needle for the type of fabric being sewn   When using metallic thread use a larger-eyed needle 
    TROUBLESHOOTING NEEDLE ISSUES

    UPPER THREAD BREAKS
    Check the upper thread path, tension is incorrect or replace the needle

    BOBBIN THREAD BREAKS
    Replace bobbin, check bobbin tension, check upper thread path 

    SKIPPED STITCHES
    Check upper thread path, change needle, do tension test,  check the size of needle

    FRAYED STITCHES
    Eye of the need clogged or too small, upper thread caught check path, remove a meter of thread, 

    THREADS LOOSE ON BOBBIN SIDE
    This is often caused by poor tension or improperly sequenced upper thread path. 

    BOBBIN THREAD SHOWING ON TOP
    This can occur if the bobbin tension is too tight compared to the upper tension, check bobbin tension and upper tension using the tension test.

    FABRIC PUCKERING
    A design that puckers the fabric can be caused by being poorly digitized, the fabric as nylon tends to pucker, and or can be caused by wrong tension usually too tight of an upper thread tension. Check bobbin tension and make sure you're using the right backing for the material. 

    NEEDLE SIZES

    Here is a chart of what size of needles work with the different threads.. 

    OVERVIEW 

    A clean shop and work area will help you and your machine, testing the tension on a regular basis will also help tabs on it to avoid disasters on jobs. If you have not changed your needles and you do a lot of embroidery starting up the New Year you may want to replace them all. 


    Taijma Pulse border steil embroidery digitizing

    By diver361, in Machine embroidery materials and technology, , 0 comments, 1,161 views
    Embroidery Digitizing Borders
    This week we will look at digitizing borders for your designs, there are some methods and tools you can use to make the borders with, compensation and underlay types you should be using
    Embroidery digitizing methods
    There are two types of borders that you will need to make, the uniform border, which is the same thickness around the design, and the variable border which changes thickness.
    Uniform Border. This type of border tends to go around patches or similar designs, this border can be made with a steil stitch or a satin stitch 
    Variable Border: You will need to use the satin stitch to make the border

    Some lower versions may not have the (STEIL) border tool, it looks like so in your software, I have also shown the satin tool. 

    There are (2) main methods for making either of the stitches.. (1) the freehand mode drawing the shape manually. and (2) is converting it from artwork. For shapes like circles and very uniform objects, I use vector tools to make the shape and then convert it to stitches, but it will depend on the shape.
    Background 
    To better understand the different thicknesses, I recommend you sew out a sample of the different stitches on the fabric you digitize to get an understanding of how thick the result will be. 

    When sewing your samples out make sure you have some compensation and underlay for the stitches as it will affect the size and clarity of the stitch.  
    Embroidery underlay & compensation
    When sewing out border stitches or any column stitch it's recommended that you use an underlay that is opposite to the direction of the stitches. This will make the column push out evenly, if you use a zig-zag stitch the column will often become tighter and shrink when embroidering. It's also important to add enough compensation for the shrinkage of the stitch. 
    Underlay types
    Below is an example of the different underlays that you will have available in your software. 

    Border layers
    Depending on the design you may want to put your border onto or on the bottom of the design, I often use it to smooth out uneven stitches like in the example below. Fills often leave an unfinished edge and a satin or a steil can clean that up to look smooth. 

    When using the border underneath the thickness can be wider and have 3/4 of the border under the design and only 1/4 sticking out to blend with the design. 
    When using it on top of the design you will need to make sure it hides the design when embroidered often there will gap between the border and a fill as the push and pull effect, especially in corners. 
    Make sure your artwork is clear enough that you can see the borders on the design as it will often dictate whether you put it on top or underneath the logo, some borders are decorative and others are functional. You often will need to sew out the design to gauge the thickness of the border. 
    TRICK
    I often will add a manual underlay to the fill and the border, this helps prevent the fill from detaching from the border on some sew-outs. See Below. This can be made with the run toll or a complex fill with very low density, I would make this underlay opposite the fill stitches. This causes the underlays to overlap building a better foundation for the top stitches. 
     

    This wraps up this blog on adding borders, sewn out the different steil stitches, and keeping it on hand when you digitizing for your logos it will be a great guide. 

  • Get new free embroidery designs every day

    Our biggest resource gives ample opportunities to those who are looking for inspiration for new creative projects, business ideas. Thousands of free designs with instant downloadable. Blogs, articles, step by step instructions.. Big forum where beginners found answers, professionals this solves any problems. Daily updates. Photos, review & opinions. Accepting contact with new authors, digital artist. Projects are packed into categories. Search will help you find everything you need.
  • Latest embroidery designs
×
×
  • Create New...