Why does the embroidery pull and lose its shape?
By
Irina, in Machine embroidery materials and technology, , 0 comments, 3,663 views
I've already written about the various defects in machine embroidery, but today I want to dwell on these illustrative examples of the particular defects known as puckering of the embroidery and pulling of the fabric:
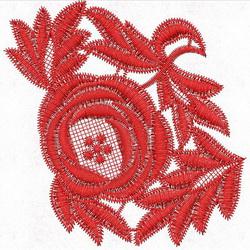
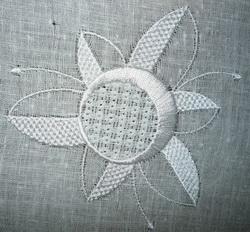
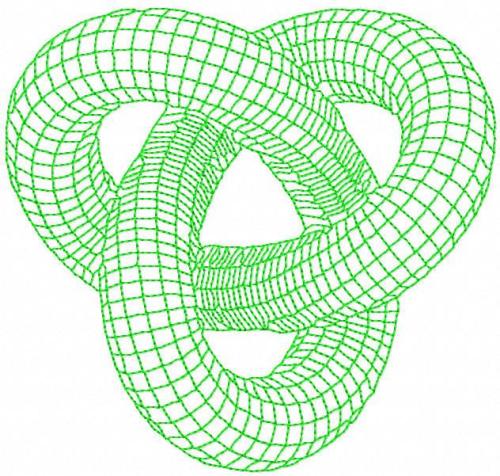
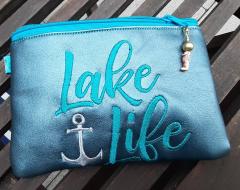
01
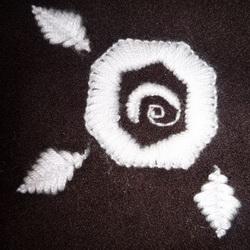
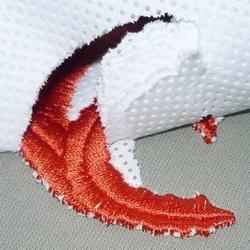
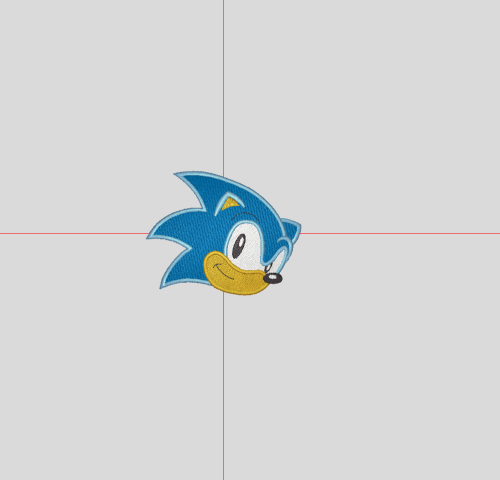
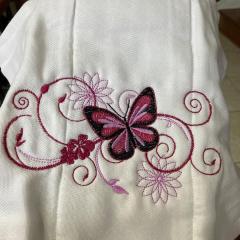
02
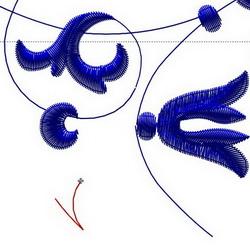
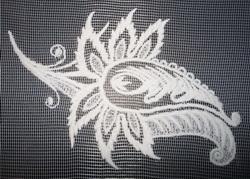
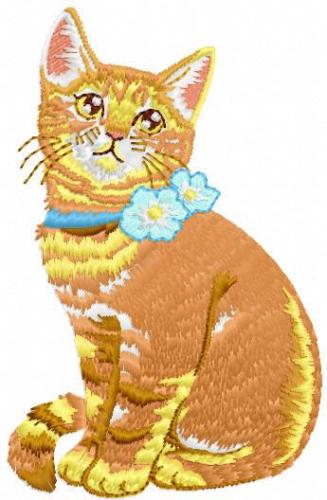
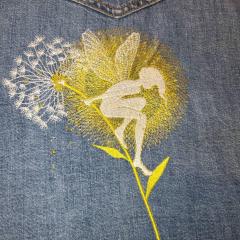
03
I'd like to remind everyone that the reasons for getting such a discouraging result are these several factors:
The design. A multi-layered design of high density and stitch count, with lots of details and fill pattern at various angles, is one of the main reasons for puckering of both the embroidery and the fabric around it.
The designs of high density warp the embroidery and the fabric around because we artificially add threads to the already existing fibers, which are thus moved apart and become distorted. Different stitch angles and different stitch lengths lead to the multi-directional push and pull distortion, which is more difficult to correct by the push and pull compensation. It is therefore considered that the designs with unidirectional stitches (for example, horizontal ones) and simple outlines are embroidered better that the others.
The fabric. The less stable the fabric is, the more prone to distortion it will be.
Everything seems to be clear: don't break these rules, and the embroidery will look wonderful. But let's see what rules I've broken in the past to achieve the results I've achieved, falling into the familiar traps. The obvious mistakes in digitizing and embroidery are marked red:
Factors
1
2
3
The design
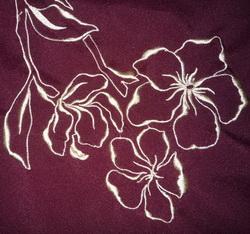
high-quality cutwork design of low density
design of high density, with superfluous understitching
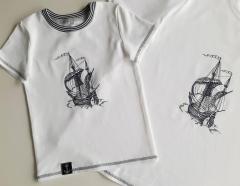
design of high density
The fabric
Thin and stretchy suiting cloth
knitwear pique
T-shirt knitwear
Stabilizer
not used
used
used
Speed embroidery
700 rpm
700 rpm
700 rpm
Tension
standard
standard
standard
Thread
rayon
polyester
polyester
Needle
#70
#70-75
#70-75
Hooping
correctly framed was correct, but the frame was too big for the design
the fabric was not hooped, just sprayed with temporary spray adhesive and stuck onto the stabilizer
the fabric was not hooped, just sprayed with temporary spray adhesive and stuck onto the stabilizer
Summary: if I tried to stabilize the fabric in any way, the result would be much better. To say nothing about finding the design parameters that would be good for this type of fabric.
Apart from the factors specified, which directly influence the embroidery process, a design might be severely distorted after washing or dry-cleaning, however good it looks right after the embroidery. Sadly, the manufacturers don't take this into account.
I've often seen embroidery results (including mine) that looked horrible after the washing: towels, bed linen, clothes and other items made of various textiles. Not always could they be returned to a more or less good-looking shape.
How to conquer it? Frankly, I don't know. This defect can be partly removed by ironing. But only in case the pull is a very light one. I've also read many times in various sources that the best aid in preventing the post-embroidery distortion is washing and pressing the item prior to the embroidery But it is not always possible, is it? Therefore, the best way of avoiding such a nuisance and keeping the shape of the embroidery is using a dense cut-away stabilizer. Or am I wrong?