Original text by Marina Belova
Today I'll describe how I made a double-sided appliqué.
I decided to do it to test a third-party technique (see my article on the double-sided appliqué). I chose the most simple flower with five petals. I had an idea to put it in the corner of a piece of cloth so that the flower stretched beyond the basic fabric.
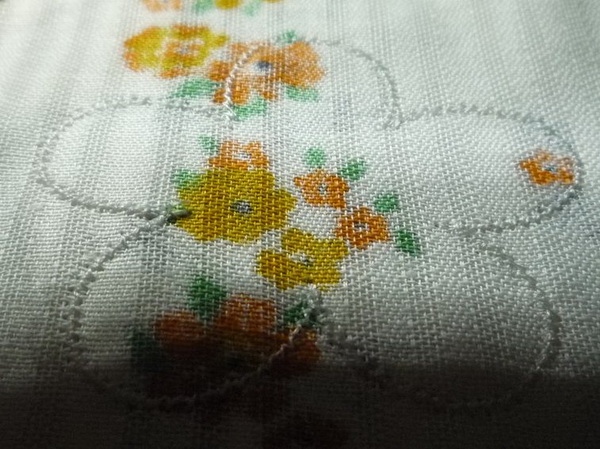
I.e., I should get something like this:
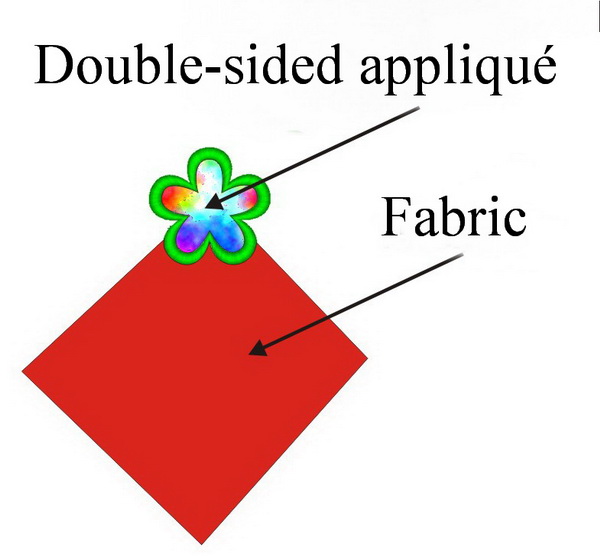
It is currently a popular place to put on an appliqué, and it is frequently used as an eyelet on a towel. Only my applique does not have a hole in it.
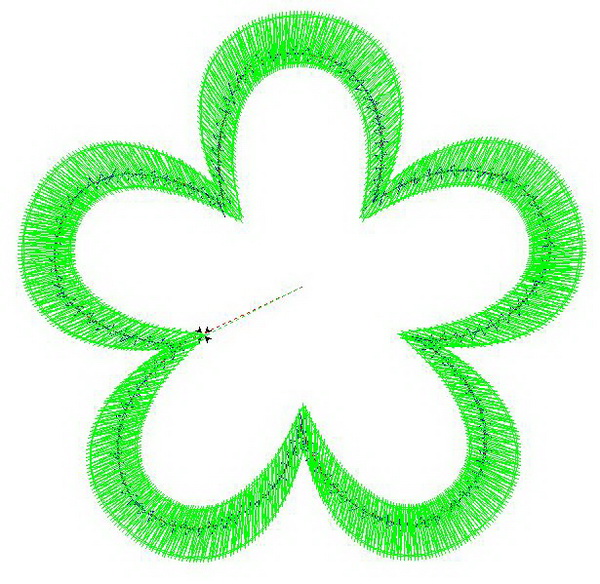
I've already digitized this same flower. So I only slightly modified it, having added one more zig-zag for trimming of the extra fabric.
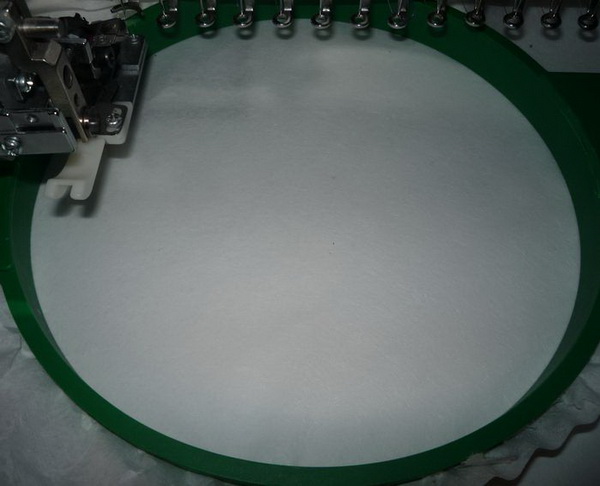
Step 1
I hooped only the tear-away stabilizer. I chose white threads in order to avoid changing a standard bobbin thread color.
Step 2
The machine stitched a basting stitch.
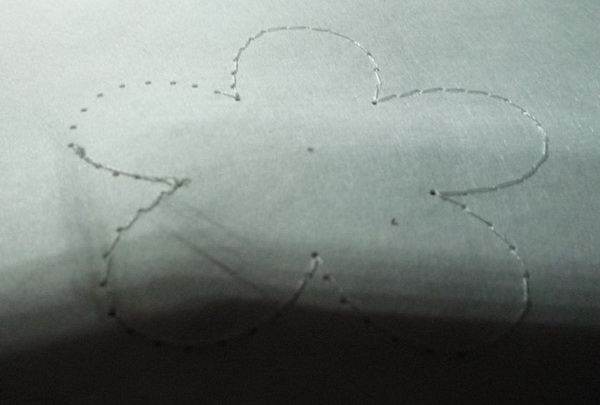
Step 3
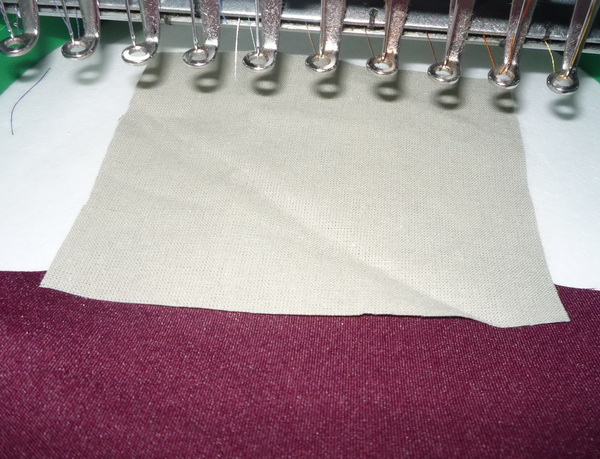
I put a piece of fabric for the back side of my appliqué onto a stabilizer, face down. I started the machine and embroidered a narrow zig-zag stitch to which the excess fabric would be trimmed.
Step 4
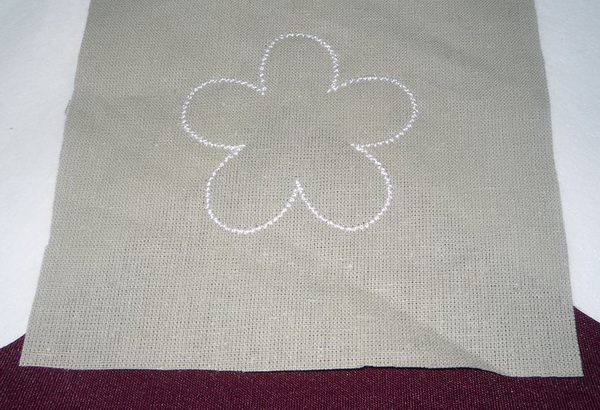
I trimmed the extra fabric around my appliqué.
Step 5
On top of it, I put my basic fabric shaped as a triangle.
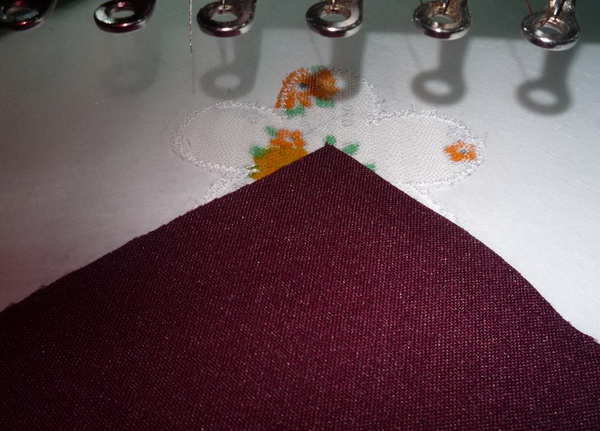
And another layer on top of that – the front side of my appliqué.
Step 6
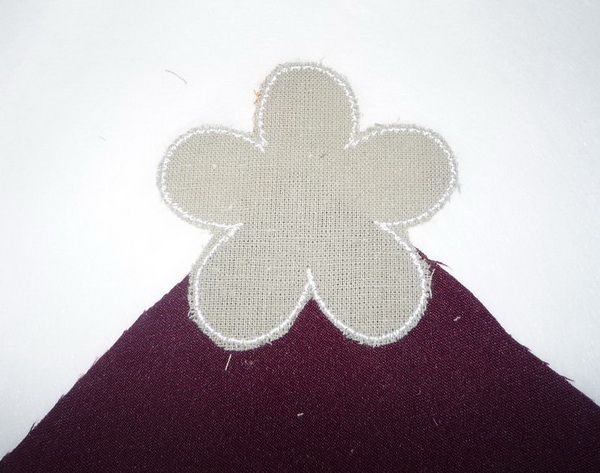
One more zig-zag was stitched, according to which I'd trim the upper layer of fabric.
Step 7
Now I trimmed the extra fabric.
Step 8
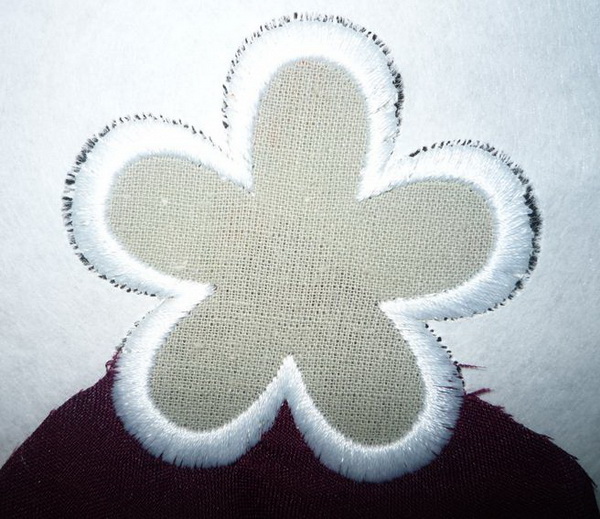
I hit the start button to embroider the finishing satin border.
Something went wrong almost immediately. Logic suggests that, since all my fabric pieces weren't hooped, I should have secured them somehow. The only quick way of doing that in my case was sprinkling them with temporary spray adhesive. But I neglected it. And I paid for this – the layers of fabric in my "sandwich" began to crumple and shift. I had to straighten them out, but it didn't help much.
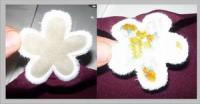
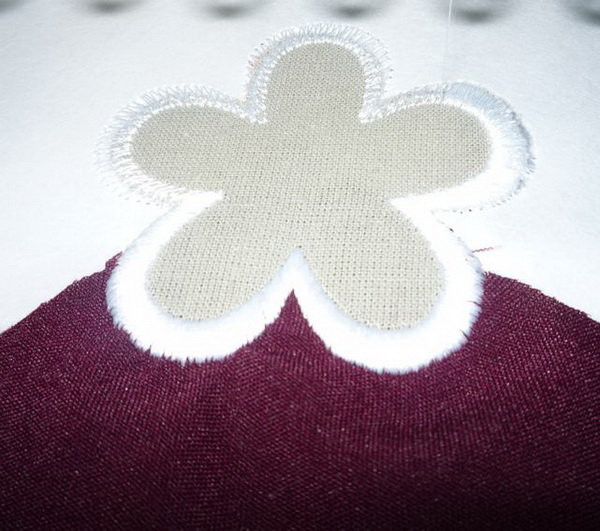
As a test piece it is still rather good: But now I know that I'd better not be lazy about it. You can see in the photo how the dark red fabric puckered.
One more surprise popped up when satin columns were being embroidered on the stabilizer. Naturally, the stabilizer became perforated around its contours, but only sporadically. Most probably, this is related to the direction the fibers are arranged in the stabilizer. But perforation was not critical, and an appliqué was secured enough.
Step 9
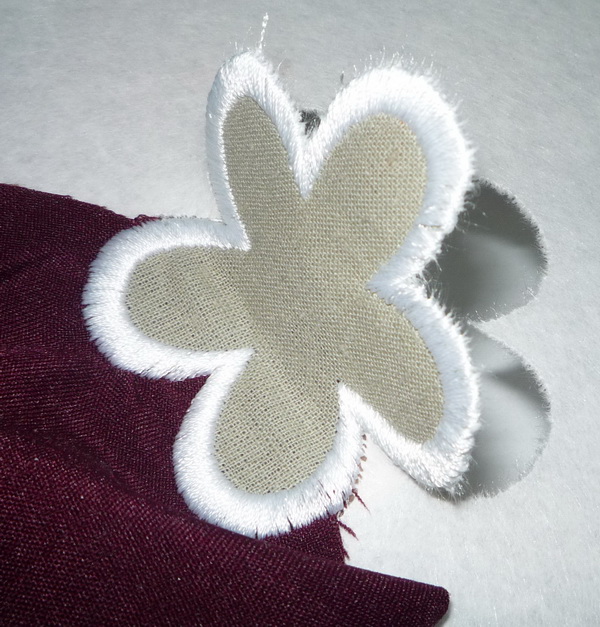
The satin stitch border is now finished. I took the hoop off the machine and began to detach my appliqué from the stabilizer. Just press it slightly, and it will drop out.
Step 10
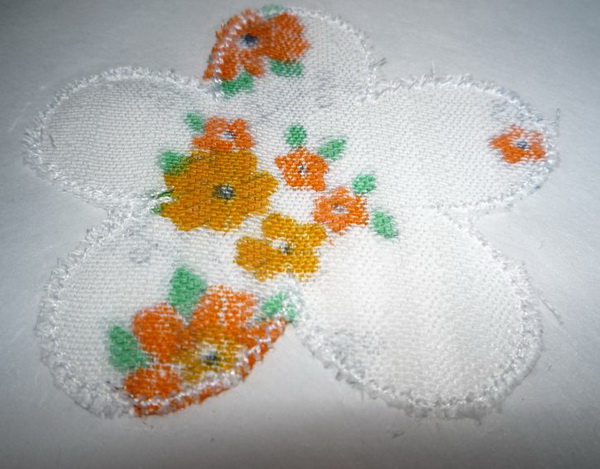
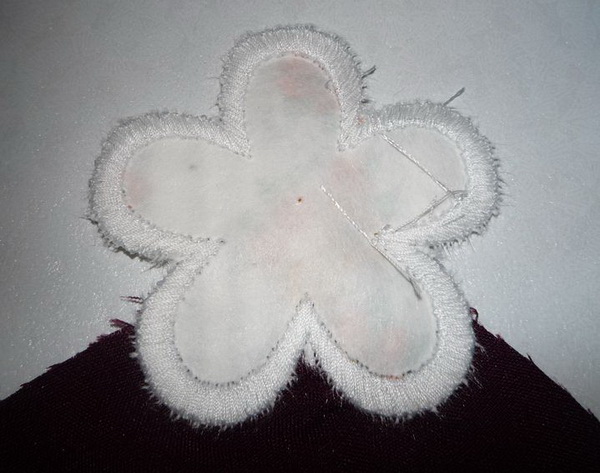
I turned the embroidery the wrong side out and removed the stabilizer from the appliqué on the back.
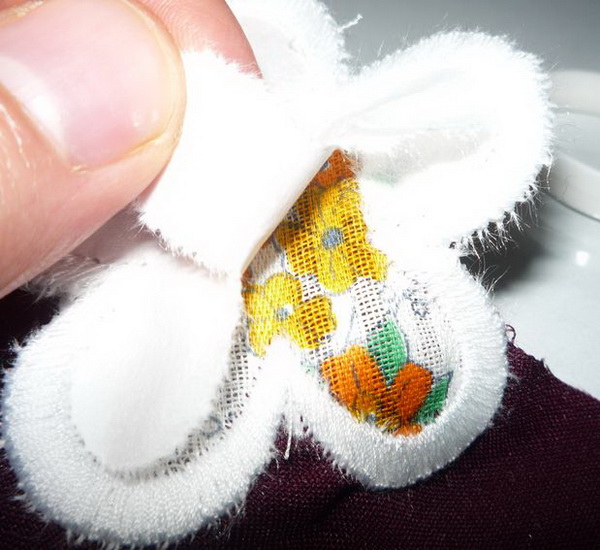
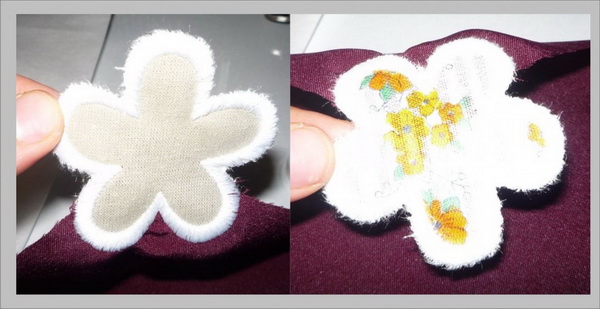
This is how it looked in the end.
After that, I've arrived at my own conclusions – not every stabilizer is good for this technique, so you have to choose carefully. And don't forget to additionally secure the layers of fabric with an adhesive.
I used a simple tear-away stabilizer from Gunold. It turned out that the at this density value it becomes perforated, which was to be expected, and there were leftover fibers after it had been torn away. In other words, it behaves just like a cut-away stabilizer when you try to tear it. The edges become quite frayed, and this fact does not contribute to the good look of the embroidery. The only thing you can do is to singe them with a lighter, the way I did in my master-class on 3D Puff.
-
 1
1