Original text by Marina Belova
I've always been interested (and hope that I ever will be) not only in conventional machine embroidery techniques but also in (as my Western colleagues call them) various "advanced" ones that help to enrich the look of the embroidery.
About a year ago I've decided to experiment with fringe after having seen a free embroidery design on one of the websites abroad. It was a funny-looking lamb made with the use of the fringe embroidery. Moreover, I could never have guessed the way it was made unless I've seen it with my own eyes. See how good is to study other digitizers' work sometimes. So I set out to create something like that myself. But left it midway because of time shortage.
My efforts resulted in this fluffy hare. Now I'm determined to somewhat enhance the technique that I'd seen by adding acrylic threads. So as to get a real good imitation of fur:
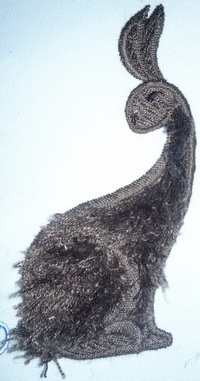
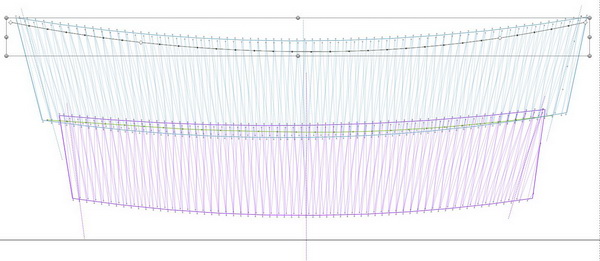
This is how it looks from the side:
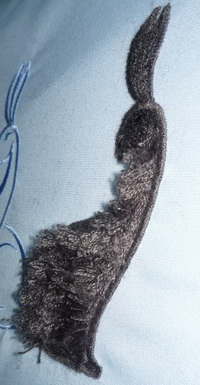
Choosing the right density and stitch length turned out to be the problem. My hare's fur was not dense enough – you could see the fabric showing through.
Today I decided to finish what I started.
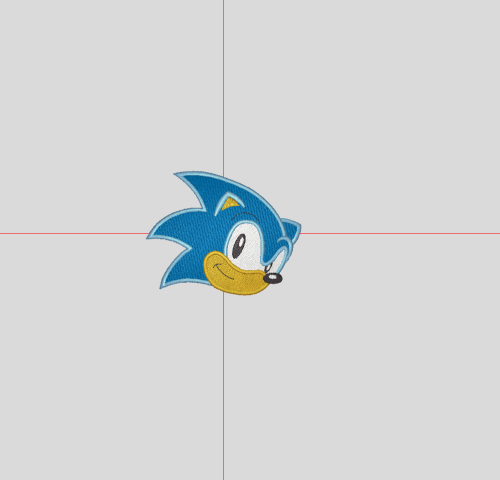
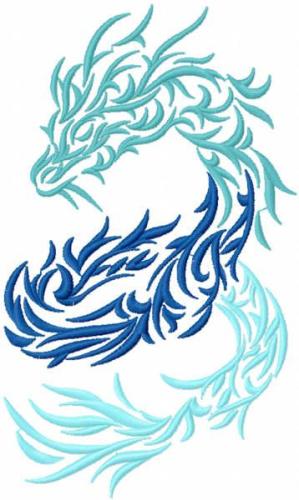
I chose a simple image so that not to embroider anything except satin stitches and running stitches for tie-offs. I downloaded one of the free images off the Internet:
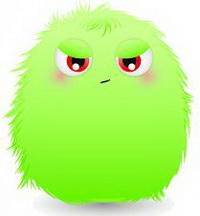
Of course, I don't have such a vibrant color. But I have a spool of Gunold black acrylic thread. Sure, it will make the fluffy thing a bit morose. But let's leave it as it is – Halloween’s nearing, right? I wouldn't buy the threads for the test project, would I?
So, this is how I actually did it. I began digitizing a design from the bottom upward. My decision was driven by the fact that fur usually goes down.
I digitized my fluffy animal with long satins stitches (10–12 mm) so that it would be easier to trim on the wrong side. Remembering the bald patches on the hare I embroidered in the past, I decided to add some underlay in order to make the fur thicker and opted for double zigzags. I set the density at 2.5 lines per 1 mm (it is the way the density is measured in the Stitch Era).
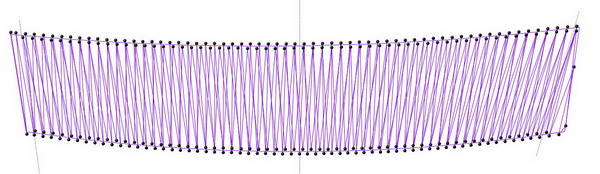
I secured satins with running stitches (marked green) so that they didn't unwind after trimming:
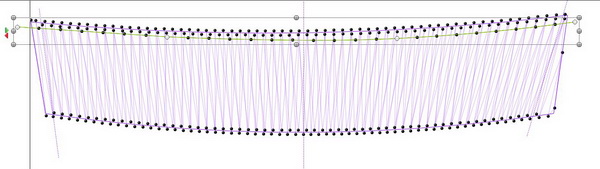
A bit higher I put one more satin column with the same settings. This new column (marked blue) slightly overlapped with the previous one:
It, too, was secured with the running stitches (marked gray):
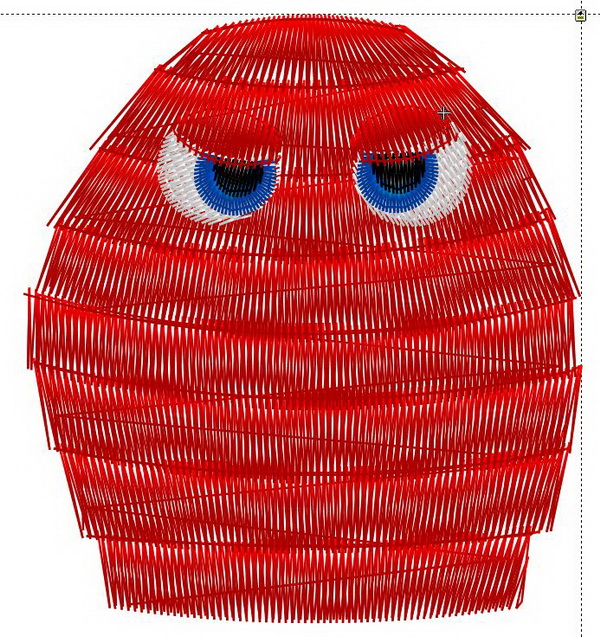
In such a way, little by little, I got to the head of the fluffy thing. At the end of the sequence were the eyes digitized with an ordinary thread. Then, as an afterthought, I drew a manual underlay under the entire design just in case.
The fluffy thing became rather unsightly.
I proceeded to the embroidery. Inserted a #100 needle for the acrylic thread. There was much trouble with the tension — I got 3 or 4 "bird nests" and that sent me back to square one. Finally, I managed to find the right settings – no more "bird nests" or thread breakage. But to be on the safe side, I set the machine speed at 450 rpm. The design has a low number of stitches anyway, so it will be embroidered quickly.
When embroidering the eyes it became clear that the density in the acrylic area was excessive; I was under the impression that the needle sunk repeatedly and that such density was too much for my machine. But none of my needles – and I only use #70 ones – broke.
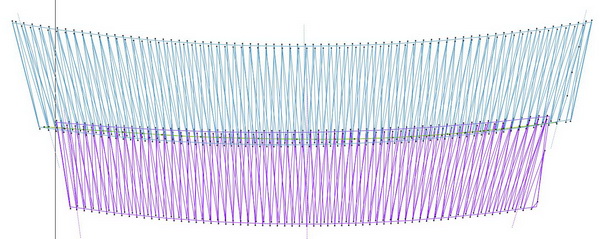
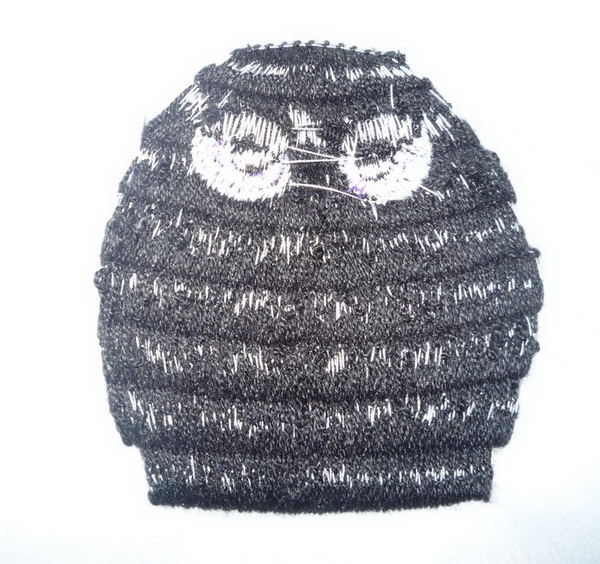
This is the look of the fluffy creature had after the embroidery:
And here we come to the most complicated and responsible part, in which we need to cut the threads on the wrong side and pull the out to the front.
This is the wrong side of the animal before trimming:
One look at it made it clear to me that something should be done with my machine so that threads stopped breaking and"bird nests" would be no longer popping up.
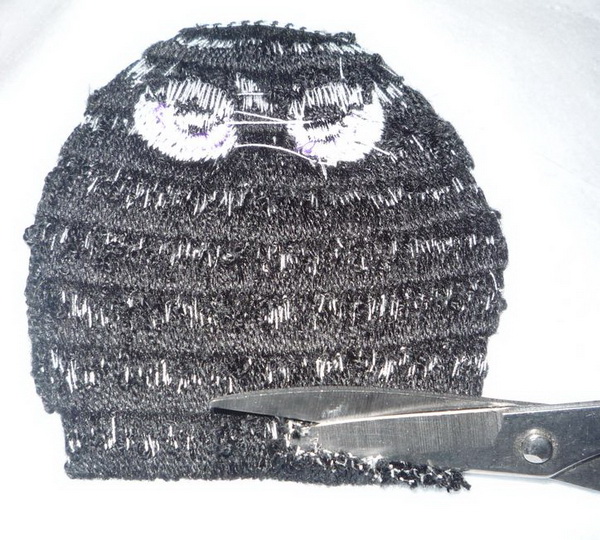
I made a cut exactly in the middle of a satin column as the bobbin thread was practically invisible. It didn't take me long, for the satins were wide and the scissors glided under them effortlessly.
This is how the wrong side looked after the thread cutting:
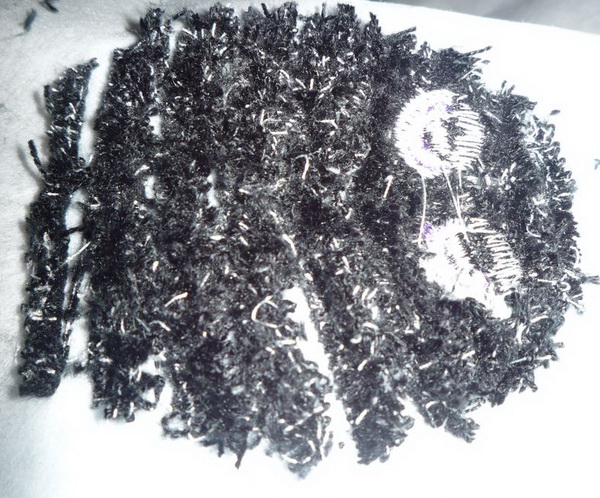
Now I could turn the embroidery the right side out and pull the threads to the front.
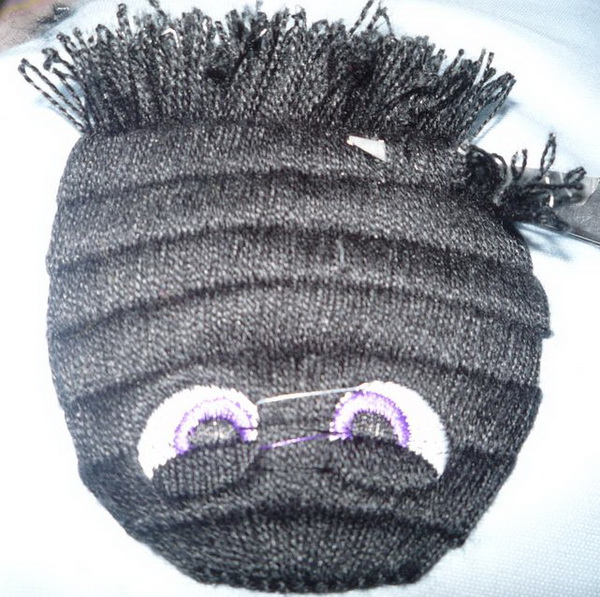
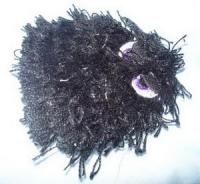
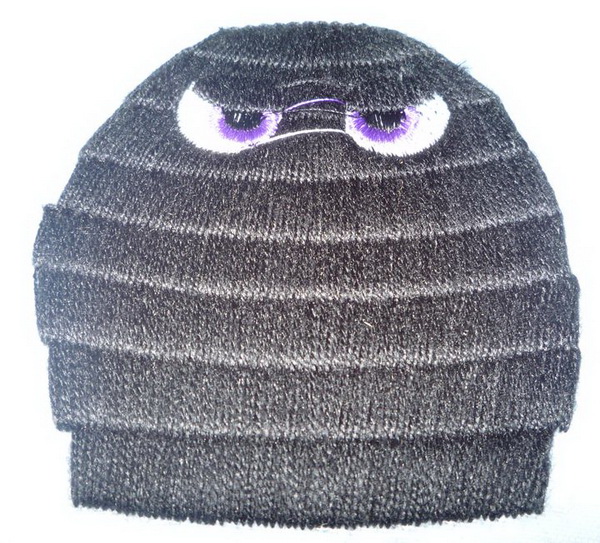
And that proved to be extremely difficult. As the threads were thick, they wouldn't be pulled in bunches. Sometimes it came down to just 1 or 2 threads at a time so that not to rip anything. But in the end I got this cutie:
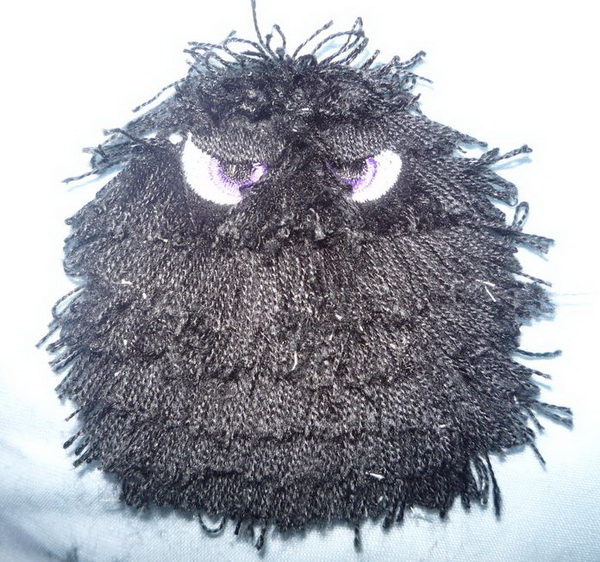
Side look:
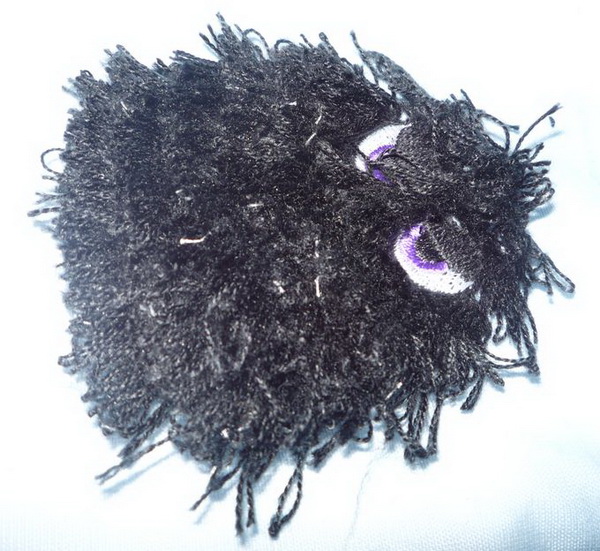
It has a long thick fur without any bald spots. I even had to trim it in several places.
So my summary on the subject is as follows: this technique is sure not for the work-shy. Too many manipulations. Digitizing is easy, though.
-
 1
1
-
 1
1