Why Your Embroidery Outlines Don’t Line Up — And How to Fix

By diver361 in Embroidery digitizing
· 2,432 views
🧵 Why Does My Embroidery Outline Not Line Up? How to Fix It in Hatch
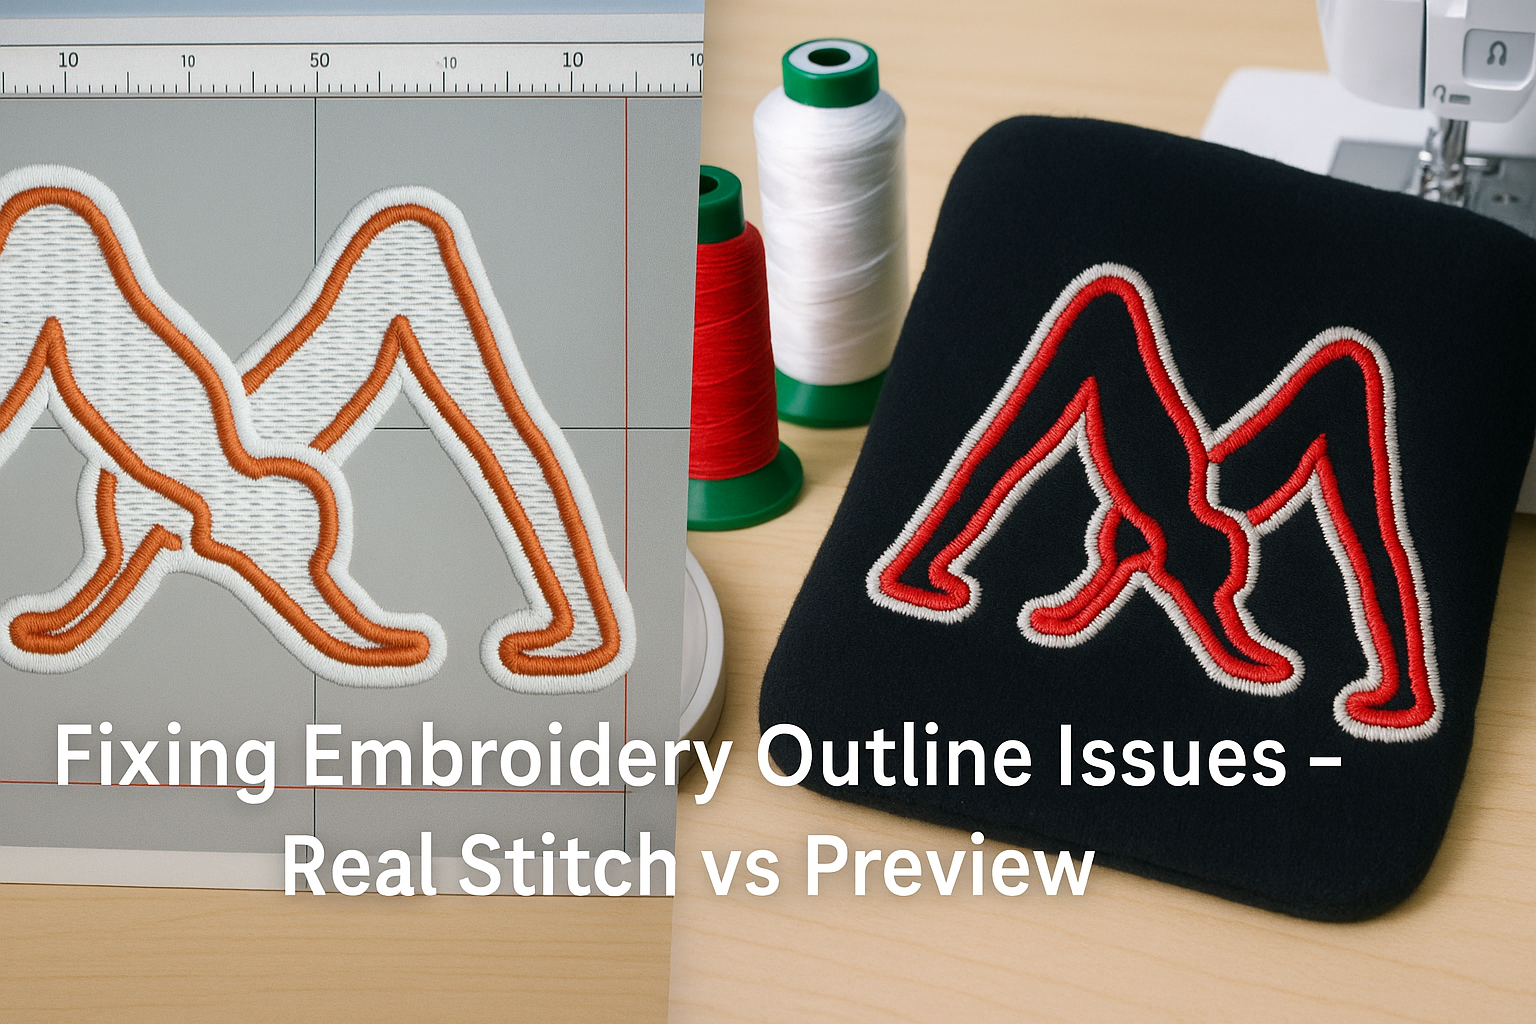
You spent hours digitizing your design in Hatch Embroidery Software. Everything looks flawless in the preview — the red satin outline hugs the white body fill perfectly. But when you stitch it out... 😩 The red outline ends up misaligned, especially around the legs and arms.
Sound familiar?
You're not alone — and the good news is, this is a fixable issue! Let’s dive into why this happens and how to solve it step-by-step.
🖥️ The Preview Looks Perfect… But the Stitch-Out Doesn’t
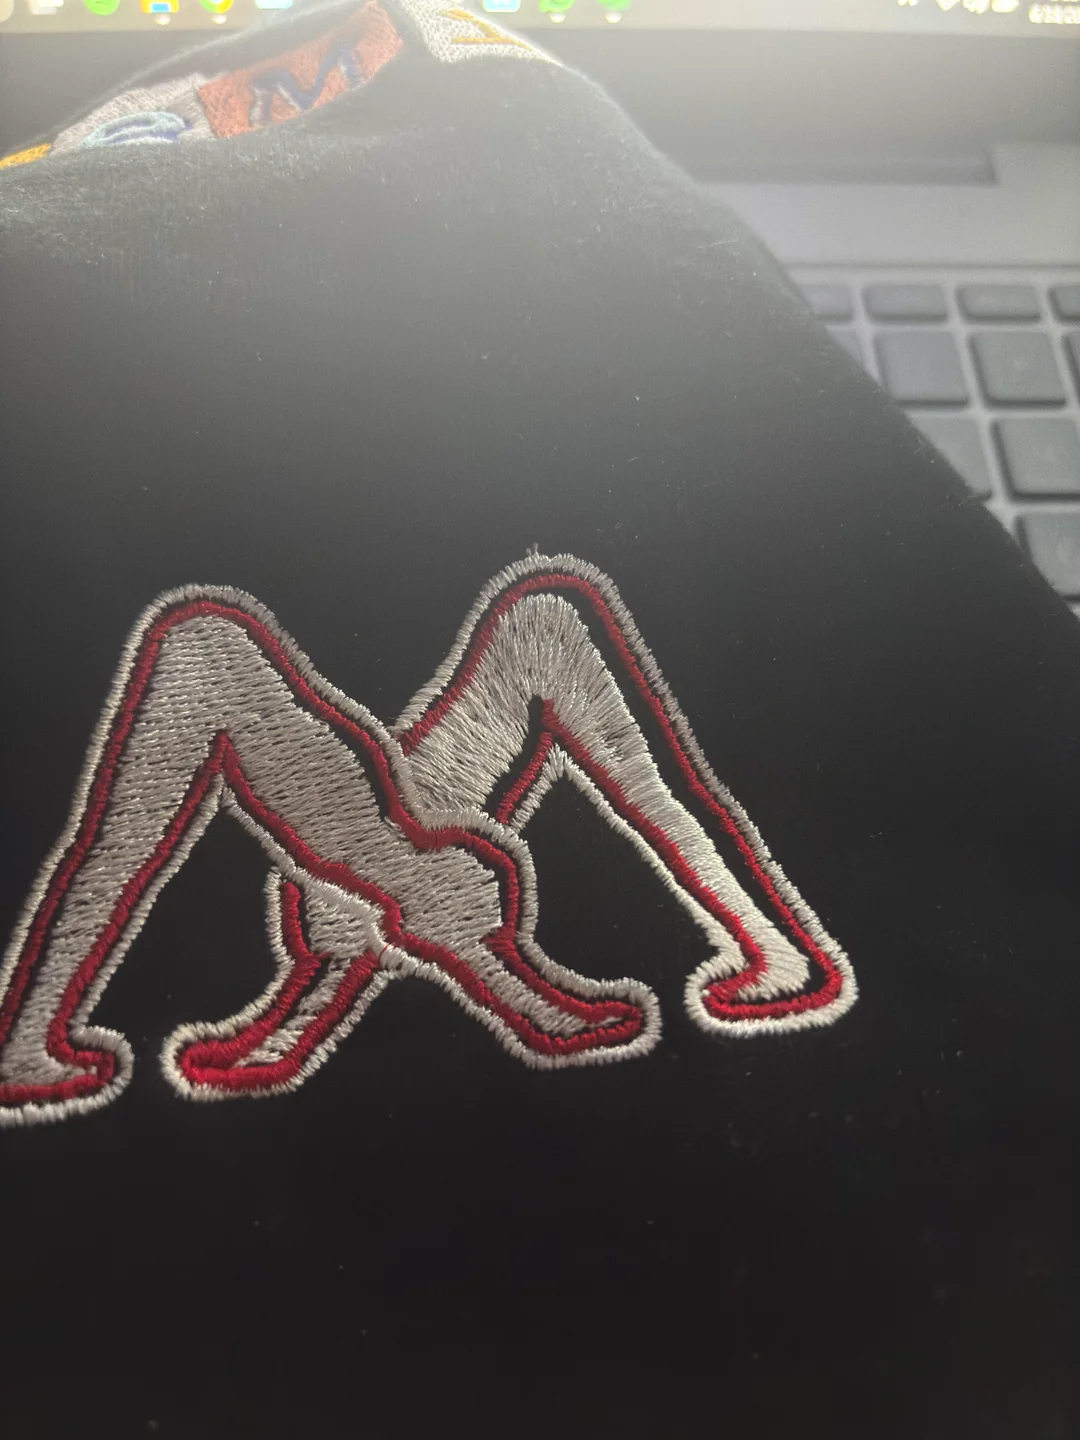
In the software preview (see image below), the outline and fill appear perfectly aligned. But in the actual stitched version, the white body shifts inward and the red border no longer matches, especially around thinner areas like the legs and arms.
📸 On-Screen vs Real Stitch Out: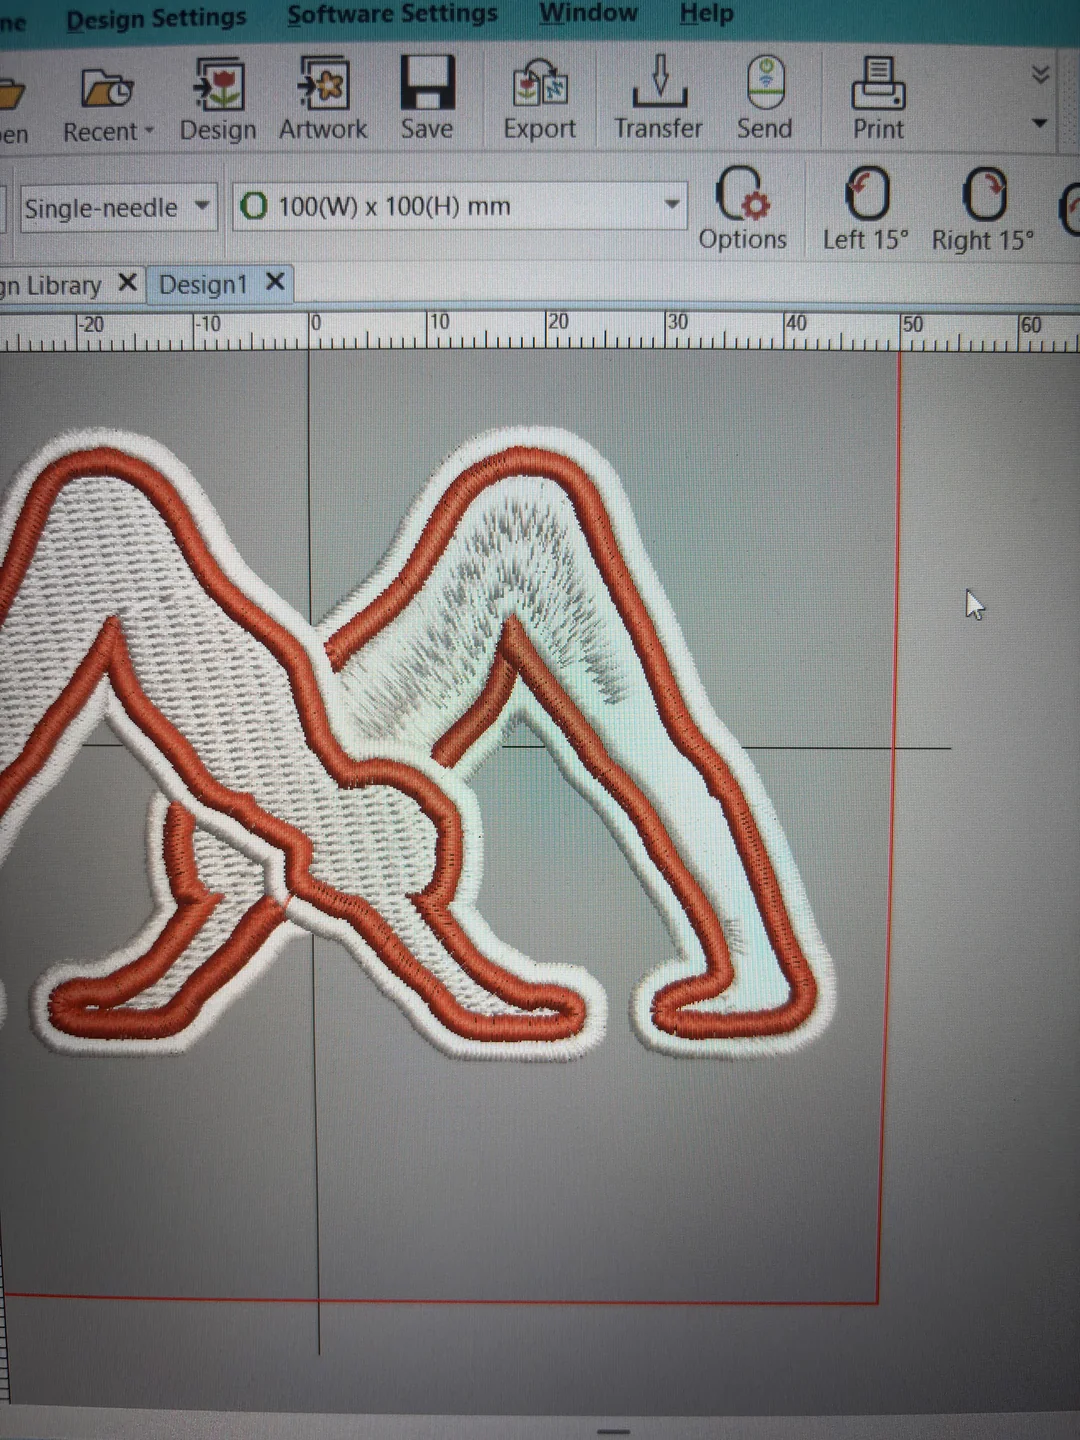
So what went wrong?
🧩 What Causes Outline Misalignment in Embroidery?
Even though the preview looks perfect, fabric behavior during stitching can cause shifting and shrinking. Here are some common culprits:
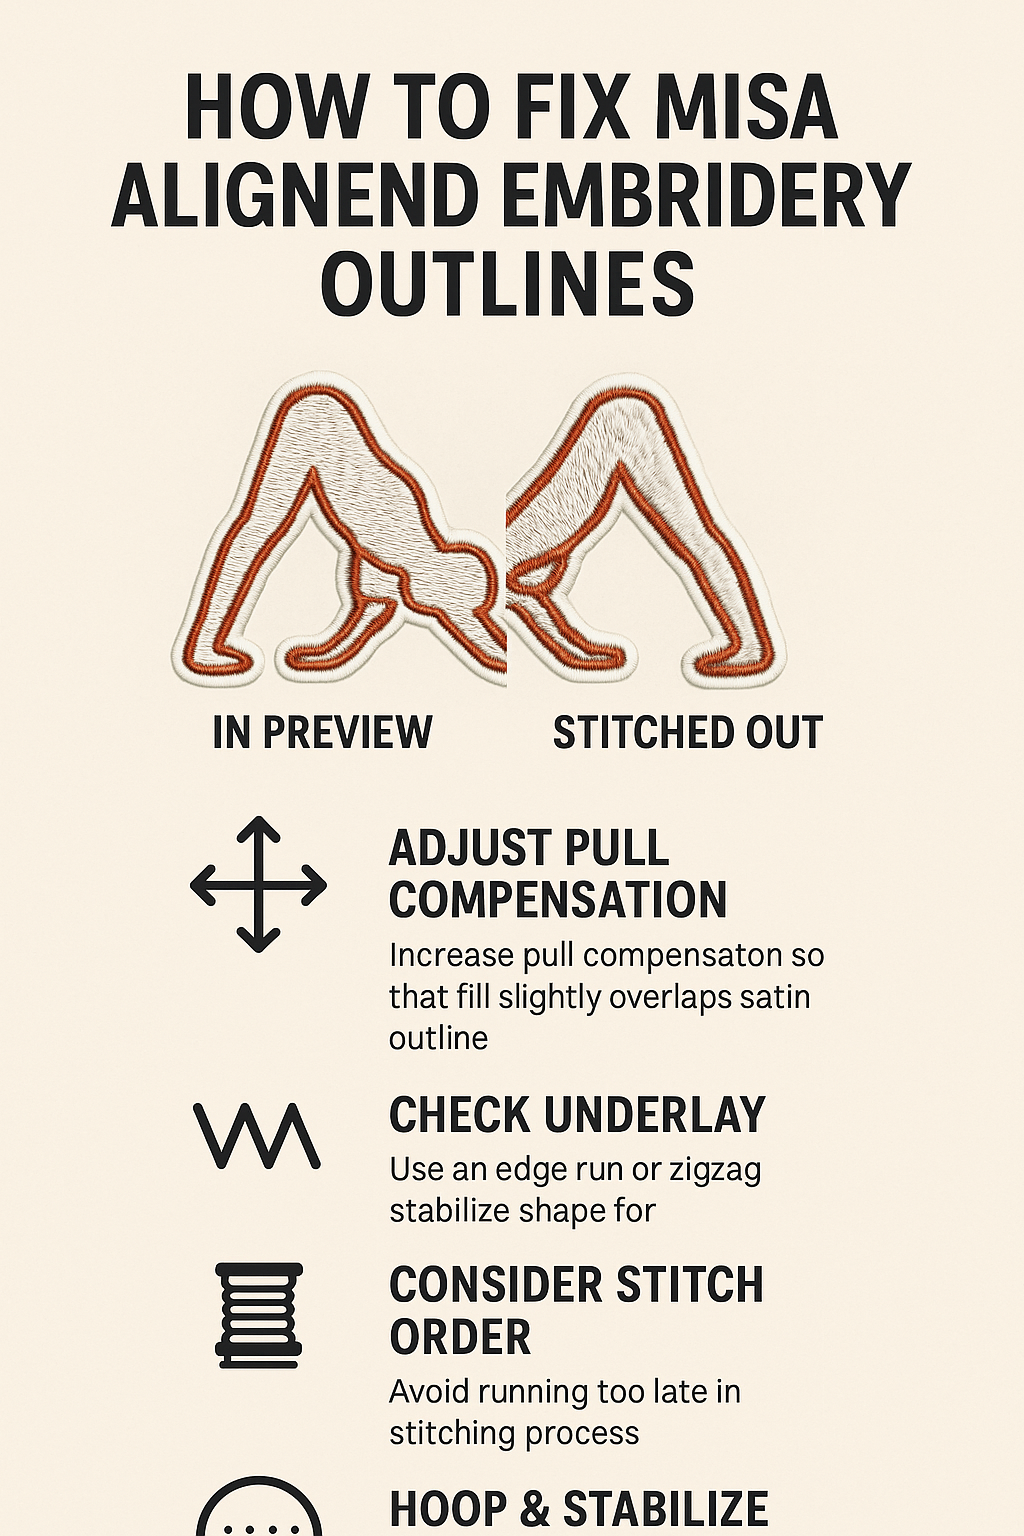
🔧 1. Pull Compensation Needs Adjustment
The most likely cause is insufficient pull compensation on your fill stitch (the white body). As your machine stitches, the tension pulls the fabric slightly inward — and that results in outlines no longer lining up.
Solution: Increase pull compensation so your white fill slightly overlaps underneath the red satin outline. This ensures no gaps appear even after some shrinkage.
🪡 2. Underlay Settings
The right underlay helps stabilize the fabric before the top stitches run. Without it, your fill can shift under pressure.
Solution: Use an edge run underlay or zigzag underlay for the fill to lock the shape in place before the outline stitches.
🔄 3. Stitching Order
If the outline stitches way after the fill or jumps erratically, the fabric may move in between steps.
Solution: Adjust the stitch sequence so the red outline runs immediately after its corresponding fill section, and in a logical, continuous order to minimize jumps.
📏 4. Fabric & Stabilizer Choice
The design seems to be stitched onto a fabric with some stretch or pile, which makes alignment issues more likely.
Solution:
Use cut-away stabilizer for stretch fabrics.
Ensure the fabric is tightly hooped, no slack.
Consider floating extra stabilizer underneath for more support.
🧵 5. Fill Type: Tatami vs Satin
It also looks like you’ve used tatami fill for one part and satin for another. These stitch types behave differently under tension.
Tip: Be consistent or test both to see which holds shape better for your design's scale.
✅ Final Checklist for Fixing Outline Issues
Here’s a quick troubleshooting list to get better results:
🔲 Increase pull compensation (especially on the white fill).
🔲 Add a strong underlay (edge run or zigzag).
🔲 Check your stitch order — keep outline close to its fill.
🔲 Use appropriate stabilizer for your fabric.
🔲 Tighten hooping to prevent fabric shifting.
🔲 Be mindful of stitch density and type differences.
💡 Pro Tip:
Always do a test stitch on a similar fabric before the final run — it will save you time and frustration!
🎯 Conclusion
Embroidery software previews are helpful — but they don’t simulate real-world tension, fabric stretch, or machine quirks. Don’t be discouraged! Outline misalignment is common, and with a few smart adjustments in pull comp, underlay, and stabilizer, you’ll get crisp, professional results.
Have your own fix or tip? Share it in the comments! 👇
Recommended Comments