I dream of the times when I bring my embroidery workspace to an order. I want to make the working process comfortable and have everything I need ready to hand. That's why I've been reading on the issue and discovered a lot of interesting information.
Many words have been written on how to organize your workspace, but here are the things I singled out and to try in the nearest future.
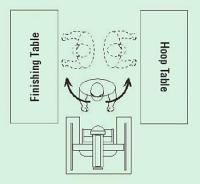
I liked the scheme by Frank Gawronsky in the Images magazine depicting how the tables should be arranged for such manipulations as hooping and giving the finishing touches to an item. Doing so will help to minimize the number of steps in your working process.
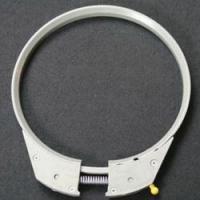
But arranging tables is, of course, not enough. You need to always have the working instruments on them, too. Such as, for example, scissors for trimming away the stabilizer or marking tools or the hooping device — the object of dreams of every embroiderer.
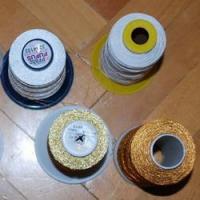
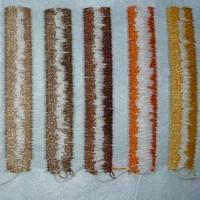
But what is also important for me is keeping all my threads in one place close to the machine so that they will be easy to find without opening all the boxes in search for the one bobbin you need. So, you need to create a threads database, even it is only a simple one. That is, actually, not so difficult to do.
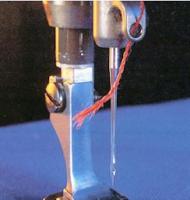
Several times I've come across an interesting suggestion: to cut the stabilizer according to the size of your hoop in advance. In my opinion, this recommendation is considerable for mass production, because it saves time which otherwise would be wasted on cutting the stabilizer before every hooping, allowing to simply take the prepared piece. But in my case, which is trying to use as little stabilizer as possible, it is more advantageous to use pieces of stabilizer beyond the size of the hoop. Therefore I just plan to make the stabilizer unreeling device to make the use of stabilizers more practical.
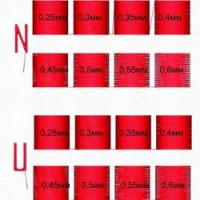
I also dream of placing a needle change reference guide behind my embroidery machine so that to be sure which needle to use.
And I also want to write a plan for the scheduled maintenance of my embroidery machine.
I dream of installing the source of bright light above my workplace at last, to make everything visible so that I don't need to squint when threading a needle.
One more curious recommendation that I cannot turn into reality is having the right kind of floor under the embroidery machine. Frank Gawronsky writes that the best floor on which the embroidery machine stands is a wooden one.
I also cannot change the lack of space around my embroidery machine for such needs as thread change, service maintenance and framing (which needs about 90 cm of space around). The good thing is my machine being a compact one that can be moved around on tiny wheels. These wheels make the embroidery machine a bit too high for me, making the thread change not the easiest task either. The bed plate should be no higher than 70—80 cm, and mine is no less that 90.
But it is possible to put the other things into action.
After all, the hardest thing is not to have all this, but to bring all things in your workspace to an order so that the tools and threads and devices could be found in their proper places.
- Read more...
-
- 9 comments
- 7,889 views