
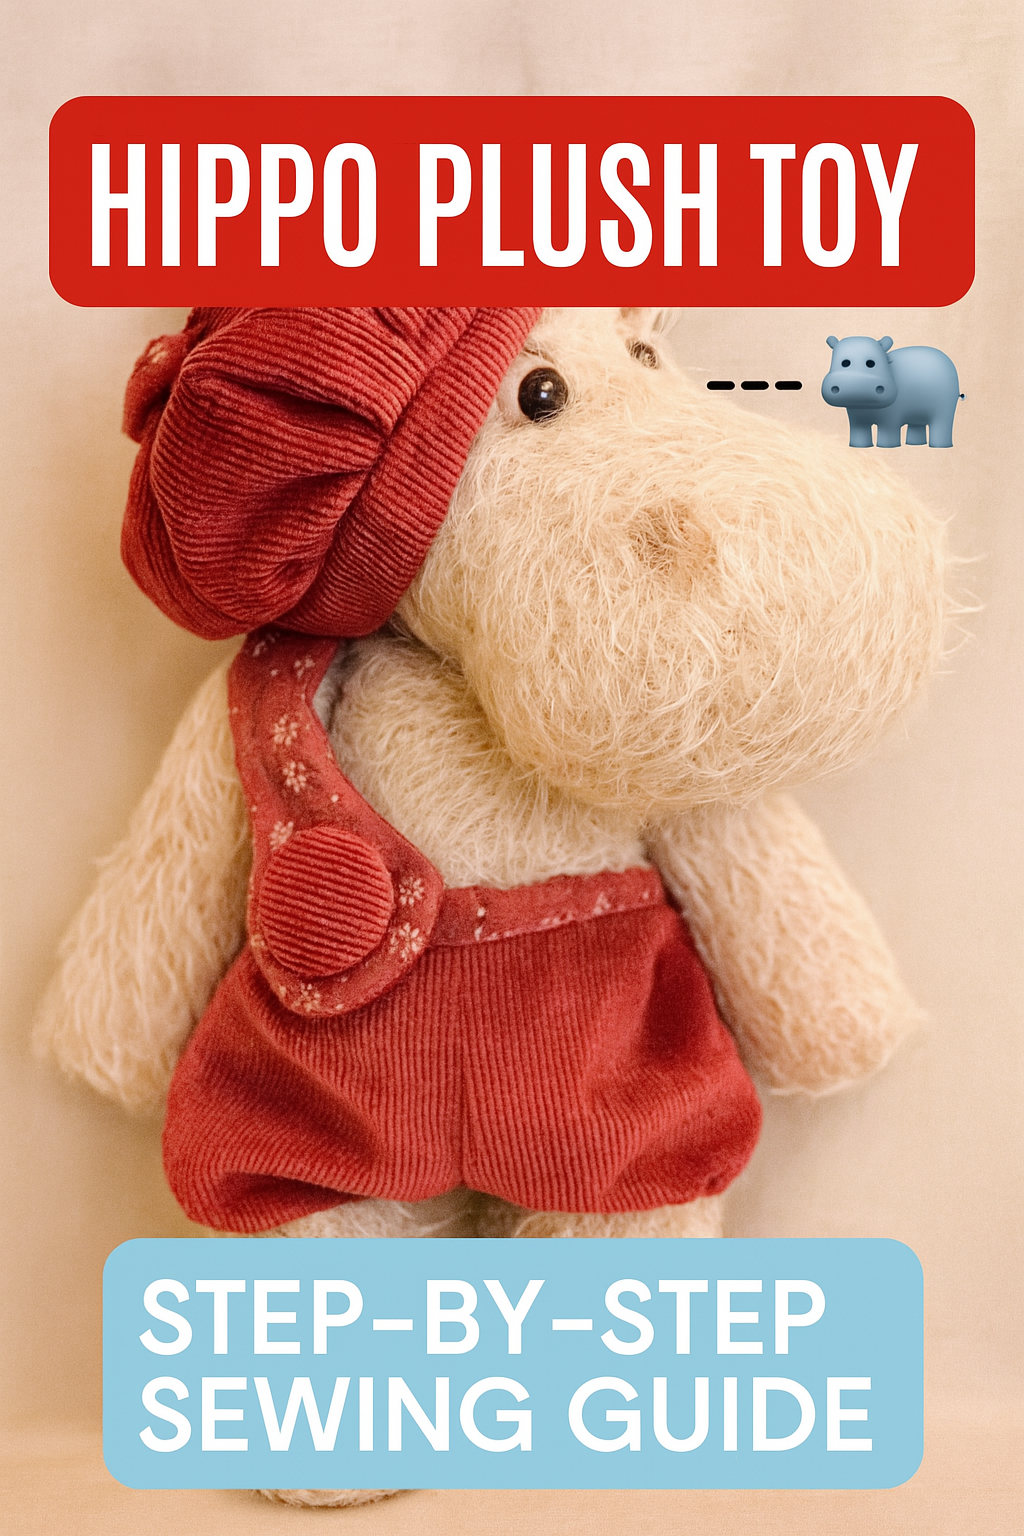
🧵 Hippo Plush Toy – Step-by-Step Sewing Guide 🦛
✂️ Pattern Sheets: PATTERN SHEET 1 & 2 – HIPPO TOY
📎 Print at 100% scale, cut, and sew with love!
🧺 What You’ll Need:
🧶 Item | 📏 Quantity / Notes |
|---|---|
🧵 Main fabric | ¼ meter (cotton, fleece, or minky) |
🎨 Contrast fabric | Scraps for ears & pads |
☁️ Stuffing | Polyester fiberfill |
🧷 Thread | Matching color |
🪡 Needle | Size 70–80 (universal/ballpoint) |
📌 Tools | Pins/clips, fabric marker, scissors |
👁 Optional | 10–12 mm safety eyes or embroidery floss |
🖨 Pattern Prep:
1️⃣ Print both pattern sheets at 100% scale.
2️⃣ Check the scale box (should measure 1 × 1 cm).
3️⃣ Cut out all pieces.
✂️ Add 5 mm seam allowance around each piece if not included.
✂️ Fabric Cutting Instructions
✨ Pattern Piece | ✂️ Cut | 🧵 Fabric | ↕ Grainline |
|---|---|---|---|
🧍♂️ Body | 2 pieces | Main | Vertical |
🧠 Side head piece | 2 pieces | Main | Vertical |
👃 Front head wedge | 1 piece | Main | Vertical |
🔙 Back head wedge | 1 piece | Main | Vertical |
👂 Ear | 4 pieces | Contrast/Main | Vertical |
🦵 Upper leg | 2 pieces | Main | Vertical |
🦶 Lower leg | 2 pieces | Main | Vertical |
👣 Footpad | 2 pieces | Contrast | Any |
✋ Handpad | 2 pieces | Contrast | Any |
🧵 Let's Sew!
1. 👂 Ears
Place two ear pieces right sides together.
Stitch around, leaving the base open.
Turn right side out, press, and topstitch if desired.
2. 🧠 Head
Sew Front head wedge to Side head piece, aligning points ① to ①.
Repeat with the other side (② to ②).
Insert ears at marked spots between seams.
Stitch Back head wedge to complete the head shape.
Leave the bottom opening for turning and stuffing.
3. 🧍♂️ Body
Stitch both Body pieces together, right sides facing.
Leave a 4 cm gap at the bottom for stuffing.
4. 🦵 Legs
Sew Upper leg to Lower leg, right sides together.
Attach Footpads and Handpads to respective pieces using the guide marks.
Turn right side out and lightly stuff.
5. 🔧 Assembly
Insert legs into body openings; align seams and sew.
Attach the head to the body with a circular seam around the neck.
6. ☁️ Stuff & Finish
Stuff all parts firmly with fiberfill.
Close all openings using a ladder stitch (invisible hand seam).
7. 👁 Final Touches
Add safety eyes or embroider them.
Use embroidery floss to add nostrils, a mouth, or blush details.
For extra cuteness, needle-sculpt around the eyes to create dimples!
💡 Helpful Tips
🧸 Fleece and minky fabrics are beginner-friendly and hide small mistakes.
🧷 Use button joints if you want moveable limbs.
☁️ Fluff stuffing before use to avoid lumps.
📍 Mark all pattern notches and symmetry lines for accurate sewing.
🦛 You Did It!
Your hippo is ready to hug! 💕
Tag us with your plushie: #HippoToyDIY 🧵
Need help with another pattern? Just ask! 😊
-
 3
3
-
 1
1
Join the conversation
You can post now and register later. If you have an account, sign in now to post with your account.