
Search the Community
Showing results for tags 'best thread for embroidery'.
Found 2 results
-

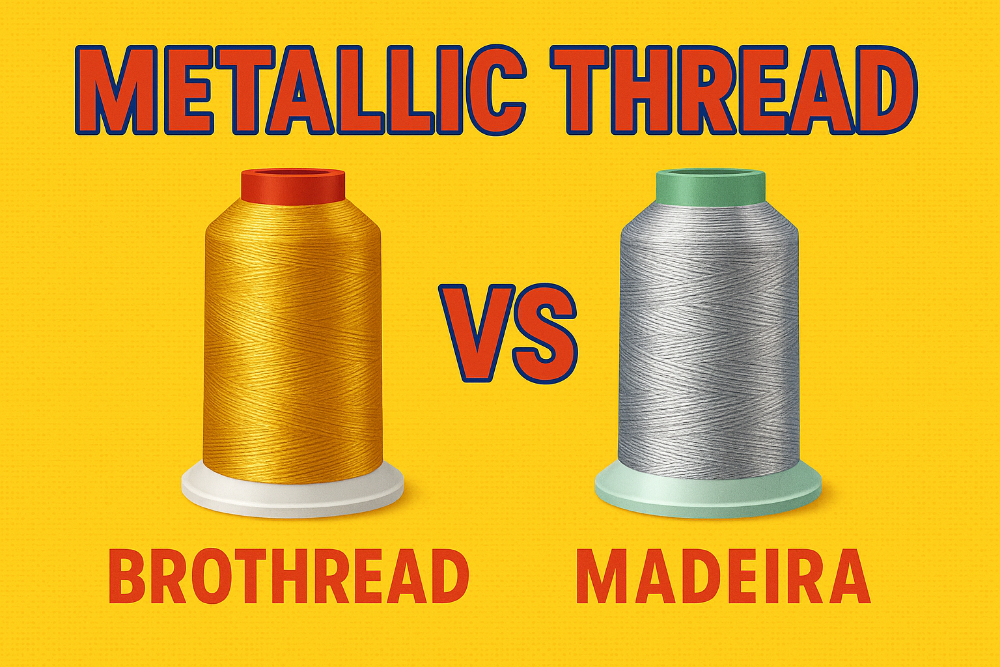 Brothread vs Madeira: Choosing the Right Metallic Thread for Embroidery Metallic threads bring shimmer and luxury to embroidery, but they can also be finicky. Whether you're working on a detailed logo or delicate accents, the thread brand you choose can make all the difference. Brothread Good for light or minimal metallic accents Color fades quickly over time Prone to thread breakage, especially at high speeds Very affordable option for hobbyists Madeira CR Metallic Modern core technology for smoother performance Can be run faster with fewer breaks Better results, especially on commercial machines Avoid “Super Twist” – many users find it frustrating Digitizing & Machine Tips for Metallic Threads Use topstitch needles (size 90/14 or 100/16) Add underlay stitching for stability Reduce stitch density in designs Slow down machine speed unless using CR thread If you're embroidering a complex logo or using metallics often, Madeira CR is the clear winner for performance. But for light, decorative use on a budget, Brothread may still work well. Have you tried other brands like Yenmet? Drop your experience in the comments and help fellow embroiderers sparkle smarter!
 -
My First Embroidery Project: A Learning Experience
diver361 posted a blog entry in Embroideres com: tips.
My First Embroidery Project: A Learning Experience I've been sewing for years, and recently, I decided to take my hobby to the next level by diving into machine embroidery. When I stumbled upon a Husqvarna Viking Designer Quartz 29 floor model at a steep discount, I couldn’t pass up the opportunity. Since bringing it home, I’ve been exploring its embroidery and quilting features—I just want to make all the things! Embarking on My First Embroidery Project Tonight, I finally tried out embroidery for the first time, and I’m thrilled with the results! I created an adorable little bookmark, and my boyfriend even named her Beatrice. The front turned out beautifully, but the back… not so much. Since the bookmark’s back is visible, I immediately noticed issues—uneven stitching and an overall messy appearance. I suspected tension problems, but tension has always been a tricky aspect of sewing for me. My Setup & Materials> I used all the original parts that came with my machine and layered my materials as follows: Cotton fabric Fusible interfacing (to prevent slipping) Medium-weight stabilizer (for added thickness) A second layer of cotton fabric for the back I ensured my fabric sandwich was as taut as possible in the hoop, but I made the mistake of cutting it a little smaller than I should have, leaving me with less excess to adjust the tension properly. Troubleshooting the Backside Appearance After seeking advice, I learned some key embroidery insights Bobbin thread should be 60wt white or black—unlike sewing, embroidery doesn’t use matching thread colors for the bobbin. The bobbin stitches should ideally be centered: 1/3 top thread, 1/3 bobbin, 1/3 top thread. he back of embroidery isn’t typically expected to be neat; instead, it’s often covered with fabric to hide any imperfections. For projects where the back will be seen, a useful trick is to wait until the last step to add the back fabric. Alternative Method to Cover the Back If I want to hide the back stitching, a simple method is: Complete all the embroidery except for the outline. Tape a piece of fabric onto the back of the hoop. Sew the outline to attach the back fabric. Cut around the edges for a clean finish. Additional Takeaways Never cut loose threads on the back—they’re tie-ins, and trimming them can unravel the front stitching. Painter’s tape seems to work better than masking tape for securing fabric on the back, as masking tape can bunch up. Hem tape is another option, but it’s more expensive. Moving Forward I plan to pick up the proper 60wt bobbin thread and apply these tips in my next embroidery project. While I’ll use the method of adding the back fabric at the final step for this bookmark, I’m eager to explore techniques that produce a neater back for future projects. Embroidery has its own unique challenges compared to sewing, but I’m loving the learning process! Have any tips for achieving a clean embroidery back? Let me know!