
Search the Community
Showing results for tags 'embroidery stabilizer tips'.
Found 2 results
-

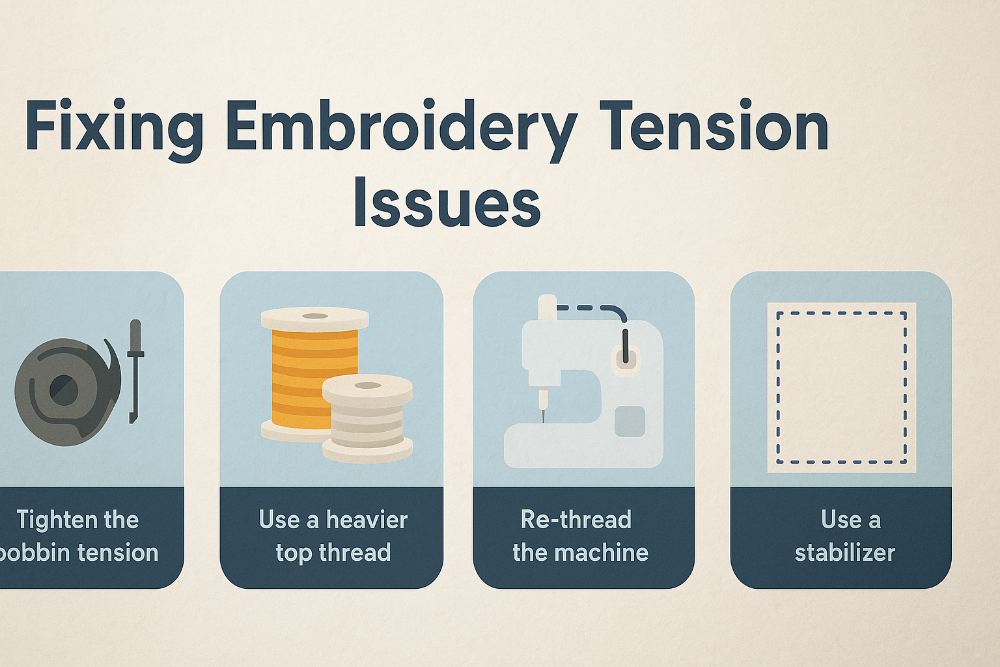 My First Embroidery Machine Project: Why the Front Looked Terrible (But the Back Looked Great!) Hi there! I'm brand new to the embroidery world, and I recently gave my very first machine embroidery a try using my Brother SE700. I was super excited, but... let’s just say, things didn’t go exactly as planned. I used: Simthread 40wt embroidery thread on top Simthread 60wt embroidery bobbin thread Sulky Cut Away Plus Midweight stabilizer The result? The front looked awful—loose, gappy, and uneven—while the back looked amazing… as if it was meant to be the front! Totally confusing, right? Take a look: My Embroidery Looked Backwards?! I tried adjusting the top tension (each “B” in my test has a different setting), but nothing fixed it. The middle bar of the “B” even looked like it wasn't attached to the vertical stroke. I had no idea what was going wrong. I started wondering things like: Did I hoop my fabric upside down? Could the design file be corrupted? Was the machine trying to stitch from the wrong side?! The online community (thank you amazing folks!) chimed in with some solid tips, hilarious theories, and reassuring support. Here's a breakdown of what I learned. Top Lessons I Learned (So You Don’t Have to Go Crazy Like I Did) 1. Tension Matters... A LOT Several people pointed out that my bobbin tension was likely too loose. That would explain why all the bobbin thread was being pulled up and dominating the front. Fix: Tighten your bobbin tension in tiny increments. A quarter turn clockwise on the tension screw is a safe place to start. Pro Tip: If you're nervous about messing with it, just get a second bobbin case to play with. They're cheap! 2. Thread Weight Differences Count Using a 60wt bobbin thread and a 40wt top thread is totally normal—but it means your tension has to be dialed in perfectly. The thicker 40wt should dominate on top, but if the bobbin tension is too loose, the thinner thread will get yanked to the surface. 3. Threading Must Be Perfect Yep—rethread the machine from scratch. Make sure your presser foot is raised when threading so the thread goes through the tension disks properly. A lot of machines won’t apply correct top tension if this step is skipped! 4. Double Check Your Bobbin Direction Several people mentioned that a backwards bobbin can cause major chaos. So if you’re seeing weird results, reinsert it carefully and make sure it’s turning the correct way in the case. 5. Stabilizer Is Your Best Friend Turns out, I got drastically different results depending on whether I used stabilizer or not. When I skipped it? Disaster. When I used it? Much better! Always use stabilizer (especially as a beginner!) and consider topping it with a wash-away if you’re working on stretchy or textured fabric. The Verdict? It was a mix of things: bobbin tension, thread weight difference, and possibly threading mistakes. But now I know, and I hope this helps you avoid the same frustrations. Most importantly, if your embroidery looks better on the back, don’t panic—you’re not crazy. You’re just learning, and we’ve all been there. Thanks to everyone who helped troubleshoot—I genuinely would’ve gone nuts without you Have you ever had a similar embroidery fail? Share it in the comments—I’d love to hear your story (and feel a little less alone ). Happy stitching, A New Embroidery Addict
 -
My First Embroidery Project: A Learning Experience
diver361 posted a blog entry in Embroideres com: tips.
My First Embroidery Project: A Learning Experience I've been sewing for years, and recently, I decided to take my hobby to the next level by diving into machine embroidery. When I stumbled upon a Husqvarna Viking Designer Quartz 29 floor model at a steep discount, I couldn’t pass up the opportunity. Since bringing it home, I’ve been exploring its embroidery and quilting features—I just want to make all the things! Embarking on My First Embroidery Project Tonight, I finally tried out embroidery for the first time, and I’m thrilled with the results! I created an adorable little bookmark, and my boyfriend even named her Beatrice. The front turned out beautifully, but the back… not so much. Since the bookmark’s back is visible, I immediately noticed issues—uneven stitching and an overall messy appearance. I suspected tension problems, but tension has always been a tricky aspect of sewing for me. My Setup & Materials> I used all the original parts that came with my machine and layered my materials as follows: Cotton fabric Fusible interfacing (to prevent slipping) Medium-weight stabilizer (for added thickness) A second layer of cotton fabric for the back I ensured my fabric sandwich was as taut as possible in the hoop, but I made the mistake of cutting it a little smaller than I should have, leaving me with less excess to adjust the tension properly. Troubleshooting the Backside Appearance After seeking advice, I learned some key embroidery insights Bobbin thread should be 60wt white or black—unlike sewing, embroidery doesn’t use matching thread colors for the bobbin. The bobbin stitches should ideally be centered: 1/3 top thread, 1/3 bobbin, 1/3 top thread. he back of embroidery isn’t typically expected to be neat; instead, it’s often covered with fabric to hide any imperfections. For projects where the back will be seen, a useful trick is to wait until the last step to add the back fabric. Alternative Method to Cover the Back If I want to hide the back stitching, a simple method is: Complete all the embroidery except for the outline. Tape a piece of fabric onto the back of the hoop. Sew the outline to attach the back fabric. Cut around the edges for a clean finish. Additional Takeaways Never cut loose threads on the back—they’re tie-ins, and trimming them can unravel the front stitching. Painter’s tape seems to work better than masking tape for securing fabric on the back, as masking tape can bunch up. Hem tape is another option, but it’s more expensive. Moving Forward I plan to pick up the proper 60wt bobbin thread and apply these tips in my next embroidery project. While I’ll use the method of adding the back fabric at the final step for this bookmark, I’m eager to explore techniques that produce a neater back for future projects. Embroidery has its own unique challenges compared to sewing, but I’m loving the learning process! Have any tips for achieving a clean embroidery back? Let me know!