
Search the Community
Showing results for tags 'machine embroidery tips'.
Found 2 results
-

 Brothread vs Madeira: Choosing the Right Metallic Thread for Embroidery Metallic threads bring shimmer and luxury to embroidery, but they can also be finicky. Whether you're working on a detailed logo or delicate accents, the thread brand you choose can make all the difference. Brothread Good for light or minimal metallic accents Color fades quickly over time Prone to thread breakage, especially at high speeds Very affordable option for hobbyists Madeira CR Metallic Modern core technology for smoother performance Can be run faster with fewer breaks Better results, especially on commercial machines Avoid “Super Twist” – many users find it frustrating Digitizing & Machine Tips for Metallic Threads Use topstitch needles (size 90/14 or 100/16) Add underlay stitching for stability Reduce stitch density in designs Slow down machine speed unless using CR thread If you're embroidering a complex logo or using metallics often, Madeira CR is the clear winner for performance. But for light, decorative use on a budget, Brothread may still work well. Have you tried other brands like Yenmet? Drop your experience in the comments and help fellow embroiderers sparkle smarter!
 -
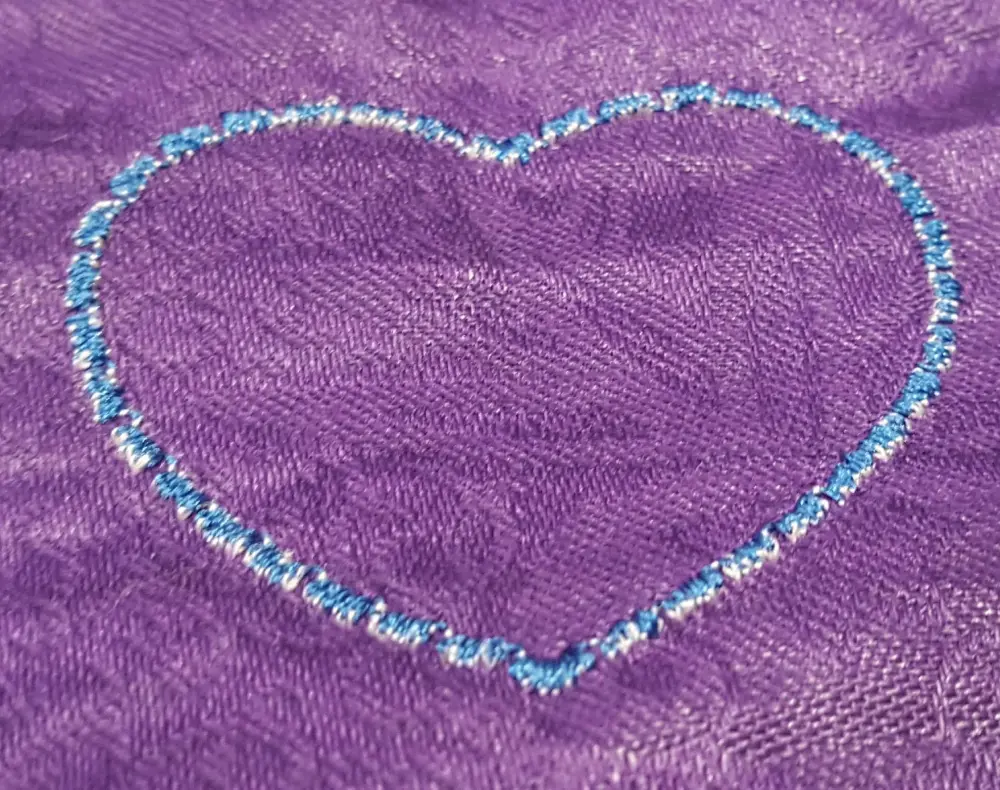 I Need Help! Hey everyone! I could use some insight from experienced embroiderers because I ran into an issue that completely threw me off. I was testing out a new embroidery style on my Janome M17, and everything was going smoothly—until the last 15 minutes of stitching. That’s when I noticed something strange: the bobbin thread started appearing on top of my design. For reference, my bobbin was still relatively new—only about 3,000-4,000 stitches in, and my machine typically handles 15,000 stitches per bobbin. So, I don’t think it was running out. But what could have caused this sudden change? Possible Causes and Community Thoughts I shared my design (both front and back), and I got some great suggestions from fellow embroiderers. Here are some possible reasons why my bobbin thread started peeking through: Hooping Tension Issues – The top of my hooping looked nice and tight, but the bottom appeared looser. Some suggested that uneven tension might have caused shifting, leading to inconsistent thread pull. Design Density Change – The stitch density seemed to change in the problem area, and the stabilizer was more wrinkled there. Could it be that the fabric wasn't stabilized well enough? Bobbin Winding Issues – While it’s less likely, some people mentioned that if the bobbin was wound inconsistently, it might cause tension problems during stitching. Stabilizer Problems – This is a big one! I floated my sweater using sticky spray, but honestly, this stabilizer felt weak even before the project. Maybe it wasn’t strong enough to support the design? Machine Jam & Threading Mistake – I did have a moment where the machine jammed because of user error. I skipped a step while switching colors, causing the bobbin to not grab onto the needle properly. Maybe that affected the tension settings? What’s Next? Now that I’ve taken a step back, I have a few ideas to troubleshoot: Re-hoop carefully to ensure even tension Try a different stabilizer that feels more durable Check my bobbin winding to rule out any inconsistencies Make sure my thread path is correct after color changes I haven’t given up on this design just yet, but I’d love to hear if anyone else has experienced sudden bobbin thread issues mid-project. What worked for you? Let me know your thoughts! Happy stitching!