
Original text by Marina Belova
I always achieve a better tonal gradation in embroidery if it is made across the direction in which the stitches lie, but it is harder to achieve the same in the direction in which they lie. I have an old article called Creating a Basic Color Blend from the Printwear magazine written by Bonnie Nielsen, which I saved for the future a long time ago, that covers the basic principles of color blending in machine embroidery, among them the ones that I don't seem to get right. So I decided to give this article some time today, in order to find out if the method described in it was good for me, and if not, what was I doing wrong that I kept getting unsatisfactory results.
The color blending technique is based on simple principles and tools that any contemporary machine embroidery editor has — gradient fill (they are also called accordion) that can be applied to the tatami stitches. Therefore, even a novice can repeat the steps described below.
This method is not based on the mindless exploitation of the standard instruments of the embroidery design editor where you take two identical objects, paint them in different colors and then apply gradient fill to them and set two different density values, like the one pictured below:
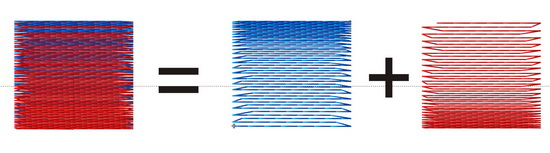
This is the option that all software developers like to advertise, guaranteeing a superb tonal gradation to every user. But it doesn't always work.
For example, if you try to blend two contrasting colors the result will be far from satisfactory. I think that those who have tried gradients know about this aspect. Even if your editor permits, like the Stitch Era does, blending 3 colors at a time instead of 2.
Bonnie's method is based on using the same tools described above, it's only that a user has to use his head and his hands as well.
First, you should not forget that the stitch orientation in the layers must correspond.
Second, to ensure the subtle gradient color change, you should choose at least 3 colors instead of 2. And they should be digitized in this way:
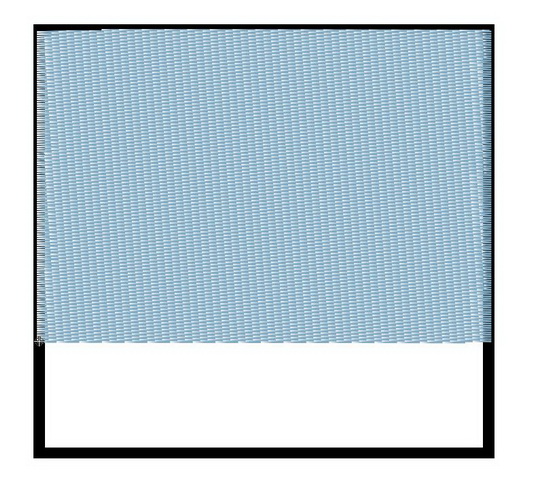
1. The lightest color does not fill the entire area, but only a part of it, with no gradient applied to it and the standard density, sufficient to cover the embroidery area throughout — 0.4 mm, for example:
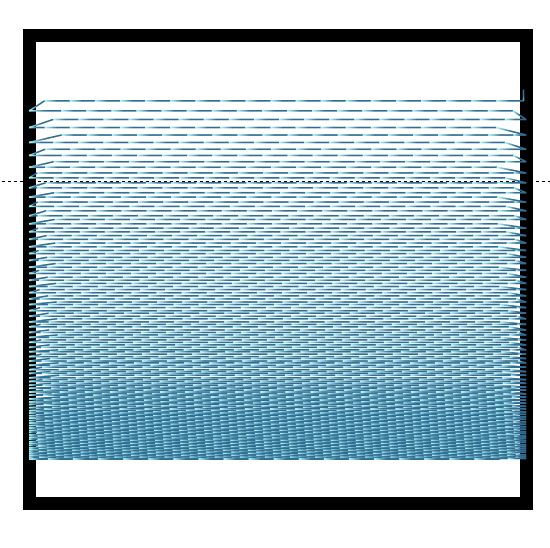
2. Then the second color is digitized, an intermediate between the first and the second, it does not cover the entire area either, but the accordion effect is applied, and the appropriate density value is set; don't forget that the further is the distance between the rows of stitches, the less intense the color will be:
3. And the last step — we digitize the third color, which, like two previous ones, does not cover the entire embroidery area. Gradient is applied again, and the suitable density value is set:
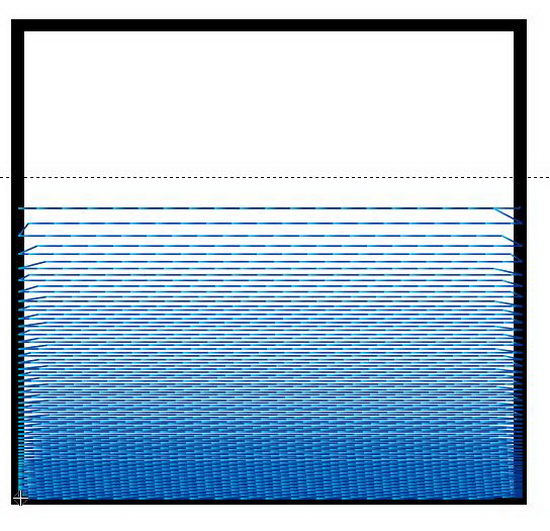
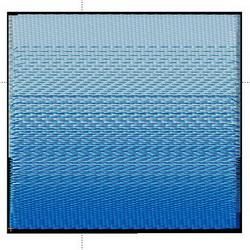
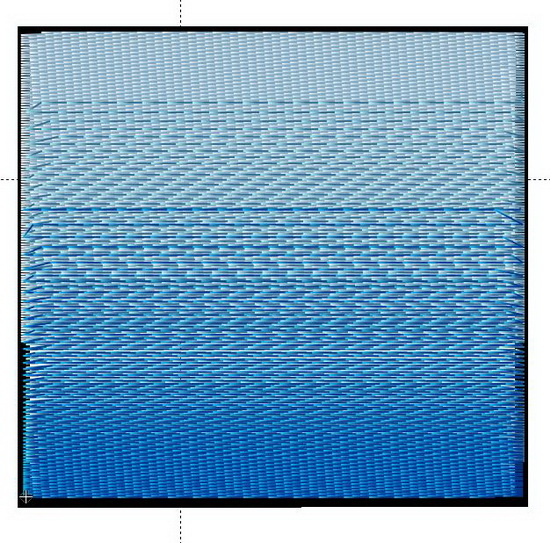
This is how the overlapping layers look on the computer screen:
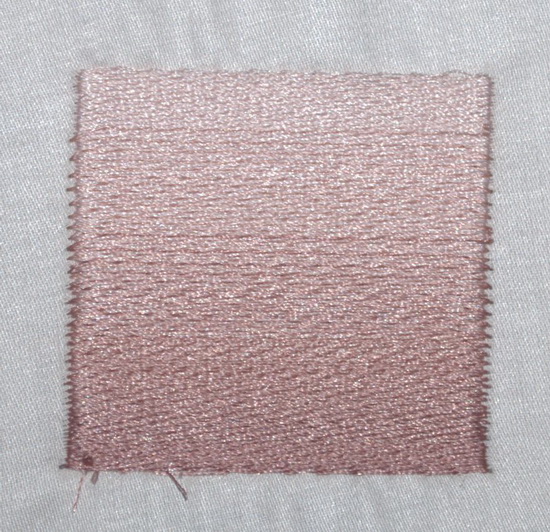
The already embroidered square:
So this method works. Everything seems to be very clear at the first glance, and you manipulate everything easily. But, as it turned out during the testing, choosing appropriate threads is not so important as having a possibility to adjust the distribution of density in this same accordion. Bear in mind that not only stitch length influences the intensity of the color but the density distribution as well. However, not all the editors have this option. For example, both of my 2 layers have a separate density distribution profile. This is a middle color profile:
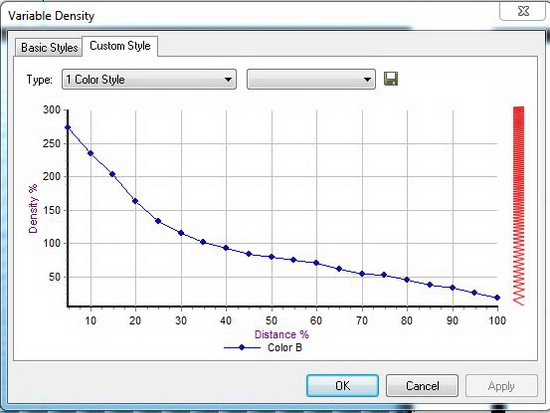
And this is the last color profile:
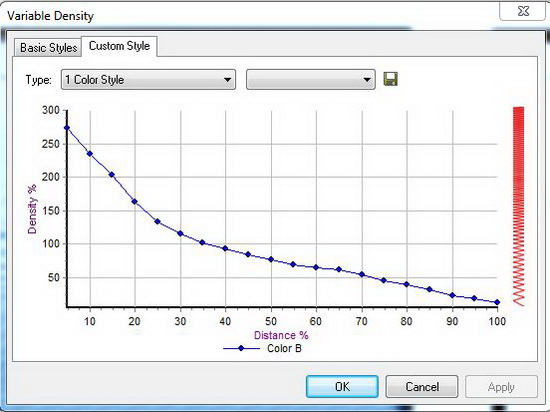
All of these density distribution values are based on some number of test runs. And even a small discrepancy between the density values of the layers greatly influences the look of the layer with lower density.
All things considered, this is not the easiest way of color blending because it requires some effort and test runs. Though had I not read the article,
I would never have arrived at a thought on how to apply this gradient to the fills.
Edited by Irina
-
 1
1
There are no reviews to display.