

Original text by Marina Belova
Sometimes even in machine embroidery, there is a place for enlightenment when a technique seen many times before elsewhere assumes its own meaning or begins to shine with the new colors. "The penny dropped!" they usually say.
I'll take the roundabout approach to the subject. 7 or 8 ago a manager of one of the Chinese thread manufacturers was showing an embroidery sample where the key component in the creation of the design was the underthread instead of the upper thread. Accordingly, the front side of the embroidery was situated on the back side of the hoop.
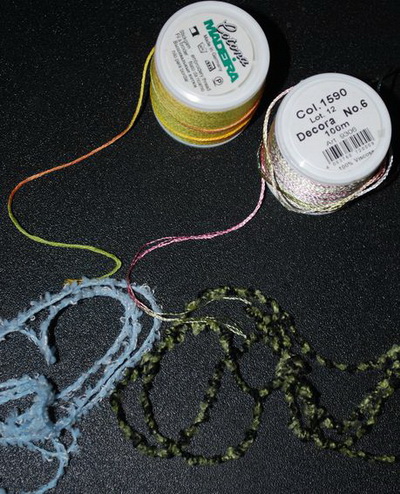
Even then the Chinese manufacturers had a small collection of bobbing threads of different colors and thickness specifically for that purpose. In those days, this information fell deaf on my ears. And after that, while thumbing through the books on the free-motion machine embroidery technique I often saw that instead of an ordinary underthread you could use virtually any thread, even the one that cannot be used as the upper thread because of its thickness or twist. It can be a mouline thread or special decorative sewing thread like Madeira Overlock #4 or the ordinary not so thick knitting thread or a thin ribbon. Anything that can be wound up on a bobbin and tucked in a bobbin case. These are the threads I have:
Val Holmes encyclopedia of machine embroidery calls this embroidery technique a "Cable Stitch". A similar way of attaching a bobbin thread or a thin cord imitates a hand embroidery technique where a thread, a cord or a ribbon is couched. This is a godsend for those who need to sew down the cord, but whose machine is not equipped with a special device for it.
This week I saw a photo of the embroidery with the ordinary knitting threads in the very same technique and was illuminated by it. I wanted to try it right away and see what would happen.
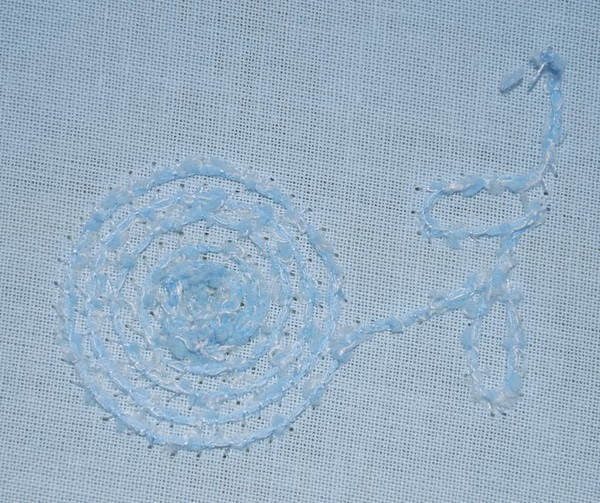
The design can be made very easily: you just draw the trajectory with a running stitch or a hand stitch — depending on the idea or an image. In my opinion, the embroidery design should be created so that you won't have to return to the same place several times. I.e., the design should be drawn "in one stroke". The stitch length is set at about 2.5—3 mm. But, in my opinion, one should experiment with the length, for everything depends on upon what you embroider with. Below is my first test piece:

I decided to do without bar tacks for fear of the knots and "bird nests". Stabilizer is not necessary for this kind of work if I understand correctly. As for the tension, the adjustment will take some time.
First, you must loosen the tension on the bobbin case in accordance with the thread type. Too loose a tension, theoretically, will result in the loops on the wrong side, not unlike the one on the terry cloth. Tension adjustment changes the size of these loops. Suitable tension makes couching imitation possible. No, not imitation — for it is real embroidery couching.
Second, you should just as well adjust the upper thread tension in accordance with the desired effect. In case it is too loose, the upper thread will form loops on the bottom of the fabric, creating an additional embellishment. This means that the upper thread will contribute to the design creation. If the upper and the lower thread tension are balanced, as usual, the result will be a simple running stitch with the upper thread slightly pulled across the lower one.
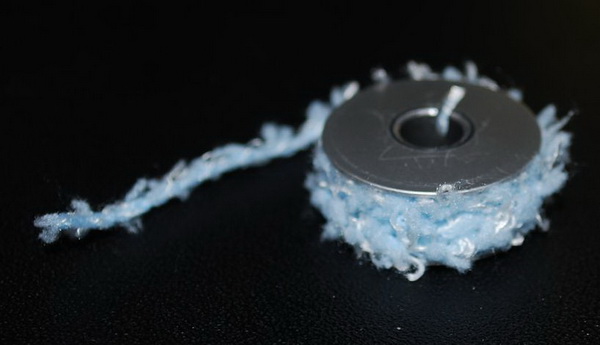
On the photo below you can see a bobbin with a knitted thread wound up on it. I wound it up manually. To my regret, only a small amount of thread can be placed onto the bobbin in this way:
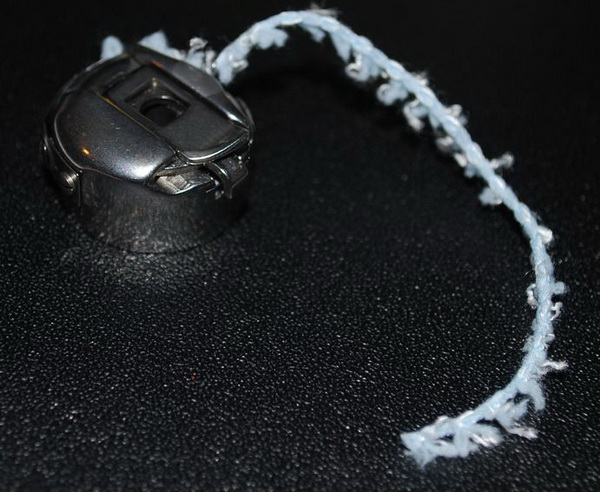
I insert the bobbin into the bobbin case, loosen up the tension:
Start the embroidery:

It runs smoothly. Even the trimming works well:
This is the wrong side of my fabric — the upper thread has formed some loops:
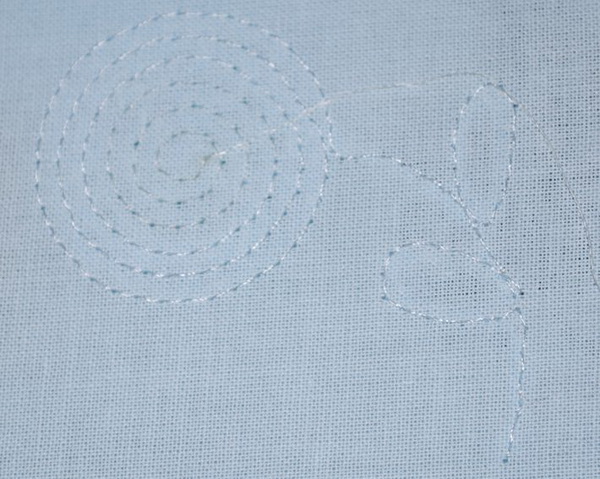
And this is after I've tightened up the upper thread tension so that is wasn't pulled through the fabric to the wrong side:

Unfortunately, no matter how long I've been adjusting the wheel, I haven't managed to get the underthread loops on the bottom of the fabric.
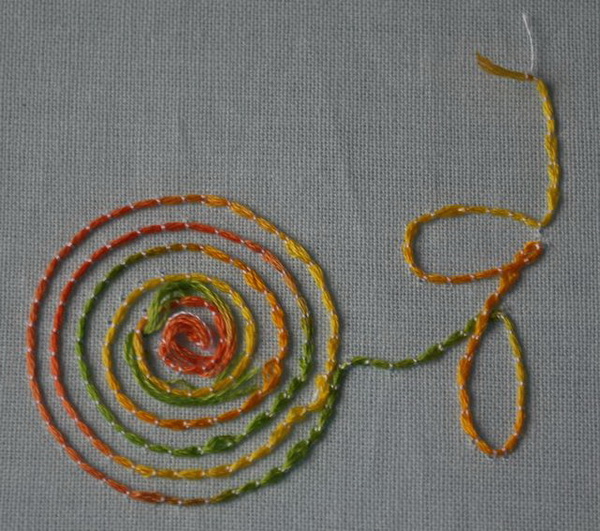
And on the photo below you see the fabric embroidered with the Overlock #4 thread in the bobbin: it looks similar to the mouline thread — multi-layered and not twisted.
It turns out to be that easy. Just imagine, how many interesting designs you can create in this way!
Edited by Irina
-
 1
1
There are no reviews to display.