
Embroidery Digitizing for Chenille
Unlike in every day embroidery design for Chenille your will want to make sure your artwork is formed properly, this means you should review the artwork tools in previous blogs these Tools as its vital that you have a good understanding on how to reduce nodes, split anchors, join anchors and edit nodes.The artwork converting process is also very demanding on your computer some computers even new ones can cash when converting complex embroidery designs.
Computer Recommendations for Chenille Digitizers
Its very important to have a well tuned digitizing computer, I recommend a Pentium 4 or equivalent Quad core computer with Windows 7 or Windows 8 64 Bit with 8 to 16 GB of ram. I also recommend the fastest chip and at least a 64 MB video card for working on Chenille. If your computer is not fast enough you will have a lot of idle time when converting your large file.
When you have a vector file to convert check that all shapes are closed. Not doing this can sometimes cause undesirable results. Somes times it easier to convert them in sections versus the whole design.
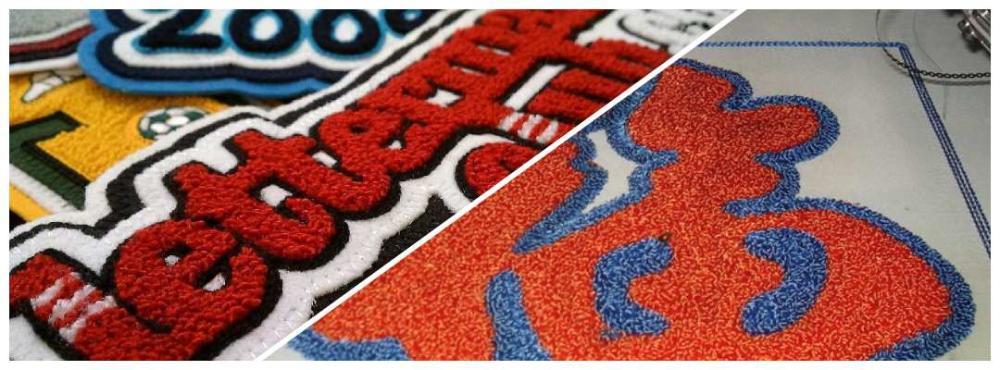
Chenille Basic Example
Here is an image file and a Chenille Stitch file.

Most Chenille digitizers choose to use the option of creating the art work first and convert it to chenille, I have found that most people who use chenille do the art of the design and convert each section on its own.

Chenille Basic Example
Step 1 Load the artwork into Tajima Image … Load
Step 2 Trace the red outline Using the artwork tool trace the red make a duplicate of this for later
Step 3 Convert the art work to Chenille Right click ..go to .. Convert segment too choose chenille
Step 4 Turn off all but the Chain Walk See Below

You should now have a chain walk of the image.

Chenille Basic Example
Step 5 Highlight the artwork , right click , goto transform , Choose offset, Copy offset ,
specify distance should be -.03 to -.05

Step 6 Manually add a color Change,
Step 7 Convert the art work to Chenille Right click Go to Convert segment too choose chenille
Step 8 Turn off all but the Chain Walk See FIG 4 previously for example

Step 9 Add the Spiro Moss Fills of the areas indicate in white,
again using the artwork Tool to draw with and convert it to Spiral Chenille

Step 10 Make Sure you have 1 Chain and the Moss Fill should be Spiro

Step 11 Now you need to trace the B with the artwork tool so the design looks like Below

Setting should be similar

Now you should be able to make a wide range of Chenille, Spiro Chenill and Mixed embroidery design with chenille depending on your machine.
There are no reviews to display.