
Original text by Marina Belova
Yesterday I was embroidering a basket for the Easter egg on organza and, while creating a file, thinking if there were some digitizing peculiarities for this type of fabric or you could do the same as with other fabrics like calico or denim that don't pose any problems.
In the end, I used the standard density and underlay settings. I didn't notice any embroidery defects except the yarn slippage inherent to this fabric.
Today I set out to look up the recommendations for digitizing for organza. As usual in the machine embroidery field, there is an information shortage on the subject. That's notwithstanding the fact that the whole world and his wife embroiders on organza. This is a perfect fabric for the interior decoration, you know.
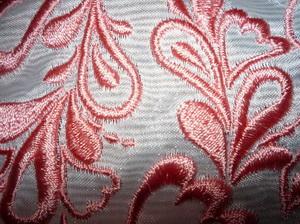
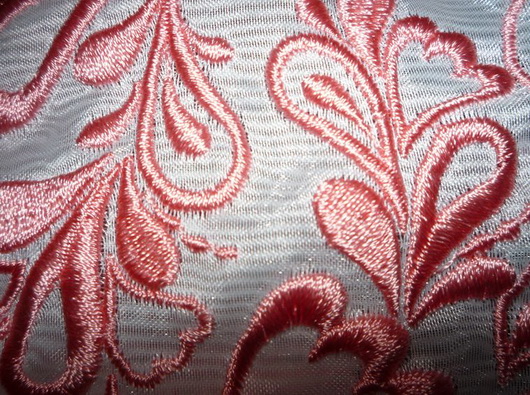
Organza is a semitransparent plain weave fabric. It can be made of silk, polyester, nylon or blended, depending on the manufacturer. According to Deborah Jones and other machine embroidery masters, the fiber characteristics (their strongness and thickness) call for the careful choice of needles, simpler designs, looser upper thread tension and invisible stabilizer.
Almost every recommendation I've found hold that a design for organza should be as simple as possible: no understitching except jumping stitches, and much less density. The reason for dropping an underlay is clear: it will be visible through the light finishing fill, which will, in turn, have a damaging effect on the look.
That is, the embroidery should be very light and semitransparent; as for the "heavy" techniques, they should be replaced by the "lighter" ones, such as the use of sequins, sparkles, open-work, various types of appliqué, simple stitches, low-density satins with and without splits. To all appearance, it is necessary to avoid ruining the pliability of the fabric, reduce the level of pulling and also for economy reasons.
But it turned out there are many examples of non-transparent and even multiple-colored embroidery on organza. This means that all you have to do is to test the digitized design and not be scared to experiment.
General recommendations on light machine embroidery on organza:
- Needle — the thinner, the better (#65–75 is optimal). Needlepoint — sharp (K, R SPI). The choice depends on the type of organza.
- The fabric should be hooped with extreme care so that not to skew the transverse or longitudinal fibers and to prevent the appearance of the loose stitches (see the photo below):
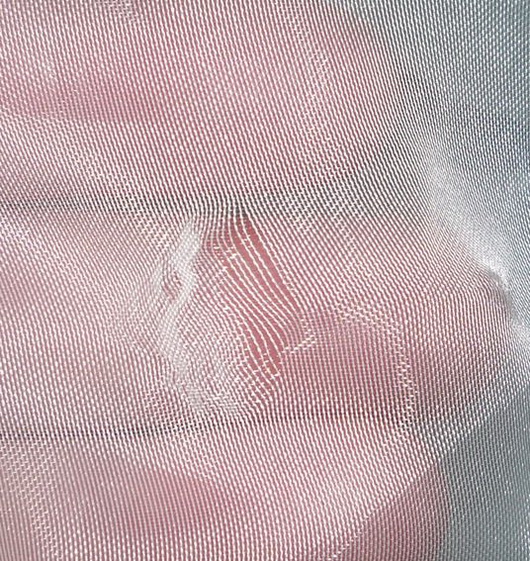
The defects of this kind may be the result of turning the hoop screw too tight or pulling the organza in the hoop to optimize the tension. You can also wrap your hoop so that to avoid traces and to keep the fabric in the hoop. Read more about it here.
- Use either water soluble film or other water soluble stabilizer. Hoop it together with the organza if there is just one layer of it. In case there are multiple layers, you can drop the stabilizer.
- Loosen the upper thread tension until you get 2/5 + 1/5 + 2/5 (upper/lower/upper) on the wrong side.
- Thread – rayon or cotton one; they are the softest.
- Density values should start at approximately 0.6–0.7 mm. But you should still do a test sample. I set the density at 0.44 mm, and nothing bad happened. But my basket maintains its shape thanks to the number of stitches.
- The stitches shouldn't be longer than 5 mm.
- Underlay should be removed, even on edges (the edge run).
Of course, you'll still have to test every design and select the parameters suitable for it alone.
-
 1
1
There are no reviews to display.