
Original text by Marina Belova
Terry cloth is a fabric with loops. Every one of these loops is some kind of sponge that is aimed at soaking up water. Terry cloth made of 100% cotton is the most common. But it may be composed of other fibers: bamboo, cotton, linen, etc.
Lots of much-in-demand garments are made of terry cloth, and all kinds of embroidery are used as decoration. Therefore, I decided to write about the basics of embroidery on this fabric.
Terry cloth can differ in:
- weight
- density
- composition
- stability
- loop height
- loop twist loop on just one side of the fabric or both
All of these properties make their impact on digitizing for loop fabrics.
From the technical standpoint there is nothing difficult in embroidery on terry cloth. You hoop the fabric together with the stabilizer (I use thin tear-away one; although I've read somewhere that you can use a thin water-soluble film instead: put it on top so that the loops don't show between the stitches or better hoop it), and then embroider.
80/12 needle with a sharp needlepoint is usually recommended for thick terry cloth, and 75/11 ballpoint needle for thin and stretchy kinds. You can use any kind of threads. As for me, I prefer rayon – it is softer than polyester.
Digitizing a design for a loop fabric
The design digitizing process is not much different from the usual one, but there are some recommendations that you should follow.
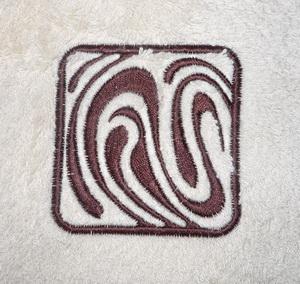
It's better to choose bigger designs for embroidery on terry cloth. The object should not contain small and delicate elements, for after the embroidery the loops will raise and cover them completely, making the embroidery look worse. Therefore, it is better to use bold letters. Satins should not be wider than 8 mm and narrower than 1.5–2 mm.
When the stitches are over 8 mm it is necessary to compulsorily split them or apply short filling stitches to this object. This is due to the fact that garments made of terry cloth are washed rather often, and long stitches will eventually slacken or get caught in something — in both cases, it will damage the outer look of your embroidery.
It is recommended to increase the satin width by 10% or just add 20–30% pull compensation.
Understitching:
- Double run for thin satins
- Double run + double zigzag with short stitches that will keep the loops trampled for thick ones
- Double run + full lattice at an angle different than the one in the main layer — for the filling.
Density:
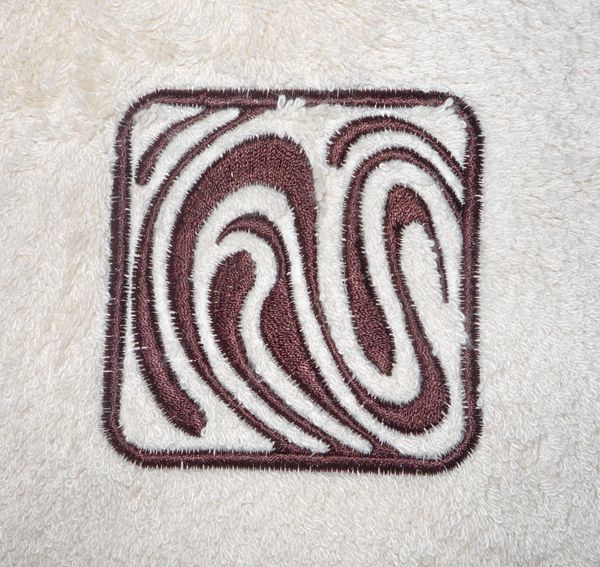
I set density at no more than 0.45 mm for terry cloth. Though I've often heard that you should increase your density by 20% compared to the usual one. My experience shows that this will only lead to distortion — there will be waves on the embroidery surface.
You may consider using applique not only because this will allow you to reduce the stitch count and save on water soluble stabilizer, but also because it is easier to embroider small details on applique than on terry cloth.
But I didn't like the process of cutting out the applique with terry cloth still in the hoop — too much risk to catch a loop with your scissors and cut it open. Better to make an applique out of a ready template.
Digitizing for terry cloth is not really difficult. There is nothing in it that one cannot learn.
There are no reviews to display.