
Original text by Marina Belova
Several days ago I decided to do another In-The-Hoop project – a gift bag for a bottle of wine. February 23rd is not far away, there's the occasion for such a gift. Unfortunately, it was not done entirely on embroidery machine because I didn't much like the result. So I had to use a sewing machine, after all, to give the item a proper finish.
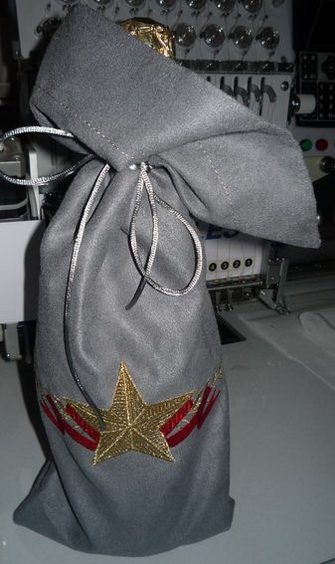
Here's what I got: a gift bag for a bottle with traditional February 23rd symbols:

I chose the simplest design possible: a star with ribbons and laurels. I sneaked the shape of a bag from one of machine embroidery websites. (You can choose from the designs in our shop instead).
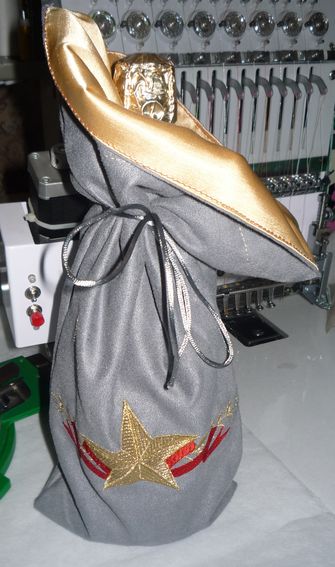
Liked it very much – such a wide neck will arrange in beautiful folds. So I created this pattern:
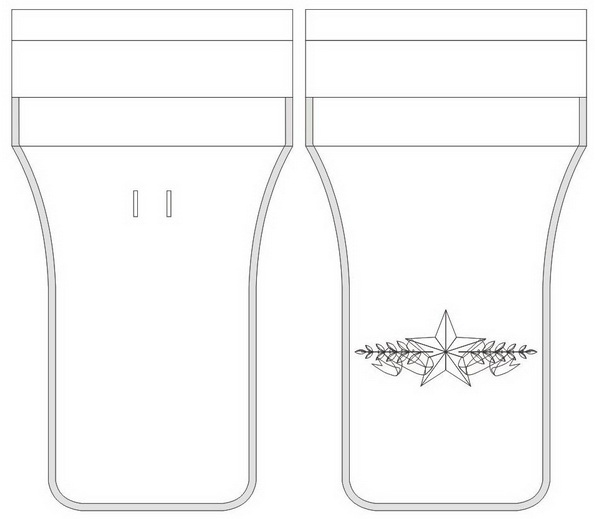
According to it, I drew 2 embroidery designs, which were meant to be sufficient for the creation of this item. Below are the previews of the design:
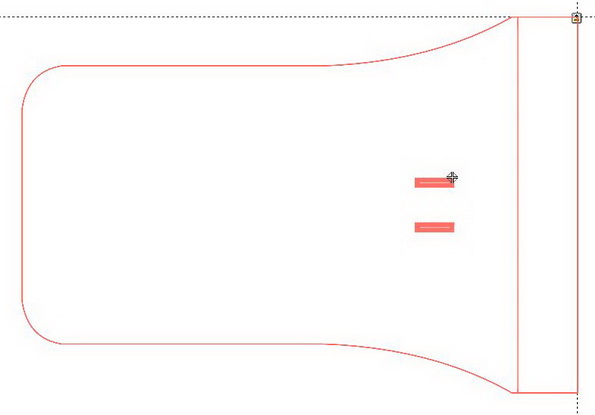
Before starting the embroidery, I printed the pattern and stuck the parts together with adhesive tape.
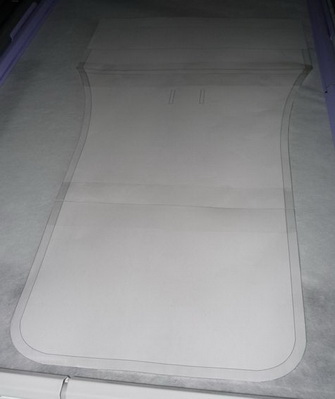
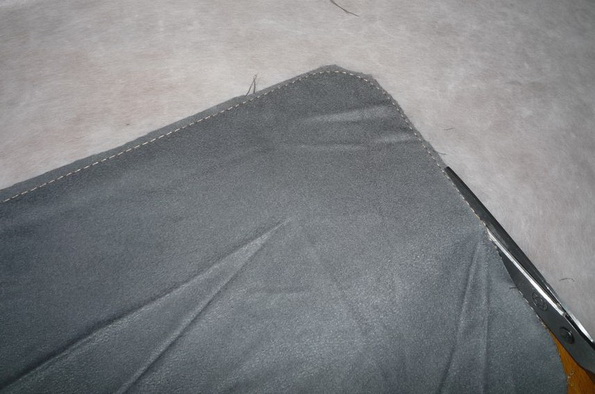
With its help, I cut out two parts of the future bag:
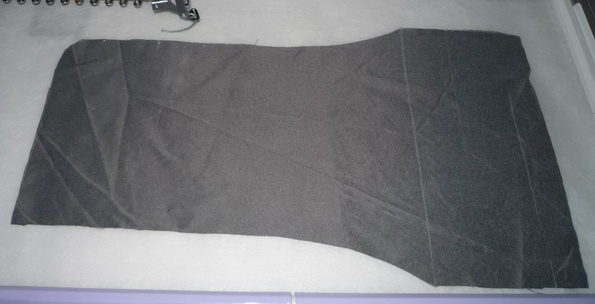
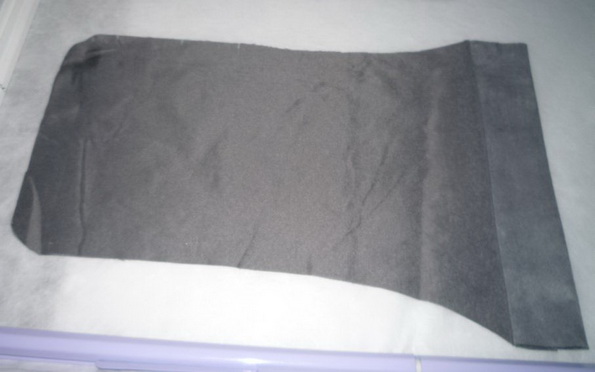
I smoothed down the fold on the upper edge (the neck of the bag):
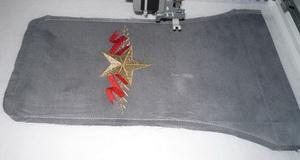
And began embroidering. I framed a stabilizer:
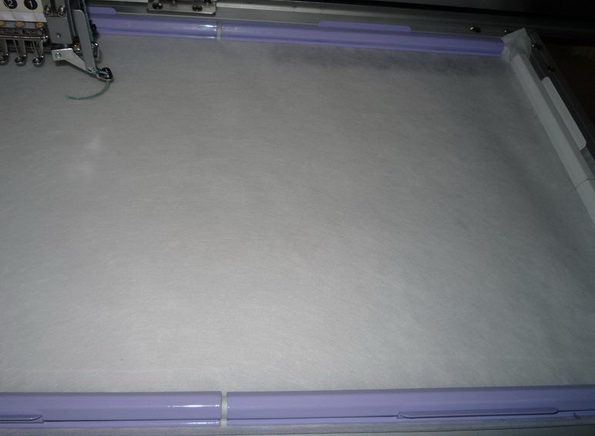
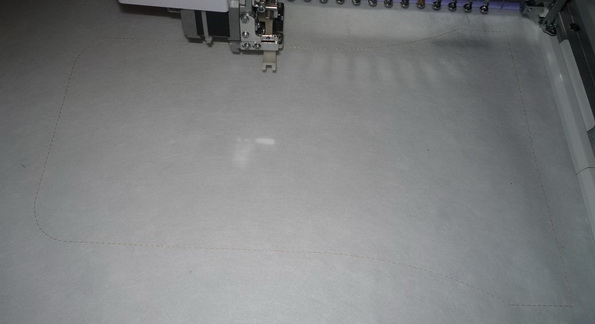
Loaded the design and stitched the outline:
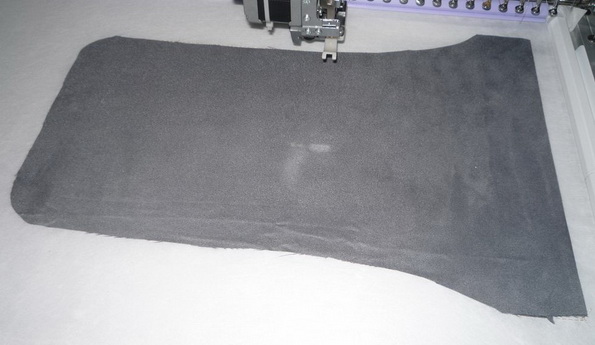
I picked up the first part of my design and secured it face up with adhesive according to the outline:

Then I stitched the eyelets, sew the ironed out neck and stitched one more outline along the perimeter to show the real size of the embroidery area and not just the parts I had cut out. I took out the ready detail, trimmed it along the outline and tore away the stabilizer:
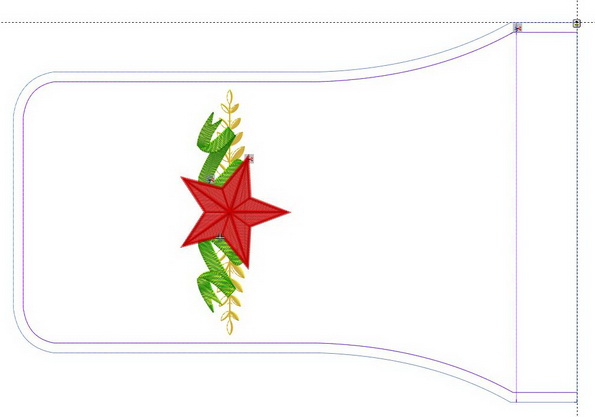
After that, I repeated the same steps with the second detail: framed the stabilizer, loaded the 2nd part of the design, stitched the outline and secured the still embroidery-free second cutout face up:
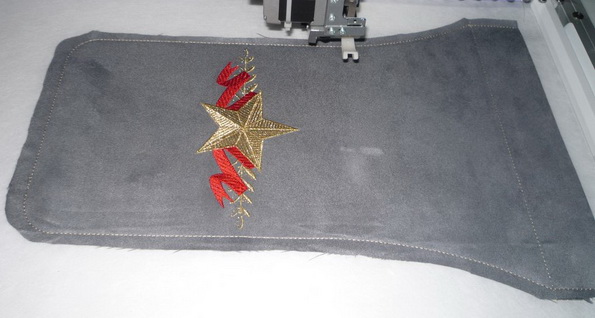
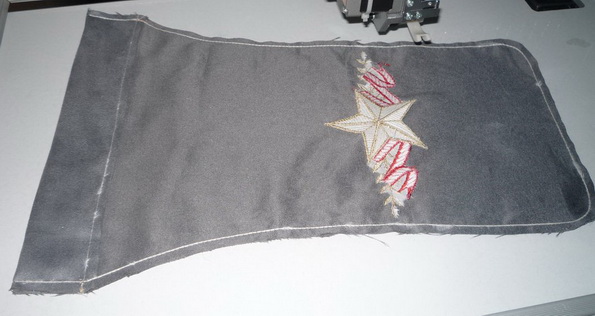
Because there is much to embroider here, the first thing I did was to stitch the detail to the stabilizer along the edges and sew up the neck: Only after that I embroidered the star and the rest of the design:
Now it's time to sew the 2 parts together. To do this, I secure the back side of my bag face up. You need to be very careful here so that to align the two halves of the neck:
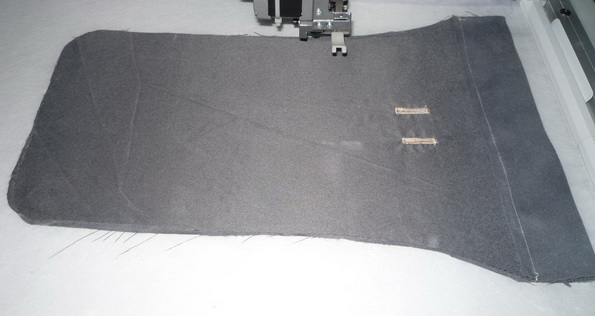
I start the machine and sew both of the details together with a running stitch perimeter-wise, about 7 mm from the edge:
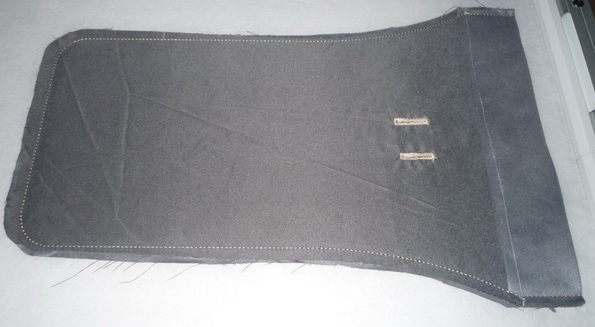
Take out the almost ready bag and trim the extra fabric to the guideline, which is distinctly visible on the wrong side of the stabilizer:
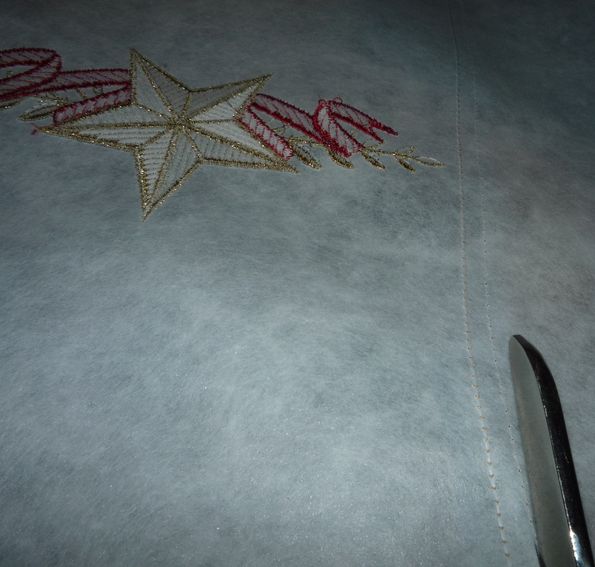
Tear away as much stabilizer as possible:
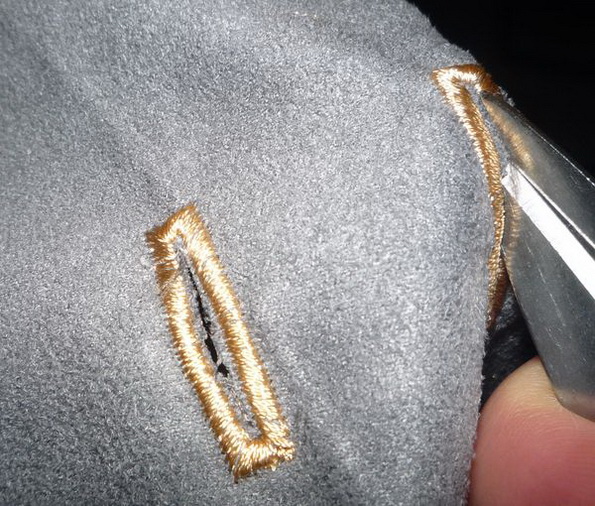
Slash the holes:
Turn the bag the right side out, run the string through the holes, put the bottle inside, tie the ends of the string together. Everything seems to be ready now:
But I don't like the result. Because of this mess, which is clearly visible:
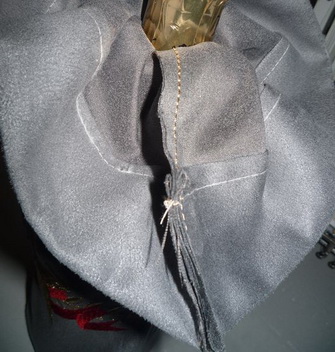
The neck is too wide, the seams stick out, they would better be hidden because they are impossible to drape. For this reason, I need to add a backing. No matter how strong is my dislike of sewing, I need to do it.
My summary of this project is this: not everything can be made on the embroidery machine.
There are no reviews to display.