
Original text by Olga Milovanova

The word "puff" derives from the French verb "bouffer" – to puff up. Puffs are rows of pleats arranged in a certain way.

The fabric for them is gathered manually.
The puffs were especially popular in the 70s and 80s: so-called "waffles", a type of handmade puffs, were used then for dresses and blouses.

Nowadays we witness the second wave of popularity. Modern designers use this type of decoration in their collections. Puffs are becoming a fashionable detail of the clothes.


Thanks to the innovations, it became possible to make puffs and create embroidery designs with crashing on the embroidery machines.
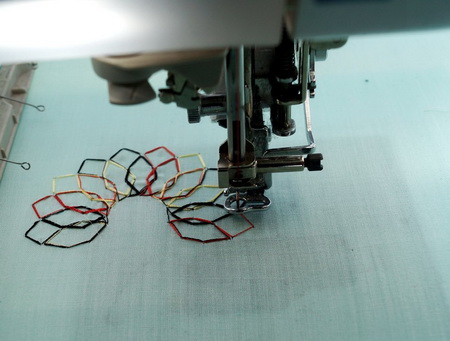
Brother Innov-is XV embroidery machine has an unusual library of designs with 3–5 mm stitches, which are repeated 3–5 times.
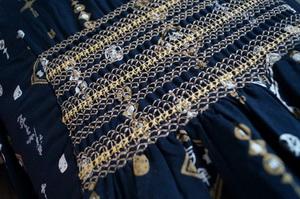
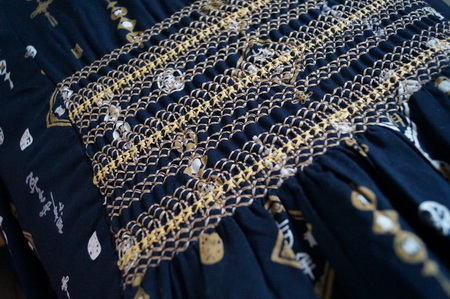
These are crashing designs that imitate puffs. (Crashing effect is also called crinkle effect).

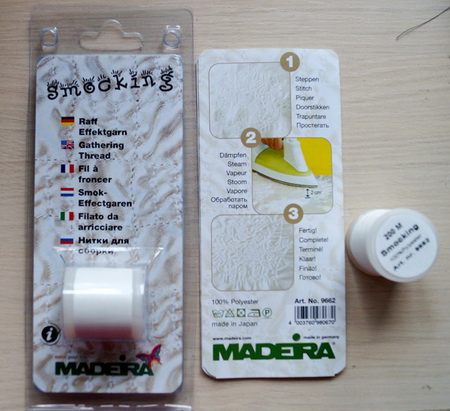
Madeira Smoking thread is used for that. After washing and ironing the threads on the wrong side gather and create wrinkles on the fabric.
These are what we can call «designs with crashing effect».
Let's play around!
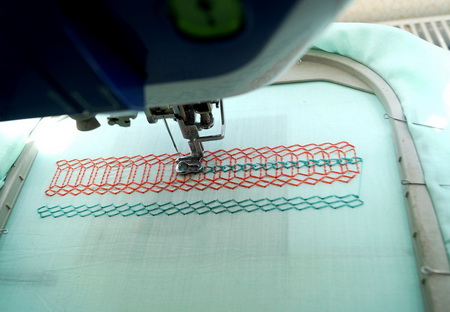
Wind the Smocking thread on a spool, hoop the fabric, pick a crashing design from the library and start embroidering it. You won't need a stabilizer here.
After unhooping, the embroidery looks just like usual. Iron it. Set your iron at the maximum temperature for your fabric type and gently slide across its wrong side. No pressing down! The thread will gather about 30%.
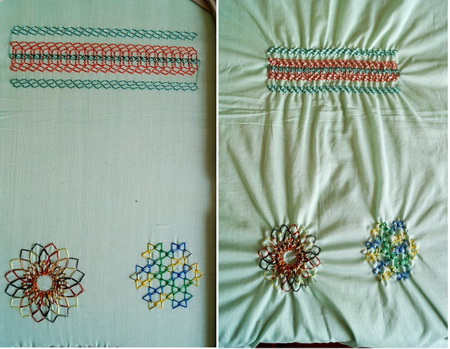
The lighter is the fabric, the more pronounced will be the crashing effect.
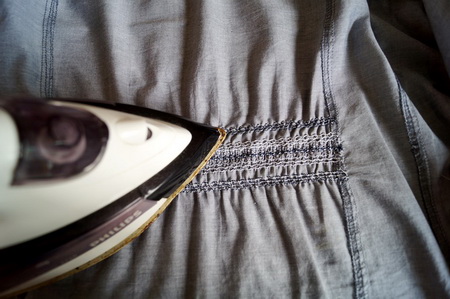
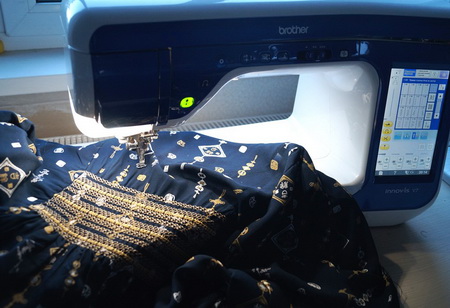
I used a ready shirt as a test sample.
I aligned my future embroidery with the waistline. Framed the shirt, without a stabilizer, and embroidered it.
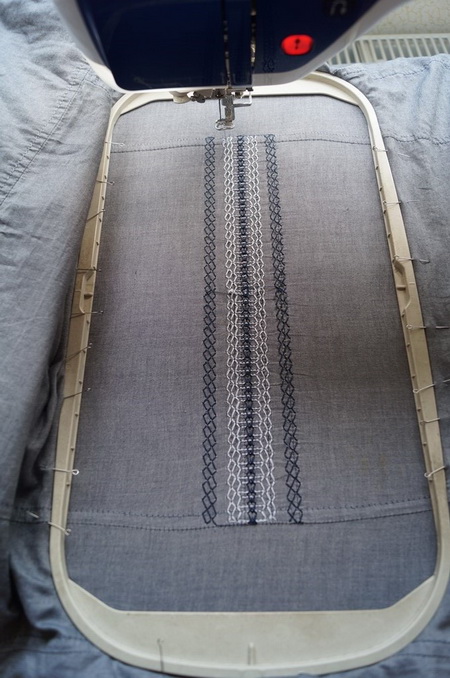
Set an iron at "Cotton" and "heated" the embroidery through, from the wrong side. This resulted in a "crashing" effect.
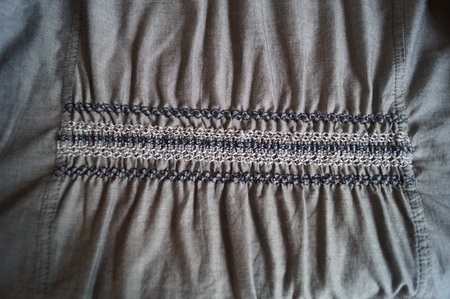
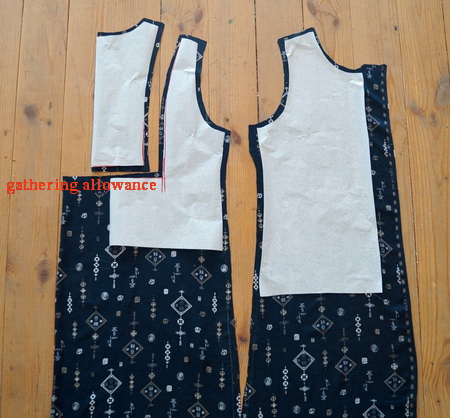
I decided that I wanted more volume and made changes to the sewing pattern.
I cut the pattern for the back bodice along the princess line and the waistline. On the lower side of the back bodice, starting from the folding line, 5–10 cm were left for allowance. No allowance in the upper part; I cut it from the folding line.
Gathered the fabric with the basting stitch along the waistline, and pinned the lower and upper sides face-to-face. Stitched the upper and the lower parts of the back bodice.
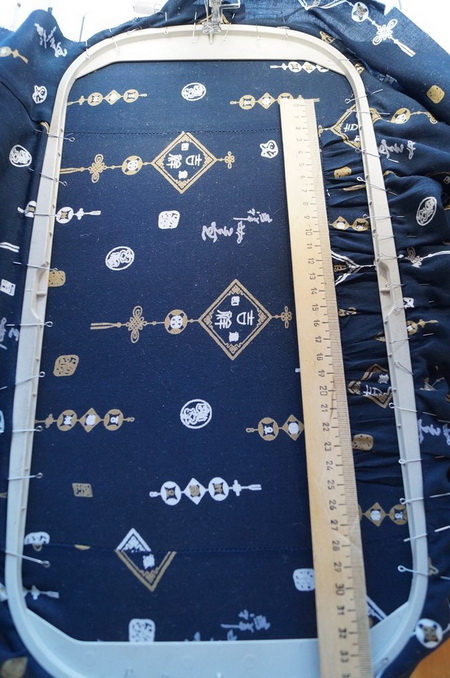
Time to embroider! Frame the fabric so that the seam line runs parallel to the edge of the frame. Position the design in such a way that the design will cover the seam joining the two details.
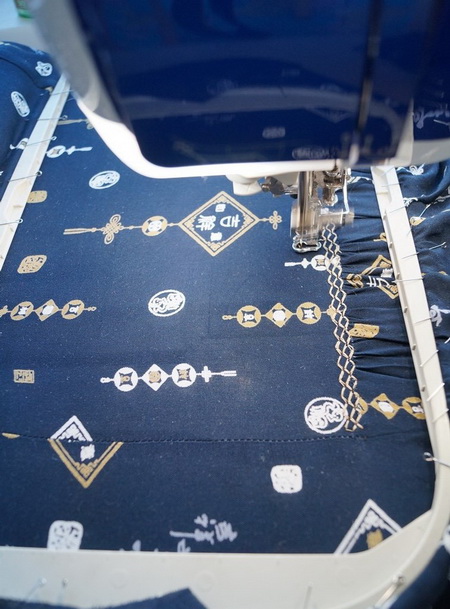
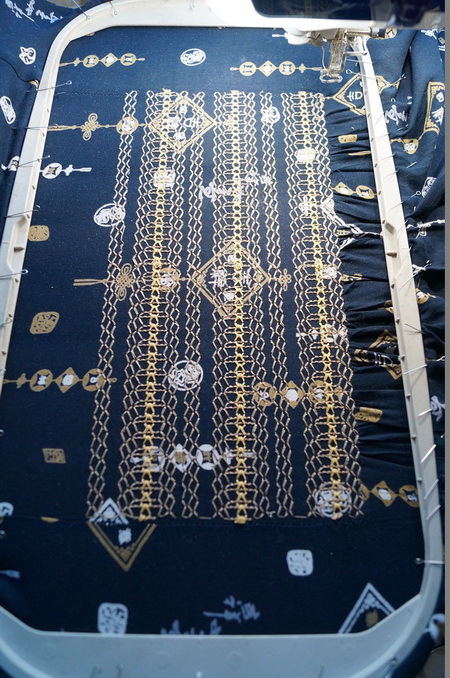
Stitch several times to make it more expressive.
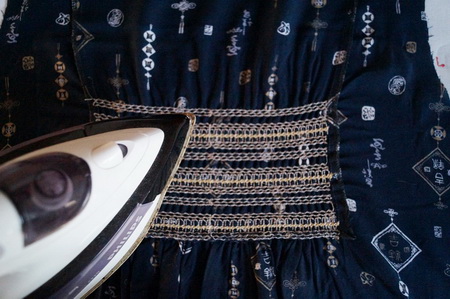
Unhoop the whole thing, iron it with a hot iron from the wrong side. The smocking thread will shrink 30%, gathering the fabric, and the allowance will add the volume.
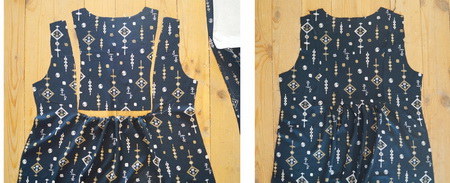
Now sew up the item.
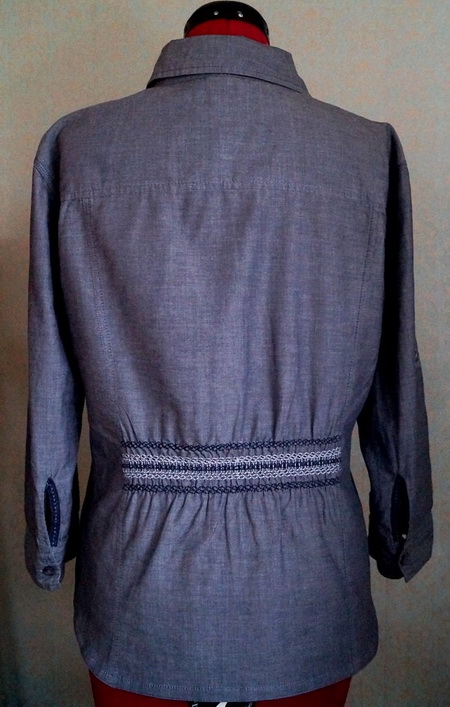
This is the ready item embroidered on the back.

The experimenting continues )
-
 1
1
There are no reviews to display.