
Sewing toys: a machine embroidered soft ball
It is relatively easy to sew a child’s toy: there are a lot of patterns on the Web. If you have an embroidery machine, you can decorate the toy with the monogram with the child’s initials, the name of his or her favorite group or sports team. There are tons of possible variants. Read this tutorial and learn how to assemble a soft ball from appliqué panels.
Sewing toys: materials
- Machine embroidery design
- Felt 2 mm thick, 3 colors
- Tearaway nonadhesive stabilizer
- Upper thread
- Underthread
Sewing toys: sewing order
Load the design into your embroidery or sewing and embroidery machine. Hoop a nonadhesive tearaway stabilizer, attach it to the embroidery machine and embroider the first line, which will serve as a guide for positioning your felt panels. After that, the machine will stop and you will place your felt panels of different colors onto the stabilizer. I've conceived a two-color soft ball. The stitchline of the next color will join the felt and the stabilizer, and the one after that will serve as a guide for the manual sewing of the panels.


Depending on the design you've chosen (mine is appliqué), you’ll need to change the upper thread color. In appliqué, the layers are sewn on one after the other. In this case, it’s yellow, like the future logo background.
![]()

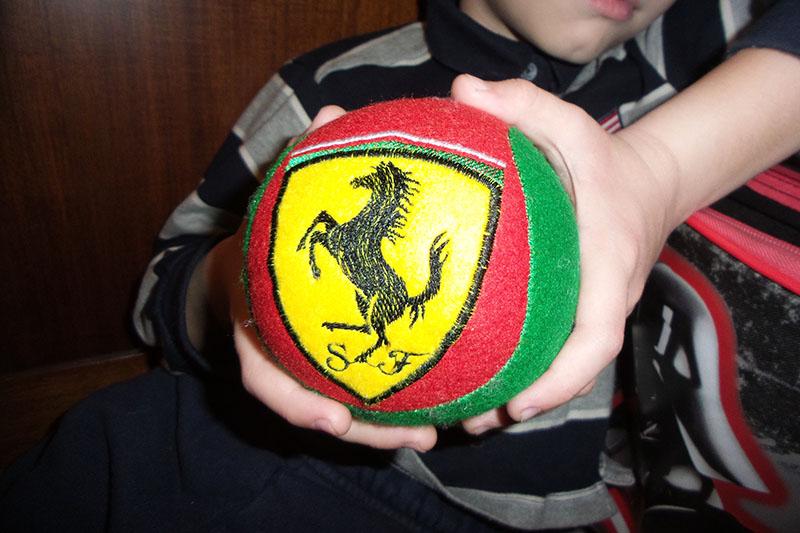
Having sewn on the detail of your future appliqué, trim the edge with sharp scissors. After that, you embroider the appliqué panel.

![]()
On another panel of my ball, I’ve decided to place a child’s initial. For this, I used the character sets from the Brother Innov-is LE memory. I enlarged the letter using the resize option.
![]()

All manipulations with letters should be performed before the embroidery starts, in the Embroidery Edit mode!
Having finished the embroidery, remove the leftovers of your tearaway from the panels and cut them, leaving 0.5 to 1 cm allowance. Sew the details like a biscornu pincushion (translator's note: a tutorial will be added in the nearest future!)
Visit our store for an Embroidery library of logos!
Original text by Irina Lisitsa
Edited by Irina
-
 1
1
-
 1
1
There are no reviews to display.