
By diver361 in Embroidery digitizing
· 6,287 views
In this blog we will look at preparing the fabric for your designs, and understanding why you should use a particular type of underlay in building a foundation for the design.
Underlay Types
There are many names for the basic types of underlay in Pulse products you have several types, including Contour, Parallel , Perpendicular, Zig Zag, Lattice , Full Lattice and Center run.
Contour Underlay

When no underlay is applied, the thread making up the satin column lays flat on the fabric. This not only makes the embroidery look flat, but it allows the grain or nap of the fabric to peek through. Many new designers would increase density to block out the fabric peeking through, but it would be more effective to apply the proper underlay. Tip set the contour to .02 inches on the inset to make sure it doesn't stick out on corners. Never use by itself on a fill.
Parallel Underlay
My favorite for text , I use the parallel underlay on any column stitch or steil stitch when ever possible, I find it gives the columns a good foundation prior to the stitching, its like a zig zag stitch but not as dense. I use it on knits and many of the stretchy type materials, including golf shirts, t-shirts, sweats, and hats and knitted caps.
Perpendicular Underlay
The perpendicular underlay puts a column of lines down the center of the column and is often with each line just off center. I have used this with towels when I want to raise the text up a bit in addition to using zig zag. Advantages of this it will help push the column apart as the stitching goes in opposite direction of the satin stitch.
Zig Zag Underlay
Zig zag underlay provides additional loft than what can be achieved by Perpendicular or Contour. These two underlay types are especially effective at lifting the top stitches on fabrics such as pique, terry cloth and fleece. Due to their lofting characteristics, they are also used to give life to design aspects such as leaves or muscle tone to animals. Zigzag underlay is often used in addition to center run underlay where the center run is securing the fabric and the zigzag is creating the loft. This combination is the most under-used of the underlays, but when used at the appropriate time can set your design apart from others. Best used on satin stitches,
Lattice Underlay
It can best be described as a light density fill, normally running perpendicular to the top stitch. The fill underlay anchors the target fabric to the backing and is the best way to reduce the push and pull factor so common to fill areas. It also lifts the top stitches up and allows a much less dense fill to be applied. This is the best way to prevent your designs from suffering from "bullet proof" fill areas. First placing a Contour underlay and then a lattice underlay has proven to be the best combination for medium to large fill areas.
Center Run ( New Version 14 only)
In version 14 there is a new underlay option called center run it places a stitch right in the center of the column. This is very useful on small text as it helps keep it conformed to the space provided, and doesn't usually cause to much bulk for theses small letters.
Automatic Underlay
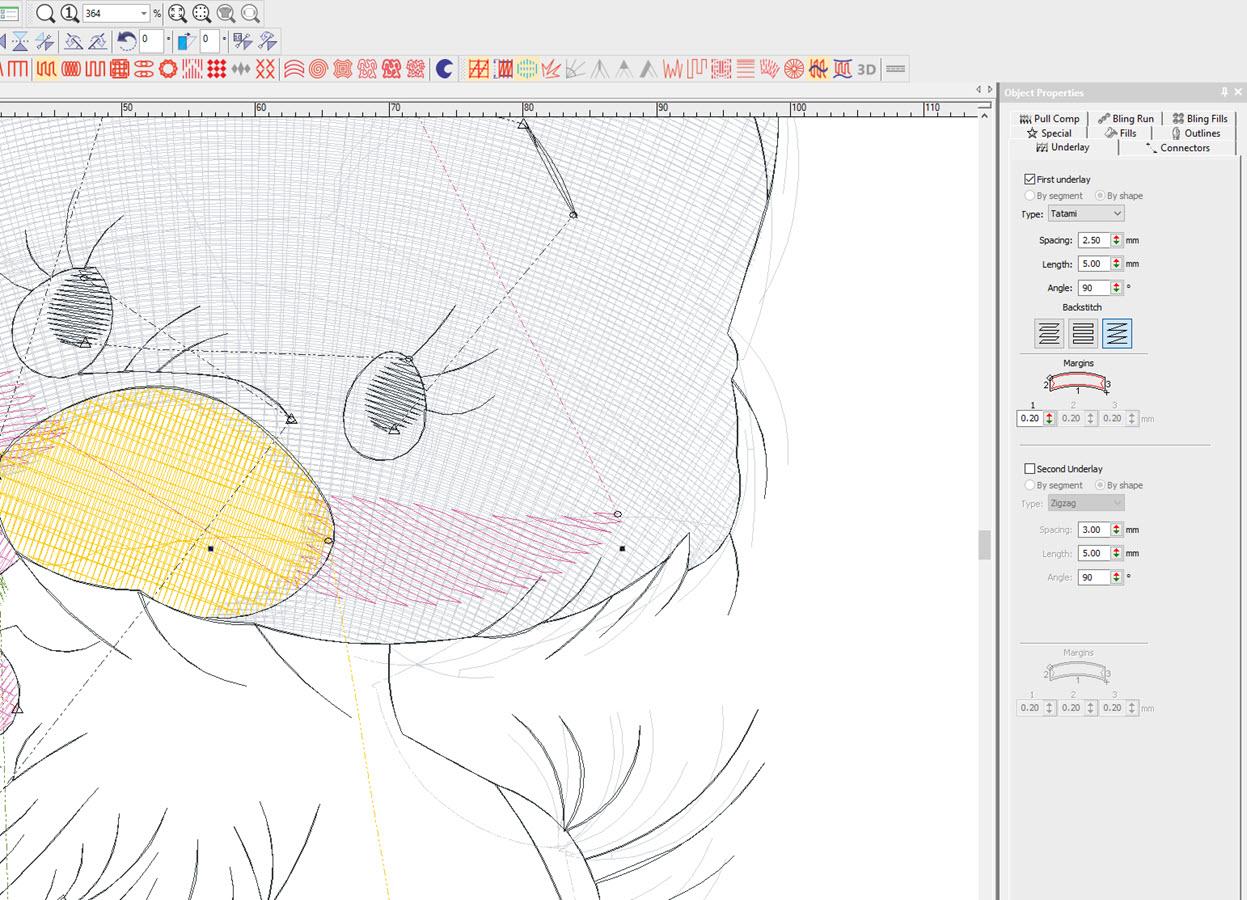
Automatic underlay can be applied with a recipe or style when using the software or you can apply it by going to properties and adding the type of underlay you want. You can also adjust the inset, density, the stitch length and angle of the stitches, number of lines, drop stitch or angle of the underlay. It can be very useful.
Manual Underlay
I use manual underlay when working with fills that have steil borders and or when the garment has a lot of stretch too it. Typically Automatic underlay goes under each segment, however there are times when you want the underlay to go under both segments all at once. This will eliminate the two parts pull apart, the easiest way to make this is to use the complex fill tool draw a shape around all the segments and cover them completely, see comparison below;
Above you will see both the manual and the automatic have both a lattice and a parallel underlay applied, the Automatic the two underlays do not overlap where as the manual you can place the underlay underneath the parallel which will prevent the two from separating. I use this method quite a bit when digitizing.
Terminology for Underlay Settings
Angle The angle of the underlay
Connection. End The type of end used , option include, Sharp, Square Chiseled and Zig Zag. You can change
the connection end to adjust either the appearance or how the design sews out.
Density. The density of the underlay how thick the underlay stitches will be, normally around 10.5 spi
Drop run stitch. Is a setting to ensure the proper placement of the run stitches, setting include None,
At Anchor, Chord gap.
At Anchor Drops the run stitch and penetrates it at the anchor points
- None forces the run to stitches to follow the stitch length
- Chord Gap places the stitches fit to the top portion of the curve smoothly by shortening stitches at the top of the curve
Inset The distance the underlay stitches are placed from the edge of the top stitching.
Inset A. The outside inset
Inset B The inside inset
Max Chord gap The Max Chord Gap is the maximum gap between two points on a bezier curve.
Min Stitch length The minimum stitch is usually set to .02 normally you do not want to go under this
however sometimes you want this stitch higher.
Override Some setting in the underlay they use a particular pattern, there are times when this is not
suited for the application
Repeats This is a setting when you want the underlay to repeat Sometimes it better to go over the same spot
Sequence The sewing order of which underlay goes down first sometimes you want a perpendicular to
go down before doing a parallel stitch to give some extra support.
Stitch Length The length of each stitch on the underlay, the shorter is ideal when working with smaller sizes,
but does increase the stitch count
Application Notes
3D Foam When applying underlay to use with foam you have to remember that you do not want to
suppress the foam, if you feel the need to add underlay use a contour underlay with a
short stitch length. Make sure the design is made for puff..
Leather With leather you do not want the underlay to punch a hole where the designs is going to
go through this can cause the material to rip , With leather reduce the density of the
underlay, and rotate the underlay to 45 deg of the top stitch pattern.
Small Lettering I recommend using either the center walk on small letters or punching the underlay manually, watch the stitch lengths, and use a smaller needle and thread.
Large Lettering I using parallel or a lattice to compensate for the amount of stitches going down, recommend cutaway to support large letters in large hoops.
General Recipes
Fabric Backing Underlay Compensation Notes
Broadcloth Cutaway Parallel Percent 110
Burlap Cutaway Perpendicular Percent 110
Canvas Cutaway Perpendicular Absolute .01"
Chamois Cutaway Parallel Percent 110
Chartreuse Cutaway Perpendicular Percent 110
Chiffon Water-soluble Perpendicular Percent 110
Cloth Diapers Tearaway Parallel Percent 110
Corduroy Cutaway Perpendicular/zigzag Percent 110
Denim Cutaway Parallel Percent 110
F aux Fur Cutaway Perpendicular Percent 110 Use 505 spray on backing
F aux Suede Cutaway Perpendicular Percent 110 Use 505 spray on backing
F aux Leather Cutaway Perpendicular Percent 110 Use 505 spray on backing
Felt Tearaway Parallel Percent 110
Flannel Tearaway Parallel Absolute .01"
Fleece Cutaway; Perpendicular/zigzag Absolute .01"
Jersey Knit Cutaway Perpendicular Absolute .01" No stretch cutaway
Leather Cutaway Perpendicular Percent 110 Use 505 spray on backing
Linen Tearaway Parallel Percent 110
Micro Pique Cutaway Parallel Absolute .01" No show backing
Microfiber Cutaway Perpendicular Absolute .01"
Neoprene Cutaway Perpendicular Percent 110 Use 505 spray on backing
Nylon Cutaway Perpendicular Percent 110
Organza Water-soluble Perpendicular Percent 110
Pique Cutaway Perpendicular Absolute .01" .
Satin Cutaway Perpendicular/parallel Absolute .01" no show backing
Silk Cutaway Perpendicular/parallel Absolute .01" no show backing
Spandex Cutaway Perpendicular/parallel Absolute .02"
Sweater Knits Cutaway Perpendicular/parallel Absolute .02"
Sweatshirts Tearaway Perpendicular/parallel Absolute .02" Cutaway can be used
T-Shirts Cutaway Perpendicular/parallel Absolute .02"
Towels Tearaway Perpendicular/zigzag Absolute .01" Topping can be used
Velor Cutaway Perpendicular/parallel Absolute .01"
Velvet Tearaway Perpendicular/parallel Absolute .02"
Wool Cutaway Perpendicular/parallel Absolute .02"
NOTES 1 On most designs you can get away with a 75/11 needle, however if you find yourself needing small detail and or small text invest in some small needles like 60/8 or 65/9 needle and some 60 weight thread this will allow your small designs or designs that have a lot of detail to be crisp without bulking up the design. Small fonts in your software have underlay built in, you will need to 2 sheets of cutaway to helps support the text.
NOTES 2 If you plan on using the recipes in your software please note they are general notes, the design the type of backing, manufactures and shirt type can all impact the design. Its your job as an embroider to learn when you need to change the backing, and to troubleshoot your choices.
NOTES 3 Make sure you use the smallest hoop that will fit the design.
-
 1
1
-
 1
1
Recommended Comments