Why Is There Spacing Between My Stitches? Troubleshooting

By diver361 in Problems with Machine Embroidery Designs
· 1,901 views
🧵 Why Is There Spacing Between My Stitches?
You've hooped your fabric, picked your design, and pressed "Start"—but the result is not what you hoped for. If you’re seeing visible gaps between your embroidery stitches, don’t worry—you’re not alone.
Let’s break down the common culprits, using a real-life project as an example.


🧷 The Problem – Visible Gaps & Misalignment
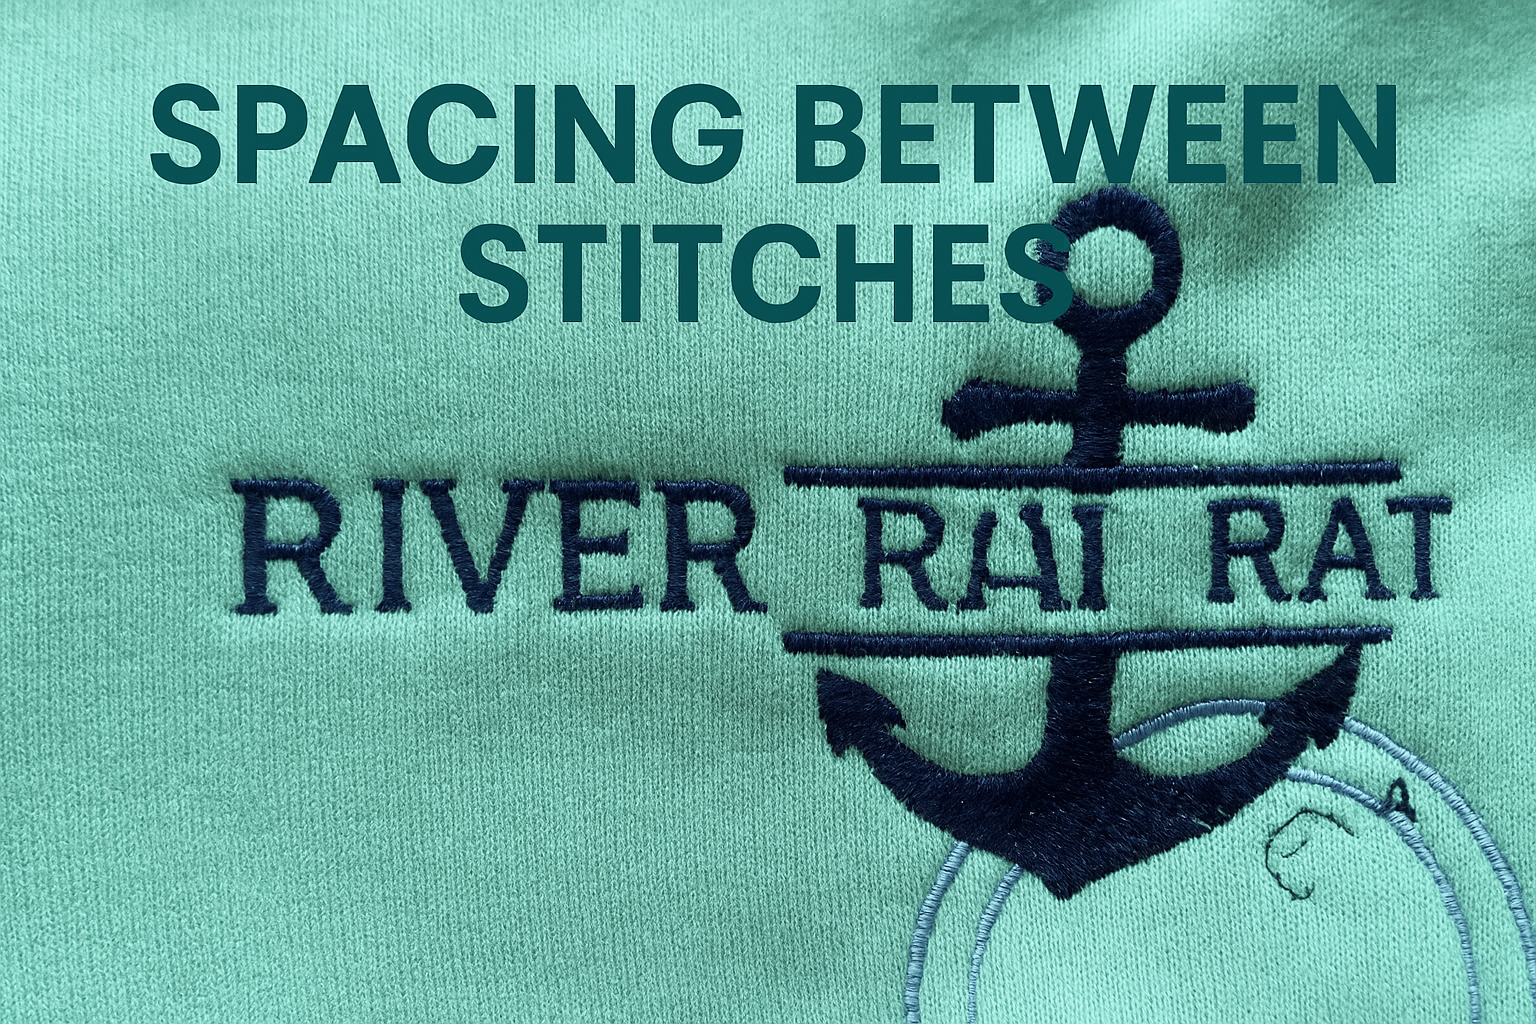
In the first photo, you can clearly see uneven stitching, especially in the circle at the top of the anchor and around the letters. The fabric shows through where it shouldn’t, and the shapes lack clean definition.
In contrast, the second image—stitched using the same anchor motif but under more controlled conditions—looks much cleaner. So what’s causing the inconsistencies?
🧵 Possible Causes & Fixes
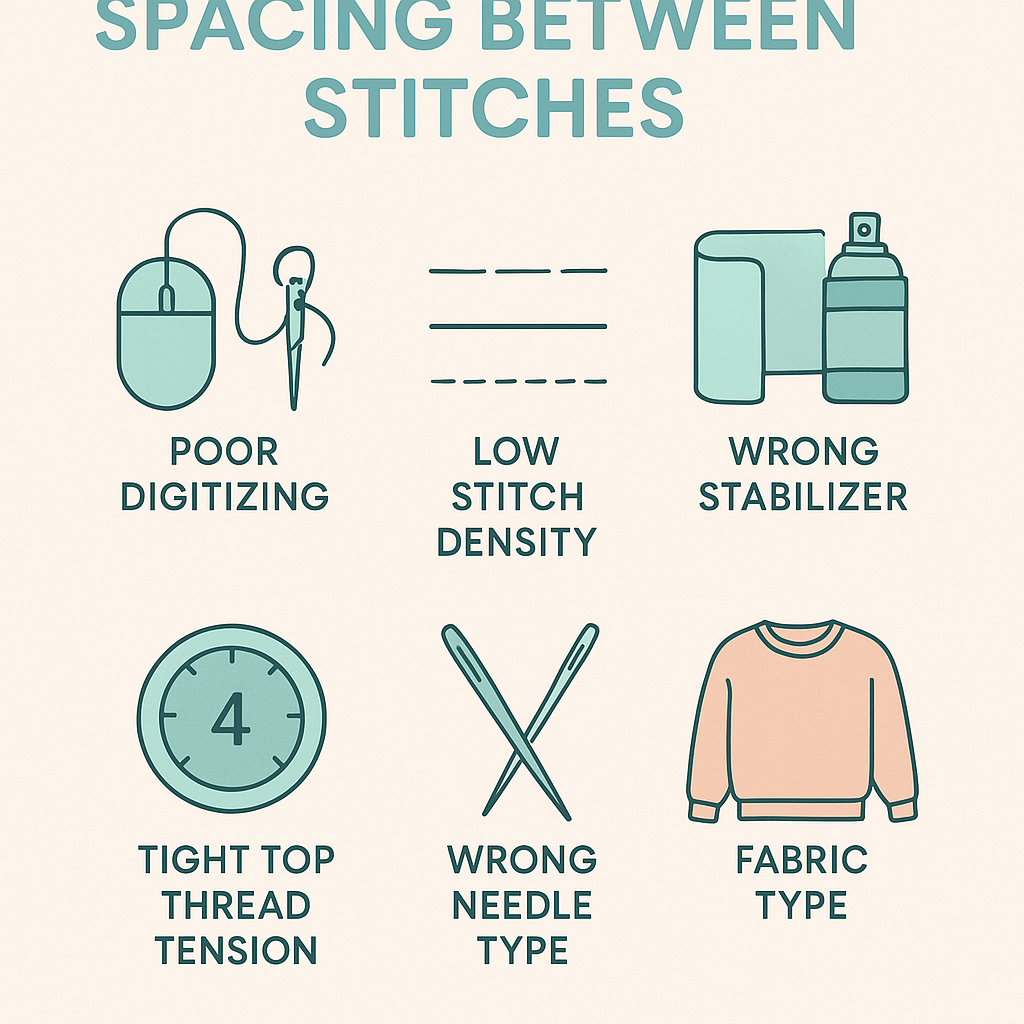
1. Poor Digitizing
🔍 Observation: The top circle of the anchor isn’t a proper satin segment with curved angles. This likely means it was auto-digitized or made by a beginner.
🛠️ Fix: Choose digitized designs from experienced creators, or invest in digitizing software so you can adjust density, underlay, and stitch angle yourself.
2. Low Stitch Density
🧵 Effect: Gaps between the stitches let the fabric show through.
🛠️ Fix: Slightly increase stitch density in your embroidery software. Not too much—or the fabric will pucker.
3. Inadequate Stabilization
🧷 You used: Medium cutaway.
🛠️ Recommendations:
Use temporary adhesive spray to bond the fabric to the stabilizer.
Float the fabric on hooped stabilizer or hoop both together—try both methods.
Consider using water-soluble topping on stretchy knits to prevent stitches from sinking.
4. Wrong Needle Type
✳️ Problem: Using a sharp needle on knit or sweatshirt fabric can cause holes or distort stitches.
🛠️ Fix: Use a ballpoint needle to glide between fibers without damaging them.
5. Top Thread Tension Too Tight
🧵 Effect: Pulls stitches too tightly, creating gaps.
🛠️ Fix: Loosen your top thread tension slightly and test on scrap fabric first.
💡 Lessons Learned & Encouragement for Beginners
Embroidery has a learning curve. As one user shared:
“Even a digitizing project I outsourced turned out badly and now, two months later, I can probably do a better job creating the design myself.”
That’s the spirit! The more you stitch, test, and tweak, the better your outcomes will be. Investing in software, learning how to modify designs, and understanding fabric behavior are all key to mastering machine embroidery.
📌 Final Tips for Better Stitch Results
✅ Always test stitch on similar fabric before the final project.
✅ Keep notes on which stabilizer, needle, and settings you used.
✅ Learn to spot bad digitizing—clean outlines and correct stitch directions matter!
✅ Ask your digitizer what fabric the design was digitized for—or tell them upfront.
📷 Share Your Progress
Are you facing gaps in your stitches? Have a before-and-after photo to show off? Share it with us and inspire fellow embroidery learners!
Recommended Comments