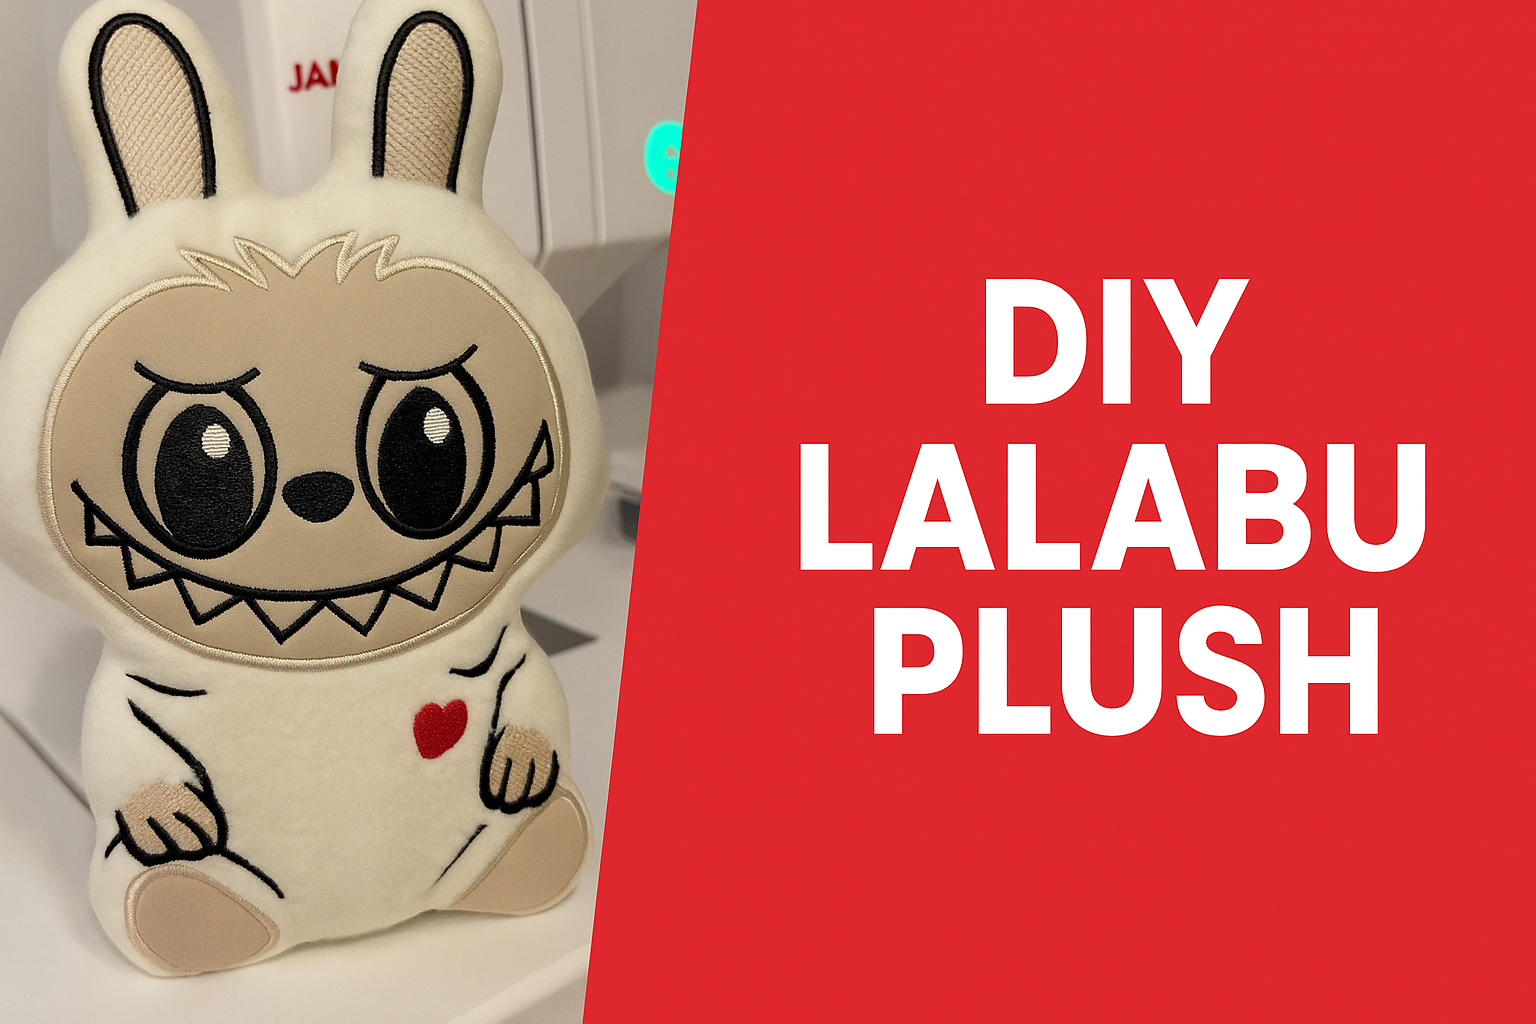
🧵 How to Make a Labubu Soft Toy by Yourself

By diver361 in Master classes and instructions
· 4,051 views
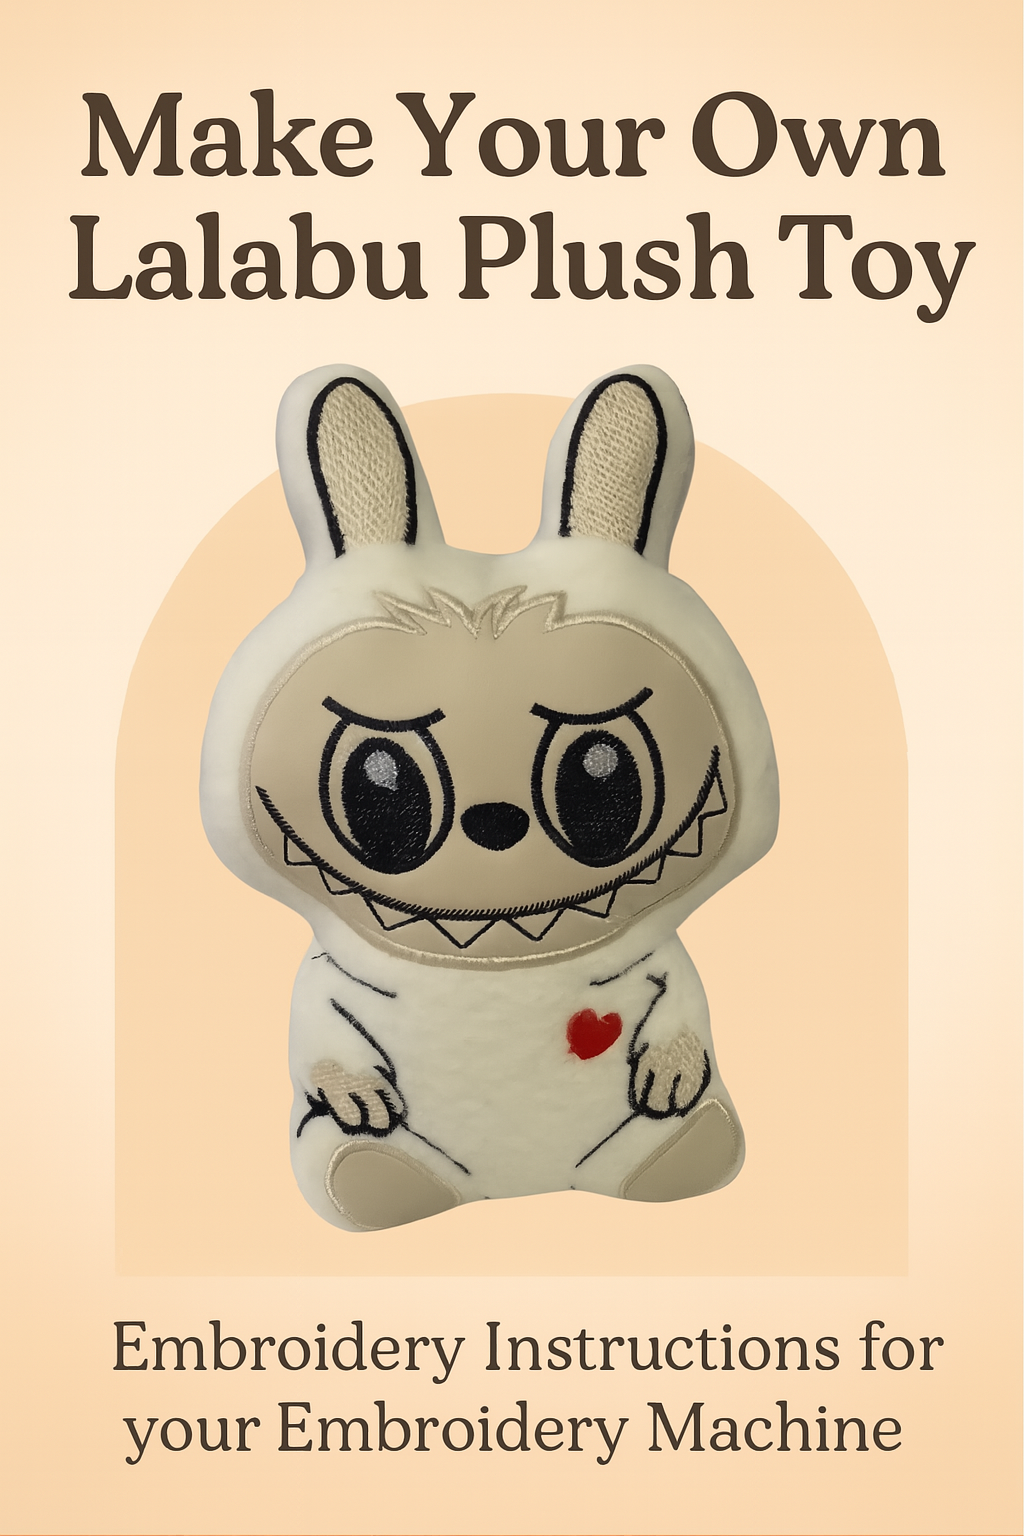
Create your own adorable (and slightly mischievous!) Labubu plush toy with your embroidery machine. This project uses two applique embroidery files to create the front and back of the soft toy.
Designs available Labubu soft toy embroidery design
✂️ What You’ll Need:
Embroidery machine
Two embroidery files:
lalabu7_HEIGHT.format– Front sidelalabu7a_HEIGHT.format– Back side
Fabric for the toy (felt, fleece, or minky recommended)
Stabilizer (cut-away or tear-away)
Embroidery thread (various colors)
Scissors
Stuffing (polyfill or cotton)
Sewing machine or needle & thread (for final assembly)
🪡 Step-by-Step Instructions:
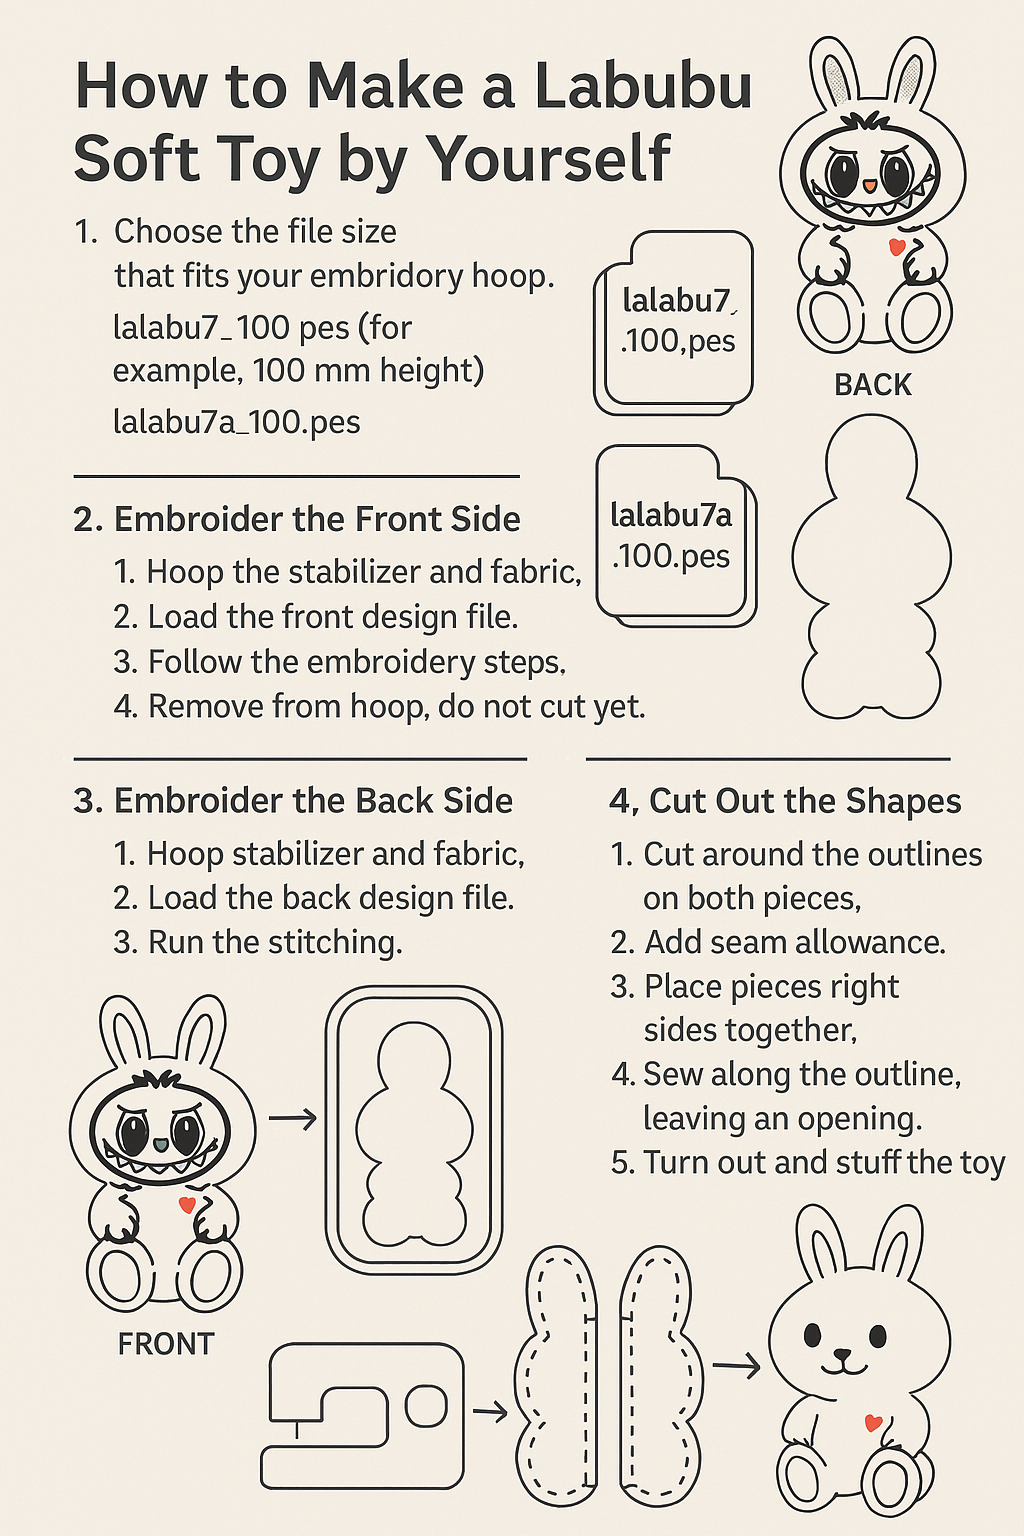
1. Prepare Your Files
Choose the file size that fits your embroidery hoop. Each toy comes in matched front/back file pairs:
Front:
lalabu7_100.pes(for example, 100mm height)Back:
lalabu7a_100.pes
2. Embroider the Front Side
Hoop the stabilizer and fabric.
Load the front design file (
lalabu7_...).Follow the embroidery steps to stitch the face, body, and all design details.
After finishing, remove from hoop, but do not cut around the outline yet.
3. Embroider the Back Side
Hoop stabilizer and fabric again.
Load the back design file (
lalabu7a_...).Run the stitching – this will outline only the shape of the toy (no details).
4. Cut Out the Shapes
Carefully cut around the stitched outlines on both pieces.
Add seam allowance (~5 mm) around the edges of both front and back parts when cutting.
5. Assemble the Toy
Place the front and back fabric pieces right sides together.
Sew along the outline, leaving a small opening (about 2-3 cm) at the bottom or side.
Turn the toy right side out.
Stuff the toy with filling.
Close the opening with a hidden hand stitch or a topstitch on a sewing machine.
📦 Notes:
Make sure to match the correct size front and back files before starting.
Design files are provided in several sizes to fit different hoops.
Embroidery files include clear stitch lines for cutting and sewing.
🧷 File Naming Summary:
Part | File Name Example | Description |
|---|---|---|
Front Side |
| Front design with face |
Back Side |
| Outline-only back piece |
Recommended Comments