Beginner’s Getting Started with Brother Dream Machine 2

By diver361 in Embroidery machine practice
· 1,966 views
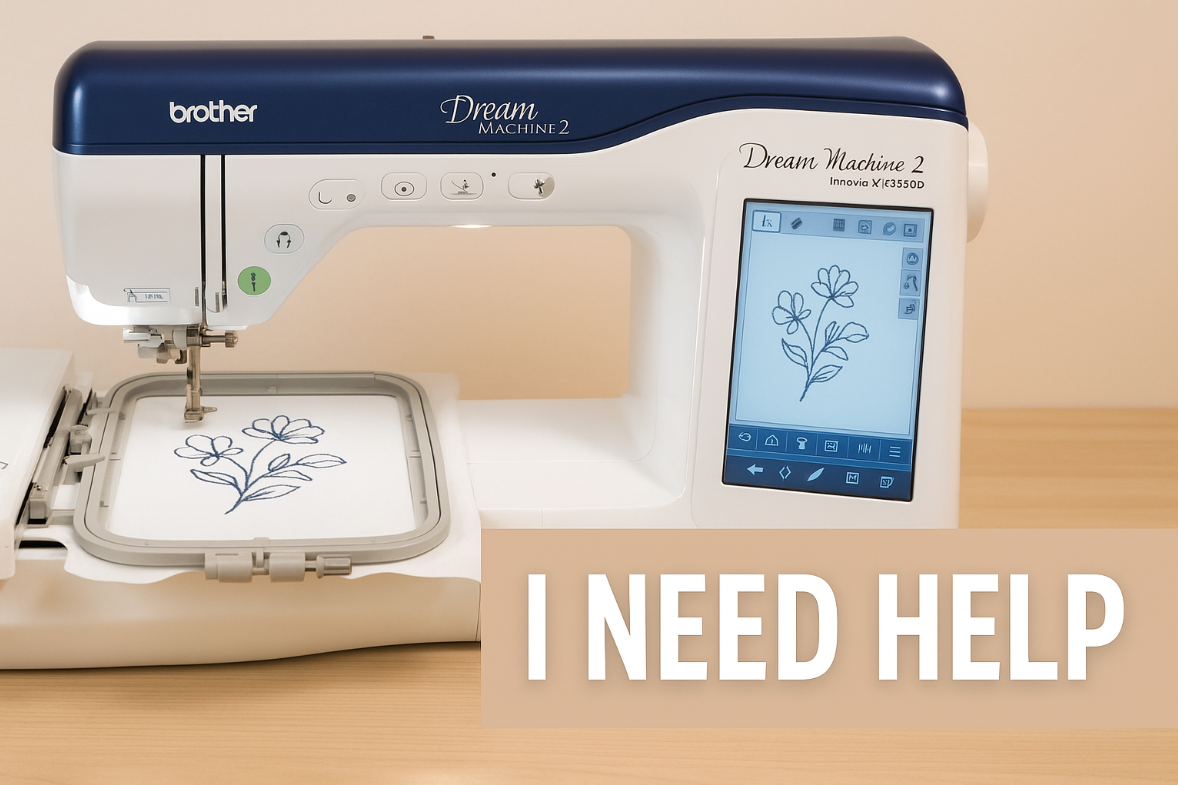
🧵 Feeling Overwhelmed? Getting Started with the Brother Dream Machine 2 Embroidery Machine
So you’ve unexpectedly inherited a Brother Dream Machine 2 Innov-ís XV8550D, and you’re wondering... where do I even start? First off—congratulations! You’ve got your hands on one of the most advanced home embroidery machines out there. But with that power comes a learning curve that can feel steep, especially if your background is more in traditional sewing than digital embroidery.
Here’s a guide to help you ease into the world of machine embroidery—one stitch at a time.
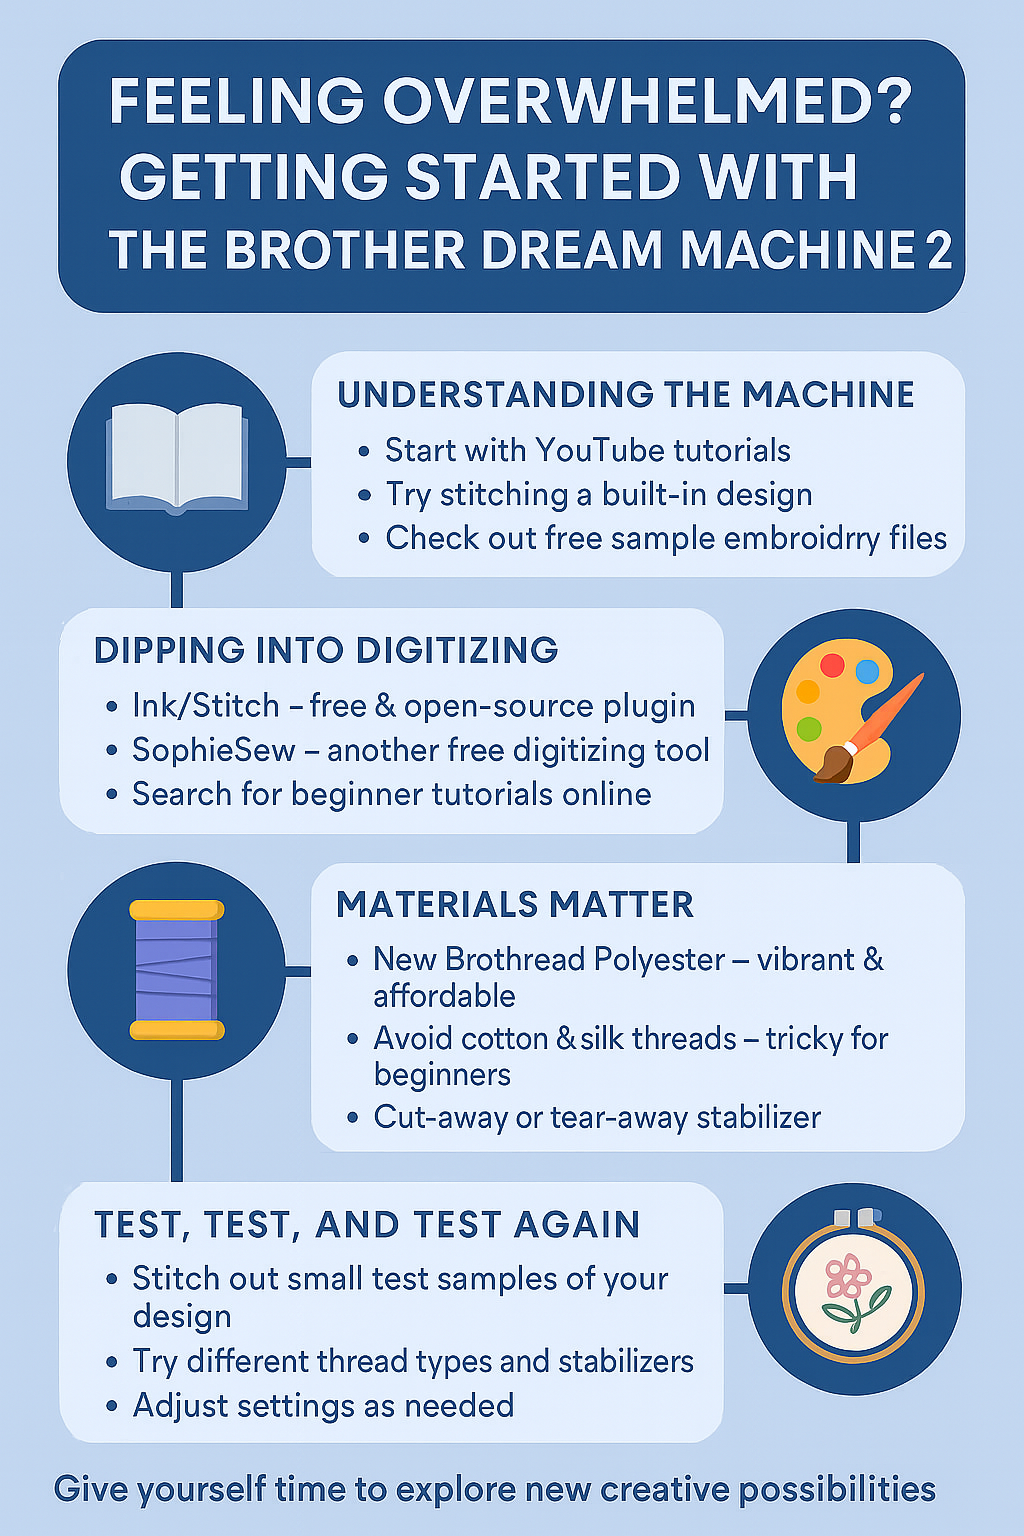
📘 Step 1: Understanding the Machine – It's Okay to Feel Lost
Even with the manual, the Brother Dream Machine 2 can seem like it assumes a lot of prior knowledge. You’re not alone! Many users feel the same way the first time they look at the touchscreen or hear the machine whirring away. It’s not just a sewing machine—it’s a computer with a needle.
What to do first:
Start with YouTube tutorials specifically for the Brother Dream Machine 2. These are often far more visual and helpful than the manual.
Try stitching a built-in design to get used to the hooping process, stabilizer use, and threading for embroidery.
Check out the Brother website for free sample embroidery files to test.
🎨 Step 2: Dipping into Digitizing – Start Simple
You mentioned an interest in creating your own floral designs. Great! Designing for embroidery is a whole new creative skill, and your experience with ProCreate and Photoshop gives you a fantastic head start.
Recommended tools for beginners:
Ink/Stitch – A free, open-source plugin for Inkscape that allows basic digitizing. It’s perfect for experimenting without investing hundreds of dollars.
SophieSew – Another free digitizing tool, though less frequently updated.
Youtube + Forums – Search for beginner Ink/Stitch tutorials or join communities like r/MachineEmbroidery or specific Facebook groups.
🪷 Starting with a simple one-color, loosely stitched floral pattern is perfect. Renaissance-style blackwork embroidery (as you mentioned) is a wonderful beginner style—visually impactful, yet not thread-heavy or technically complex.
🧵 Step 3: Materials Matter – Threads, Stabilizers & Hooping
Your machine is likely bundled with accessories, threads, and hoops. Open up that mystery bag—it might have treasure!
Thread Tips:
New Brothread Polyester – Affordable, vibrant, and beginner-friendly.
Madeira Rayon or Frosted Matte – High-quality options when you're ready to level up.
Avoid cotton and silk – They can be tricky, especially for beginners.
Metallic threads – Beautiful but notoriously finicky. Save them for later.
Stabilizer Basics:
Cut-away stabilizer – Best for stretchy or delicate fabrics.
Tear-away – Ideal for woven fabrics.
Water-soluble – Great for freestanding lace or topping fabrics like towels.
🧪 Step 4: Test, Test, and Test Again
A design might look great on screen and terrible on fabric. That’s normal.
Stitch out test samples—start with small sections of your design (like one flower).
Try different thread types and stabilizers.
Adjust tension settings and embroidery speed if needed.
This is part of the learning process, and each stitch teaches you something new.
🌸 Final Thoughts – Give Yourself Grace
You’re entering an exciting new world of creative possibilities. Expect some frustration, trial-and-error, and yes—moments where you wonder if it’s worth it.
But with your sewing experience and artistic background, you’re already halfway there.
📚 Books like The Sewing Machine Embroiderer’s Bible or Machine Embroidery With Confidence can be a helpful supplement to digital resources.
☕ Pour a coffee, dive into a tutorial, and give yourself time to explore. You’ve got this.
Recommended Comments