Shiny Ducks and Glossy Stitches: The Art of Vinyl Appliqué

By diver361 in Embroidery machine practice
· 837 views
🦆 Shiny & Durable: Exploring Vinyl Appliqué in Machine Embroidery
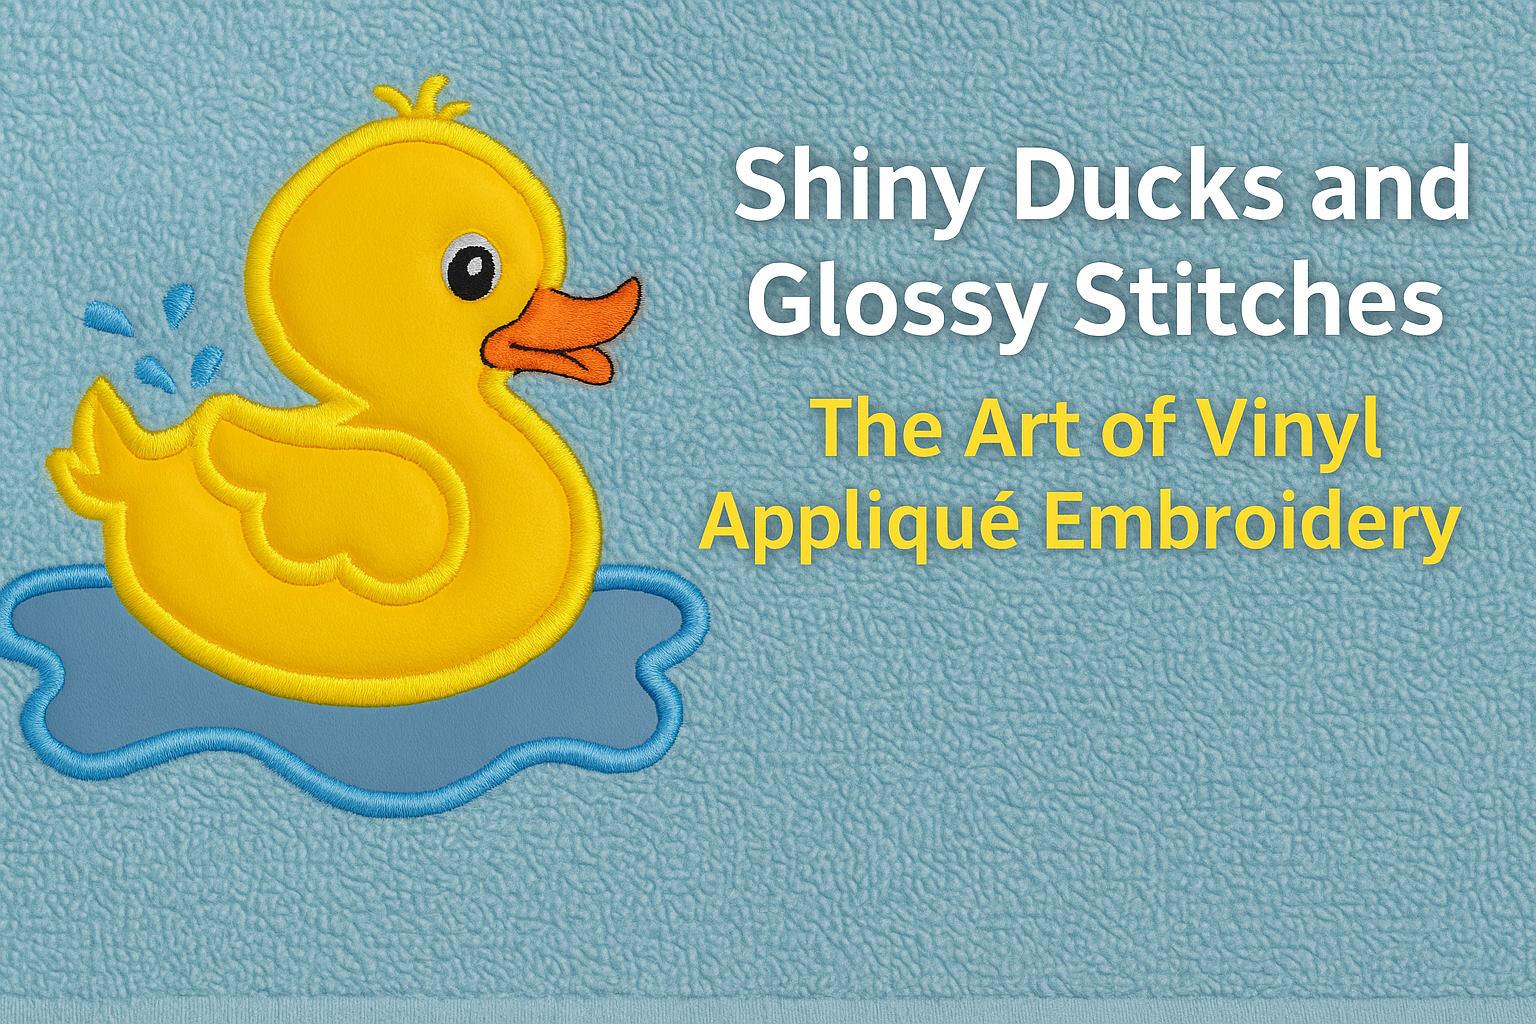
When it comes to baby hooded towels or fun bath accessories, few things stand out like a bright, glossy appliqué of a cheerful duck splashing in water! 🫧 In this article, we’ll explore how to work with marine vinyl and similar materials for machine embroidery appliqué — from choosing the right thickness to trimming techniques and professional finishing.
💡 Why Use Vinyl for Appliqué?
Vinyl gives embroidery a smooth, polished, and waterproof look — perfect for designs on towels, bibs, or kids’ accessories that often meet water or soap.
Advantages:
✨ Glossy surface enhances outlines and satin stitches
💧 Resistant to moisture — ideal for bath items
🧵 Doesn’t fray like fabric, making edges super clean
🎨 Comes in many bright colors for creative effects


📏 Choosing the Right Vinyl Thickness
Marine or craft vinyls vary between 0.5 mm and 1 mm thick.
For embroidery appliqué:
✅ 0.6–0.8 mm is the sweet spot — flexible enough to sew smoothly, yet strong.
❌ Avoid overly thick upholstery vinyl — it can stress the needle and distort stitches.
Use a sharp 75/11 or 80/12 embroidery needle for best penetration.
🪡 Step-by-Step: How to Appliqué with Vinyl
1️⃣ Prepare the Base Fabric
For towels or terry cloth, place a water-soluble topping (like Solvy) on top to prevent vinyl sticking and to keep stitches neat.
2️⃣ Stitch the Placement Line
Your embroidery machine will first sew an outline showing where the vinyl piece will go.
3️⃣ Place the Vinyl Piece
Cut a piece slightly larger than the placement outline and carefully lay it over the area.
Use temporary spray adhesive (505) or small tape strips to hold it in place.
4️⃣ Sew the Tackdown Stitch
This secures the vinyl. Ensure tension is balanced — you don’t want perforation marks along the edges.
5️⃣ ✂️ Trim the Excess Vinyl
Here’s where many embroiderers ask: “How do you remove the extra vinyl outside the satin stitch?”
👉 Answer: Use small curved appliqué scissors or a heated craft knife for precision.
Cut close to the tackdown stitch before running the satin border.
Be careful not to nick the fabric beneath!
6️⃣ Run the Satin Border
The dense satin stitch fully seals and hides the trimmed edge, giving a crisp and professional look.
7️⃣ Finish and Clean Up
Remove water-soluble topping with a damp cloth or rinse lightly.
If you used vinyl with an adhesive backing, remove any residue with gentle rubbing alcohol on a cotton swab.
⚙️ Tips from the Community 💬
“I use marine vinyl for my appliqués and sew with a satin stitch — it looks super clean!”
— From a duck hooded towel maker on Embroideres Forum
“Appliqué is one of my favorites! Vinyl gives such sharp edges.”
— Embroidery hobbyist comment
🎨 Creative Applications
Baby hooded towels 🦆
Bathrobes & wash mitts 🛁
Waterproof bags & pouches 🧴
Kids’ apparel & accessories 🎒
Combine vinyl with soft terry fabrics for a fun contrast of texture and shine.
🧷 Final Thoughts
Vinyl appliqué isn’t just for pros — with the right tools and a bit of practice, your embroidery projects can shine (literally)!
Next time you create a duck, whale, or frog design, try adding a glossy touch — it’s durable, eye-catching, and perfect for splash-time fun. 🌈🫧
Recommended Comments