How to Sew a Fabric Organizer with Embroidery

By diver361 in Master classes and instructions
· 300 views
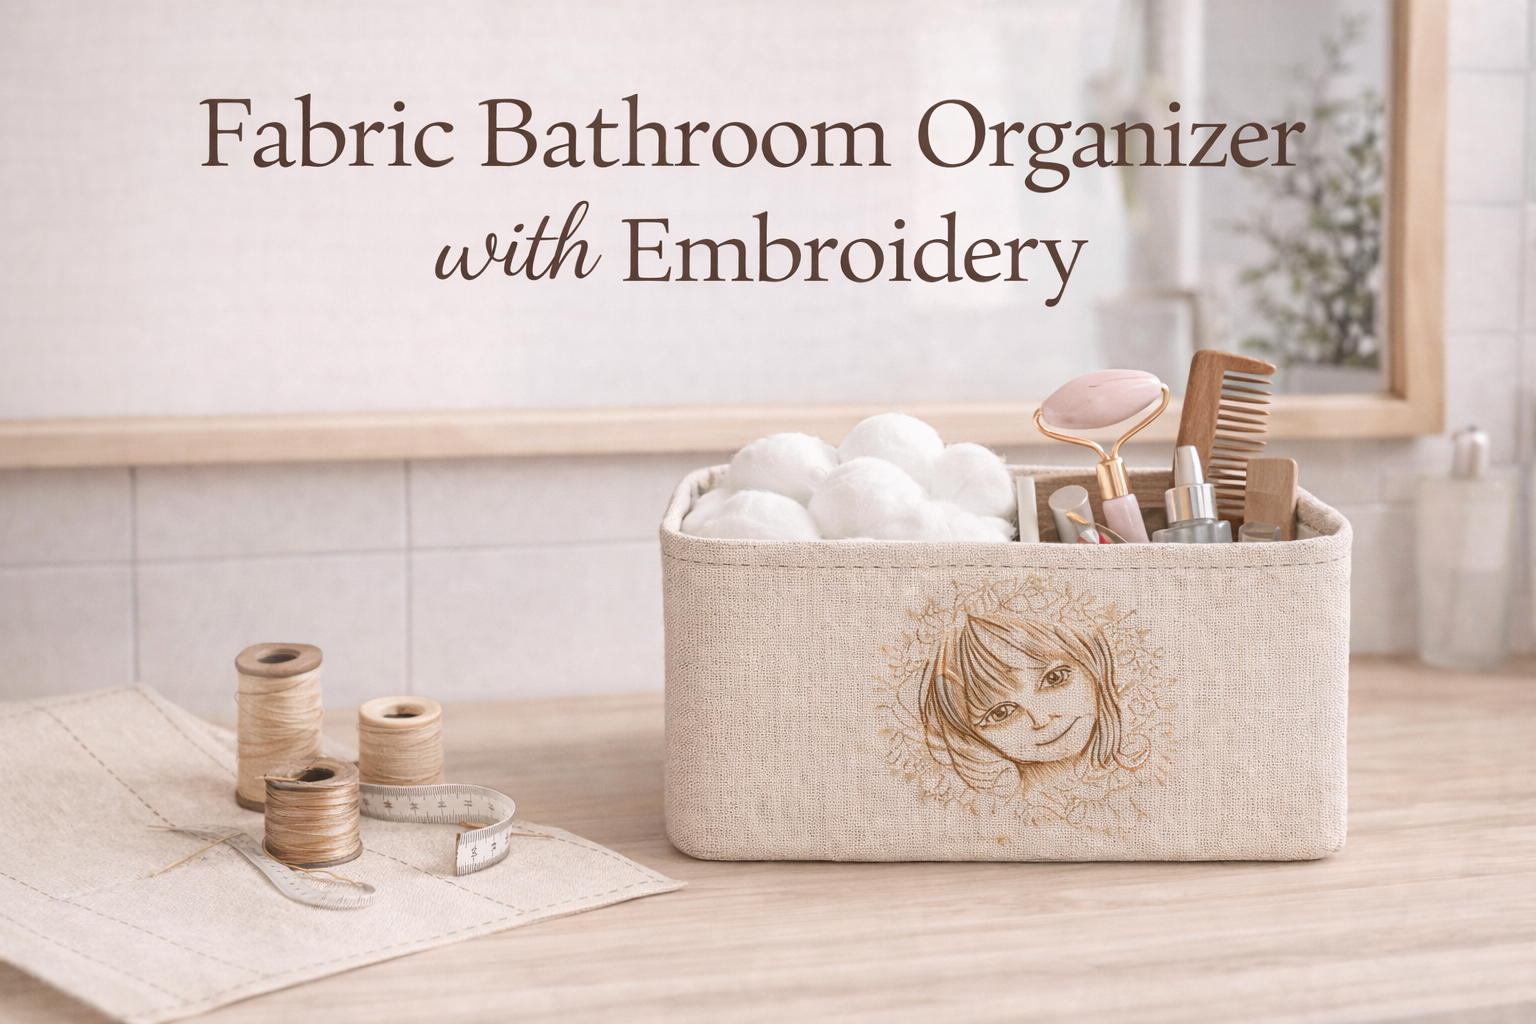
🧺 Fabric Bathroom Organizer with Embroidery
Step-by-Step Sewing & Embroidery Guide
A practical and elegant two-section fabric organizer for the bathroom, perfect for cotton pads, brushes, combs, and skincare tools. Neutral beige fabric, soft structure, and delicate Baby girl in dandelions embroidery design make it both functional and decorative.
✂️ Materials & Tools
Fabrics
Main fabric: dense cotton / linen / canvas
Color: beige or natural linenLining fabric: cotton, tone-on-tone (optional but recommended)
Stabilizer for embroidery:
– Cut-away or tear-away (medium density)
Notions
Fusible interfacing (medium weight)
Polyester thread (matching fabric)
Embroidery thread (brown + light beige tones)
Pins or fabric clips
Fabric marker or chalk
Tools
Sewing machine
Embroidery machine
Hoop (minimum 130×180 mm recommended)
Iron
Scissors / rotary cutter
Ruler
📐 Finished Size (Recommended)
Overall organizer size:
Width: 22–24 cm (8.5–9.5")
Depth: 10–12 cm (4–4.7")
Height: 10–12 cm (4–4.7")
Inner sections:
Two equal compartments
Each section ≈ 10–11 cm wide
This size comfortably fits cotton balls on one side and grooming tools on the other.
🧩 Cutting Layout
Outer Fabric
Front panel: 24 × 12 cm
Back panel: 24 × 12 cm
Side panels (2 pcs): 12 × 12 cm
Bottom panel: 24 × 12 cm
Lining (same pieces)
Repeat the same measurements for lining fabric.
Divider
1 rectangle: 12 × 12 cm
(Height equals organizer height, width equals depth)

🧵 Step 1: Embroidery Placement
Take the front panel of the outer fabric.
Fuse interfacing to the wrong side.
Hoop the fabric with stabilizer.
Center the embroidery horizontally, placing it:
3–4 cm above the bottom edge
Exactly in the middle width-wise
Stitch the embroidery design.
Remove stabilizer and press gently from the back.
💡 Tip: Choose light, sketch-style embroidery with visible stitch texture — it works best on neutral fabric.
🪡 Step 2: Prepare the Divider
Fold divider piece in half (right sides together).
Stitch around, leaving a small opening.
Turn right side out and press.
Topstitch along the top edge for stability.
🧷 Step 3: Assemble Outer Organizer
Sew side panels to the front panel.
Attach the back panel.
Sew the bottom panel.
Insert the divider:
Align it exactly in the center
Stitch divider edges to bottom and side seams
You now have a structured outer box with two compartments.
🧵 Step 4: Assemble the Lining
Repeat the same steps without embroidery, leaving a 6–7 cm opening on one side seam for turning.
🔁 Step 5: Join Outer & Lining
Place outer box inside lining (right sides together).
Stitch around the top edge.
Turn through the lining opening.
Close the opening with ladder stitch or machine stitch.
Push lining inside and press neatly.
✨ Step 6: Final Touches
Topstitch around the top edge (optional)
Steam lightly
Fill one section with cotton balls
Fill the other with combs, brushes, skincare tools
🛁 Styling & Use Ideas
Bathroom vanity organizer
Baby care station
Makeup table storage
Gift for new parents
Spa-style bathroom décor
Neutral colors + embroidery make it perfect for minimalist interiors.
Recommended Comments