DIY Teepee Cat Bed Pattern for Adult Cats

By diver361 in Master classes and instructions
· 271 views
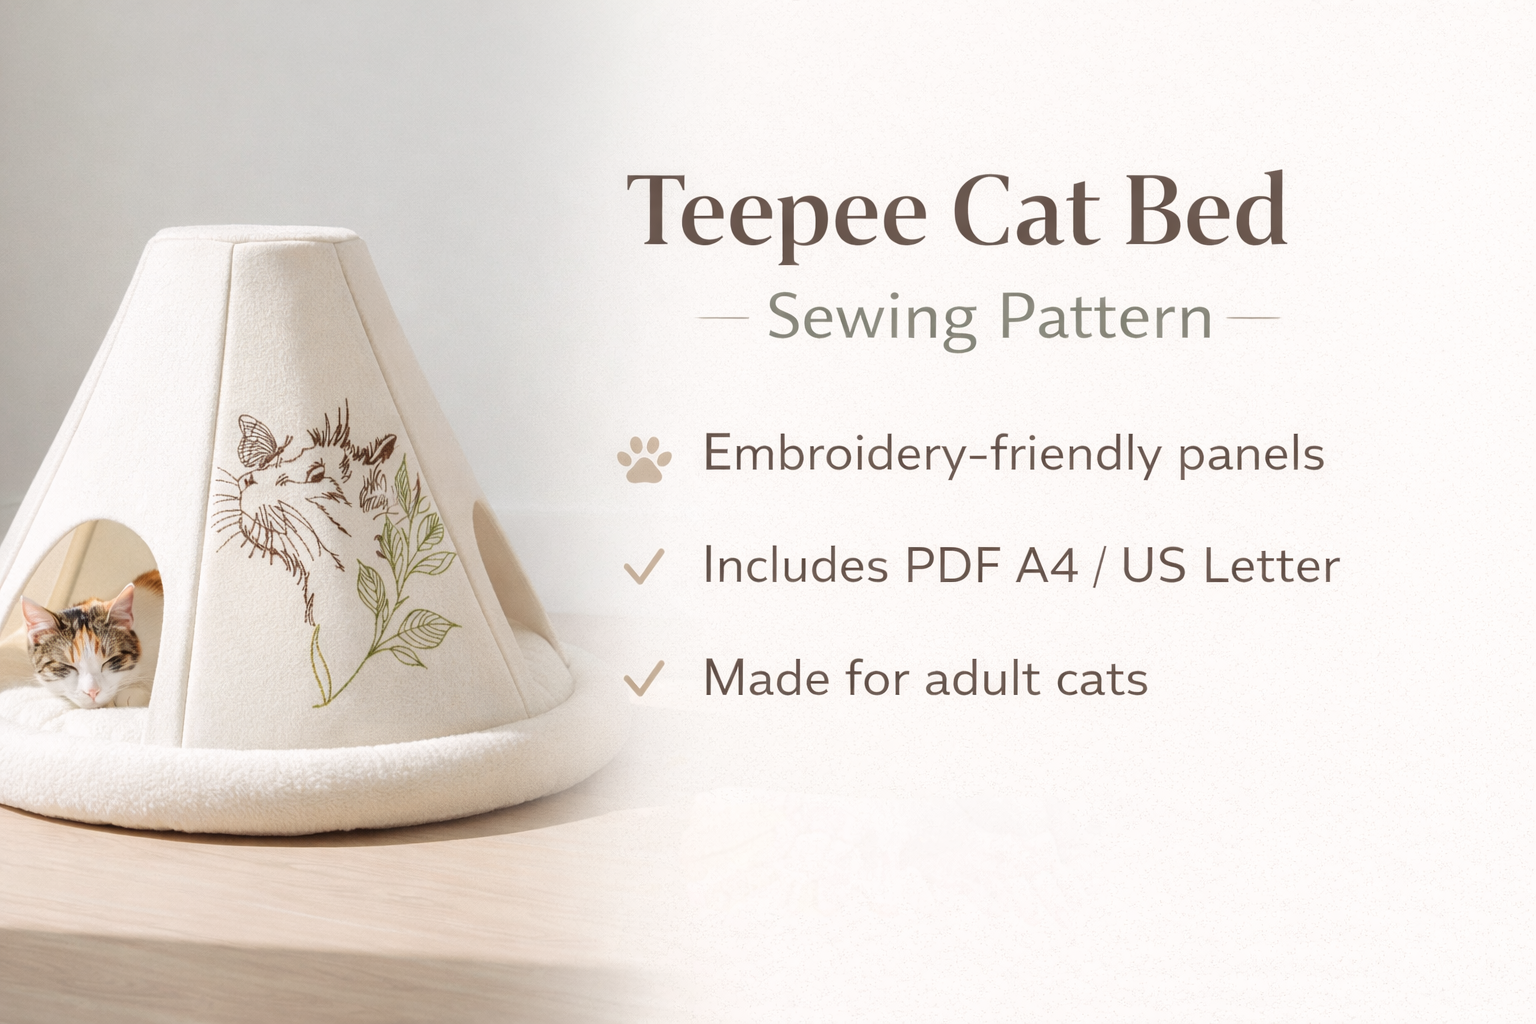
🐱 Teepee Cat Bed
With Embroidered Fabric Panels
(Size for Adult Cat)
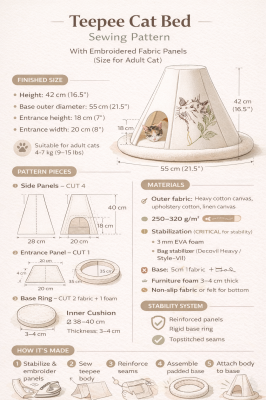
📐 FINISHED SIZE (Assembled)
Height: 42 cm (16.5")
Base outer diameter: 55 cm (21.5")
Entrance height: 18 cm (7")
Entrance width: 20 cm (8")
✔ Suitable for adult cats 4–7 kg (9–15 lbs)
.thumb.png.6ee00f914f923d5c6c721549a1558e1e.png)
🧵 MATERIALS (Recommended)
Fabric
Outer fabric:
Heavy cotton canvas, upholstery cotton, linen canvas
👉 Fabric weight: 250–320 g/m²
Inner fabric (optional):
Cotton, flannel, or fleece
🧱 Stabilization (CRITICAL for stability)
Choose ONE option (best → good):
✅ Best options
3 mm EVA foam
Bag stabilizer (Decovil Heavy / Style-Vil)
✅ Good option
Two layers of heavy fusible interfacing
(Vilene H640 ×2)
🚫 Not sufficient alone: thin interfacing only
Base
Furniture foam 3–4 cm thick
Non-slip fabric or felt for the bottom
Extras
Bias tape (2.5 cm / 1" wide)
Strong polyester thread
Embroidery (done before sewing)
✂️ PATTERN PIECES
(Seam allowances included)
1️⃣ Side Panels — CUT 4
Shape: Isosceles trapezoid
Part | Size |
|---|---|
Bottom width | 28 cm |
Top width | 10 cm |
Height | 40 cm |
Seam allowance | 1.5 cm on all sides |
📌 Two panels can be embroidered.
2️⃣ Entrance Panel — CUT 1
Same trapezoid shape with a cut-out opening.
Entrance opening (cut after stabilizing):
Width: 20 cm
Height: 18 cm
Bottom of opening: 4 cm above the bottom edge
Reinforce the opening edge with bias tape.
3️⃣ Base Ring — CUT 2 fabric + 1 foam
Part | Size |
|---|---|
Outer diameter | 55 cm |
Inner diameter | 35 cm |
Seam allowance | 1.5 cm |
⚠ Foam is cut without seam allowance.
4️⃣ Inner Cushion (optional)
Shape: Circle
Diameter: 38–40 cm
Thickness: 3–4 cm
📐 CUTTING LAYOUT (Important)
Fuse stabilizer to all panels
Embroider panels before assembly
Cut the entrance after embroidery
🪡 STEP-BY-STEP INSTRUCTIONS
STEP 1 — Prepare Panels
Fuse stabilizer to the wrong side of all panels
Embroider design (centered, 10–12 cm from bottom)
Cut entrance opening
Bind opening with bias tape
STEP 2 — Assemble Teepee Body
Sew panels together side to side
Press seams open
Topstitch seams (adds rigidity)
👉 You now have a cone-shaped body
STEP 3 — Stabilize the Shape (VERY IMPORTANT)
Choose one method:
✅ BEST METHOD (recommended)
Insert EVA foam or Decovil inside each panel, secured in seam allowances
OR
✅ ALTERNATIVE METHOD
Sew vertical boning channels into seams
Insert plastic boning or zip ties (40 cm)
✔ Prevents collapsing and sagging
STEP 4 — Base Ring Assembly
Sew outer and inner ring fabrics right sides together
Turn right side out
Insert foam ring
Quilt once around the outer edge (keeps shape)
STEP 5 — Attach Body to Base
Pin teepee body evenly to the base ring
Sew slowly, easing fabric
Bind inner seam with bias tape
STEP 6 — Bottom Finish
Choose one option:
Add non-slip fabric
Stitch hidden silicone dots
Add a sand-filled channel (optional weight)
🛑 HOW TO MAKE IT STAND & NOT FALL
This is the key part 👇
✅ You MUST have at least 2 of these:
✔ Heavy stabilizer in panels
✔ Rigid base ring with foam
✔ Topstitched seams
🔥 BEST PROFESSIONAL SOLUTION
Decovil Heavy + foam base
Slightly wider bottom (55 cm or more)
Optional hidden weight channel in the base
🚫 Without stabilizer → it WILL collapse
✨ OPTIONAL IMPROVEMENTS
Small top opening for ventilation
Removable inner cushion
Zipper in one seam for easy washing
Teepee_Cat_Bed_Pattern_US_Letter.pdf Teepee_Cat_Bed_Pattern_A4.pdf
Recommended Comments