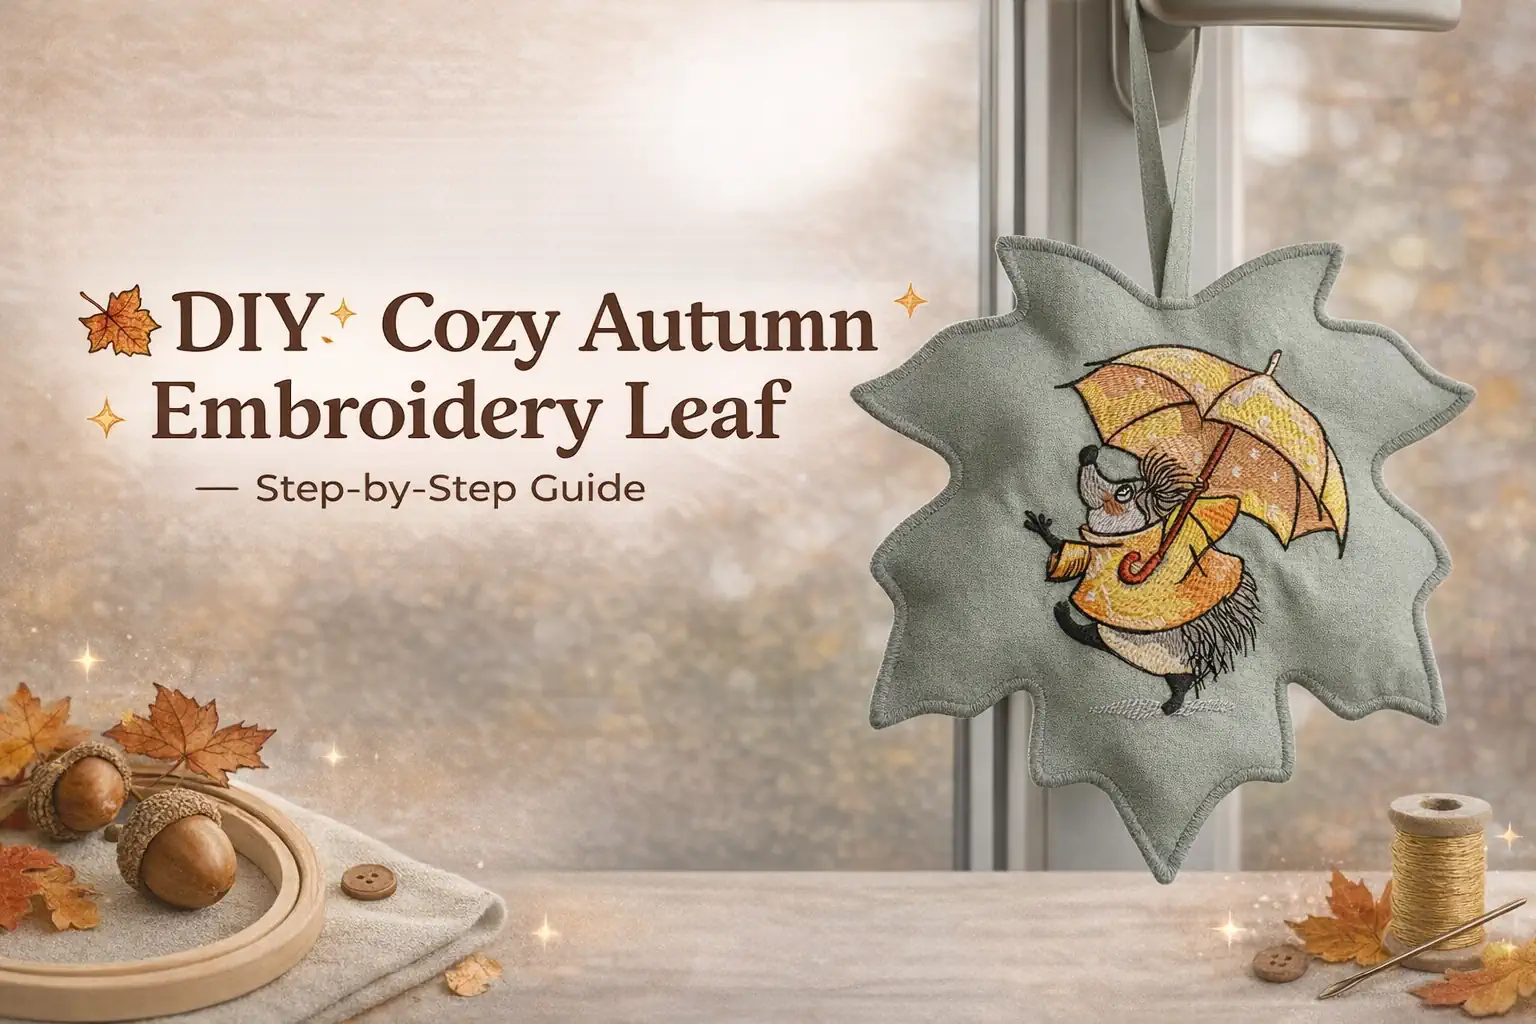
🍂 DIY: Cozy Autumn Embroidery Leaf — Step-by-Step Guide

By diver361 in Master classes and instructions
· 87 views
Creating this charming embroidered leaf with a hedgehog is easier than it looks ✨ It’s the perfect “Pinterest-style” project: minimal effort, beautiful result, and a cozy handmade vibe for your home 🍁
👉 Use this design:
Hedgehog with umbrella under rain embroidery design
https://embroideres.com/hedgehog-umbrella-under-rain-embroidery-design-74450/
✂️ What You’ll Need
🧵 Embroidery machine
🪡 Threads (warm autumn tones + contrast details)
🧶 Cotton fabric (soft, not stiff)
📎 Stabilizer (tear-away or water-soluble)
✂️ Scissors (including small detail scissors)
🧷 Ribbon or loop
🧼 Iron
💡 Expert Tip:
Choose medium-weight cotton — it keeps the shape but still looks soft and natural (not like cardboard).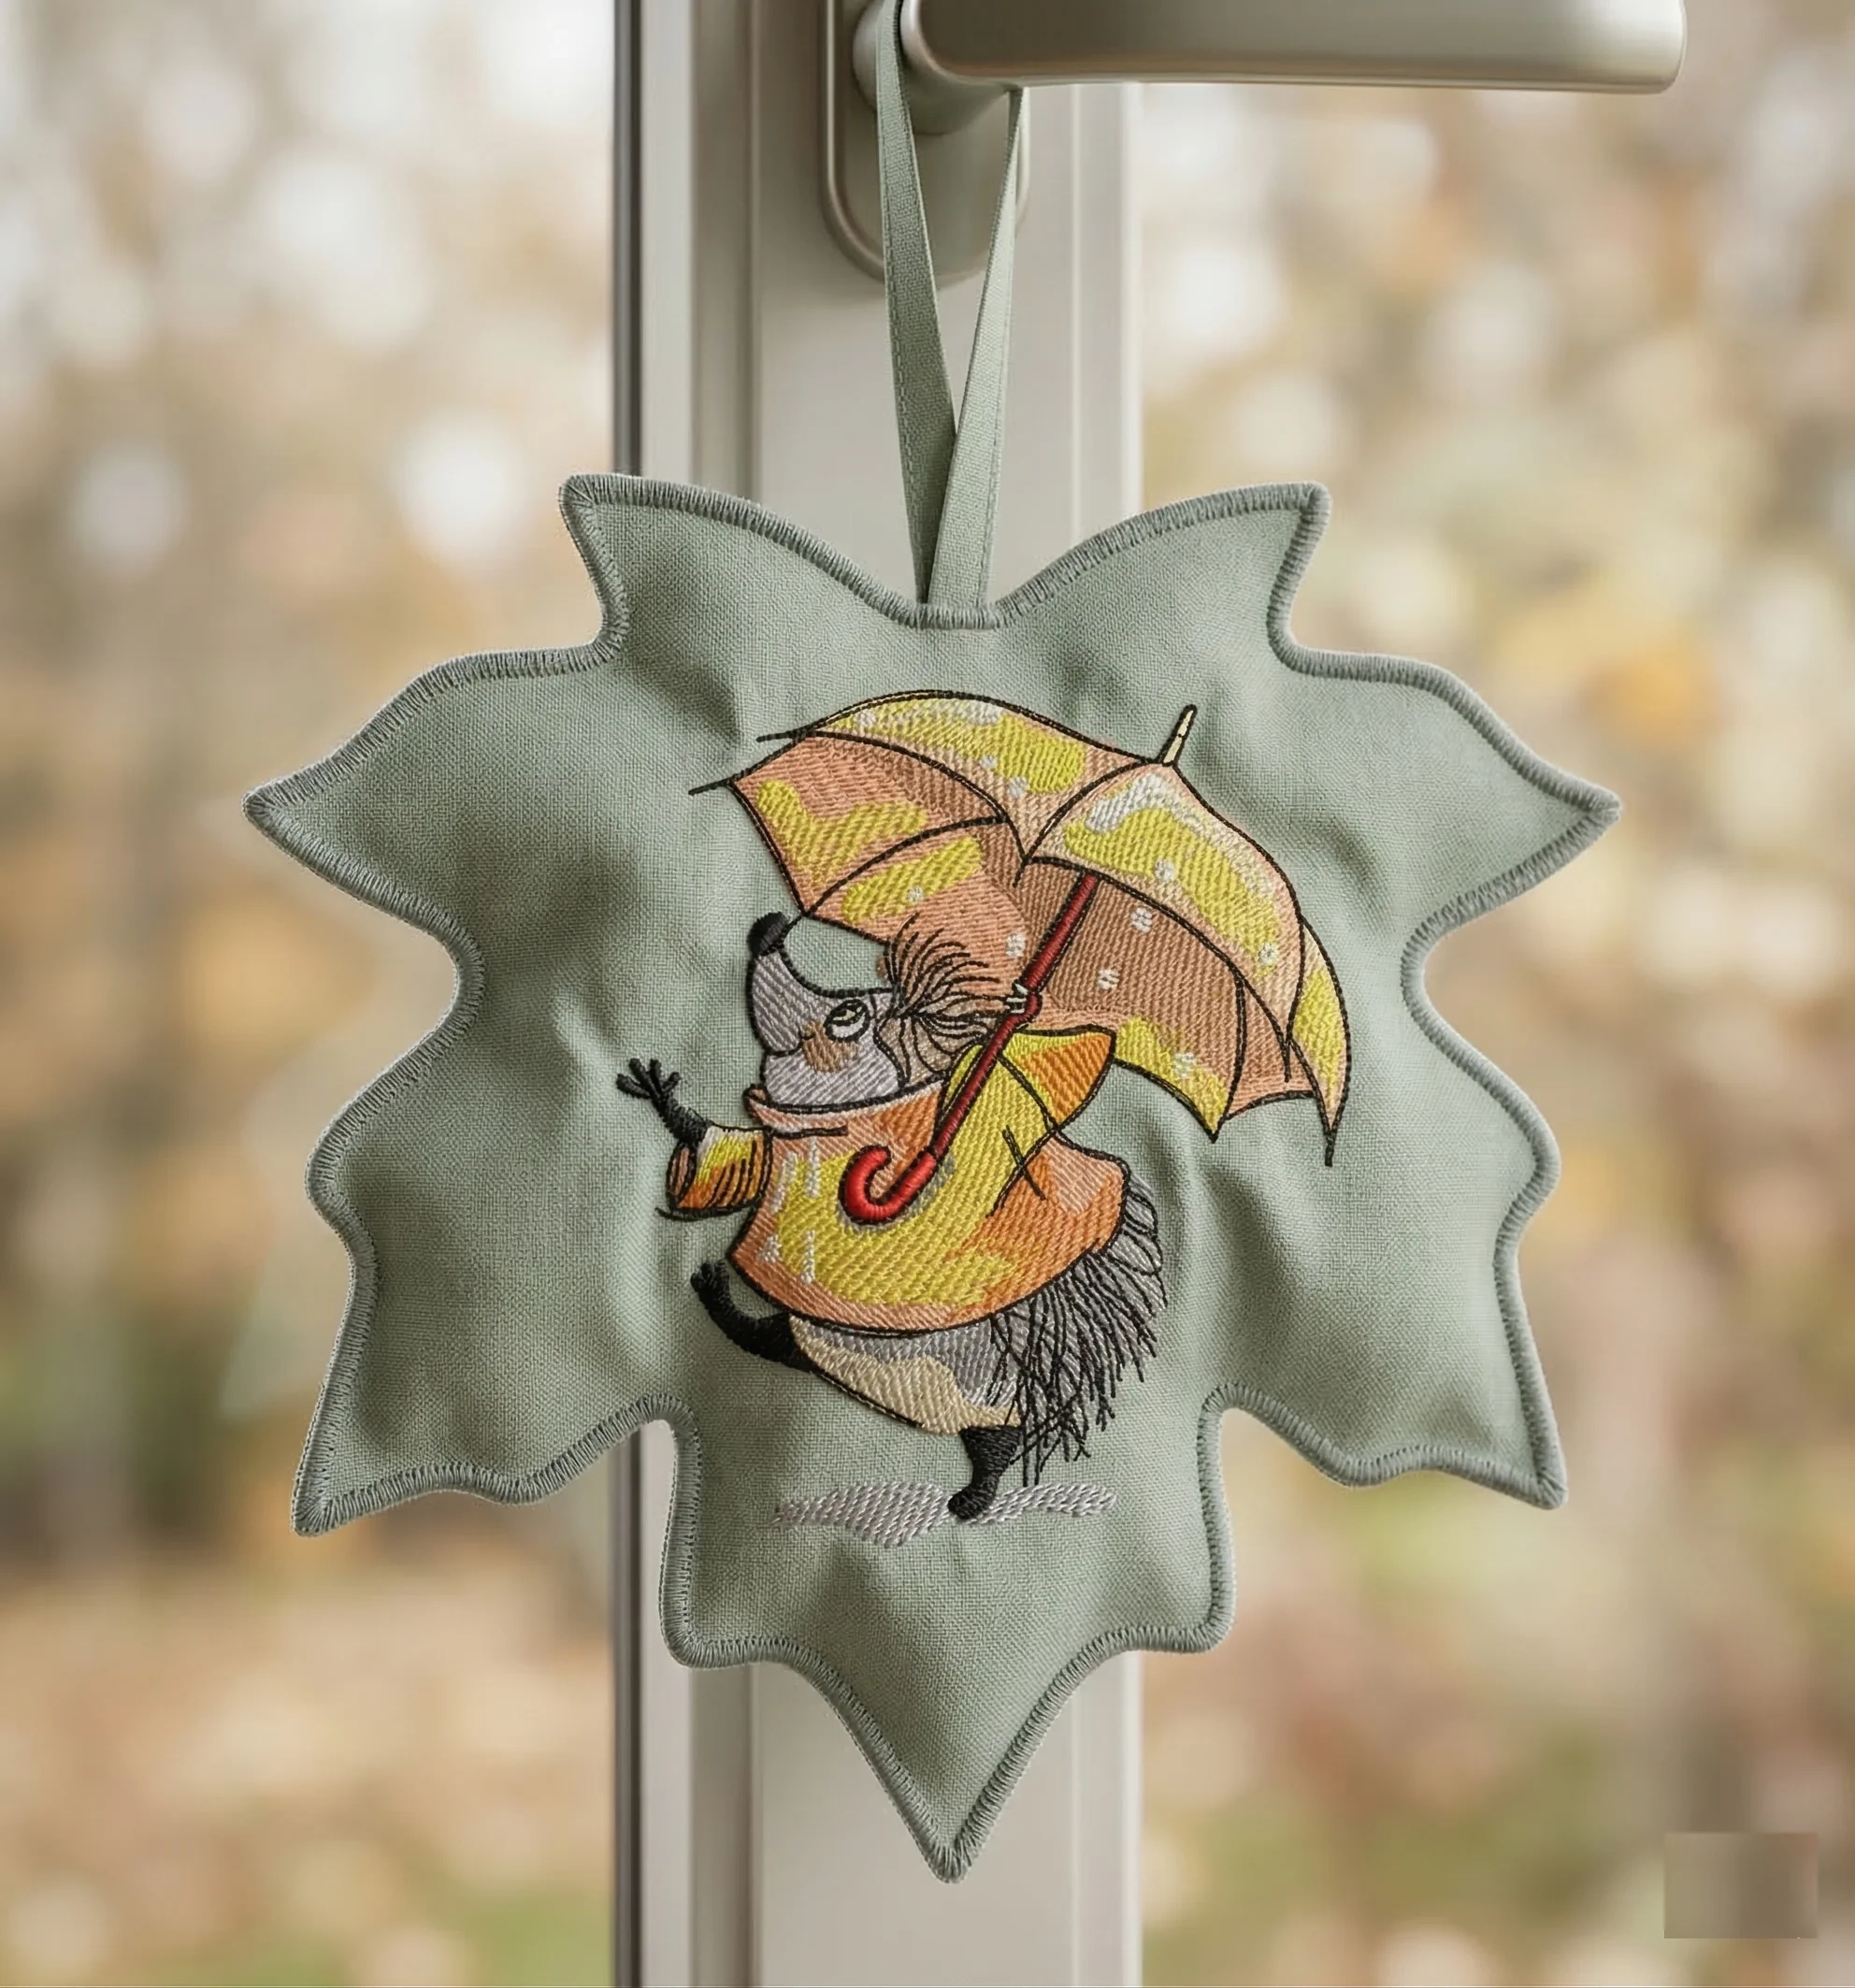
🧵 Step 1. Preparation
Hoop your fabric with stabilizer and load the design.
Recommended size: 10–15 cm (perfect for decor).
💡 Pro Tip:
Keep the embroidery at about 20–30% of the total piece size — this creates a balanced, premium look.
🧵 Step 2. Embroidery Process
Start stitching your hedgehog with umbrella ☔
The machine will stitch in layers: outline → fill → details.
💡 Expert Tip:
Check thread tension — this is what gives your embroidery that clean, professional texture.
🍁 Step 3. Create the Leaf Shape
After embroidery:
Draw a maple leaf shape around the design
Cut two identical pieces (front + back)
💡 Leave a 5–7 mm seam allowance.
🧷 Step 4. Add the Hanging Loop
Insert a ribbon or fabric loop at the top between layers.
💡 Pro Tip:
Use a slightly stiff ribbon — it holds shape better and looks more polished.
🧵 Step 5. Stitch & Finish Edges
Sew the two pieces together:
✔ Sewing machine
✔ Or decorative satin stitch / overlock
💡 Expert Tip:
A clean edge finish is what makes your piece look store-quality, not homemade.
✨ Step 6. Final Touches
✔ Turn (if needed)
✔ Press with an iron
✔ Remove stabilizer
💡 Water-soluble stabilizer? Just rinse with water.
🎯 Why This Project Works
✔ Budget-friendly
✔ Quick (done in one evening)
✔ Looks like designer decor
✔ Perfect for Pinterest & Instagram content
🍂 Creative Ways to Use It
✨ Window decoration
✨ Handmade gift
✨ Kitchen or nursery decor
✨ Seasonal product for your shop
💬 Insider Secret
This project looks premium not because it’s complex — but because of:
✔ Clean shape
✔ Neat edge finishing
✔ Beautiful thread texture
👉 Even a simple design can look high-end with the right execution.
Recommended Comments