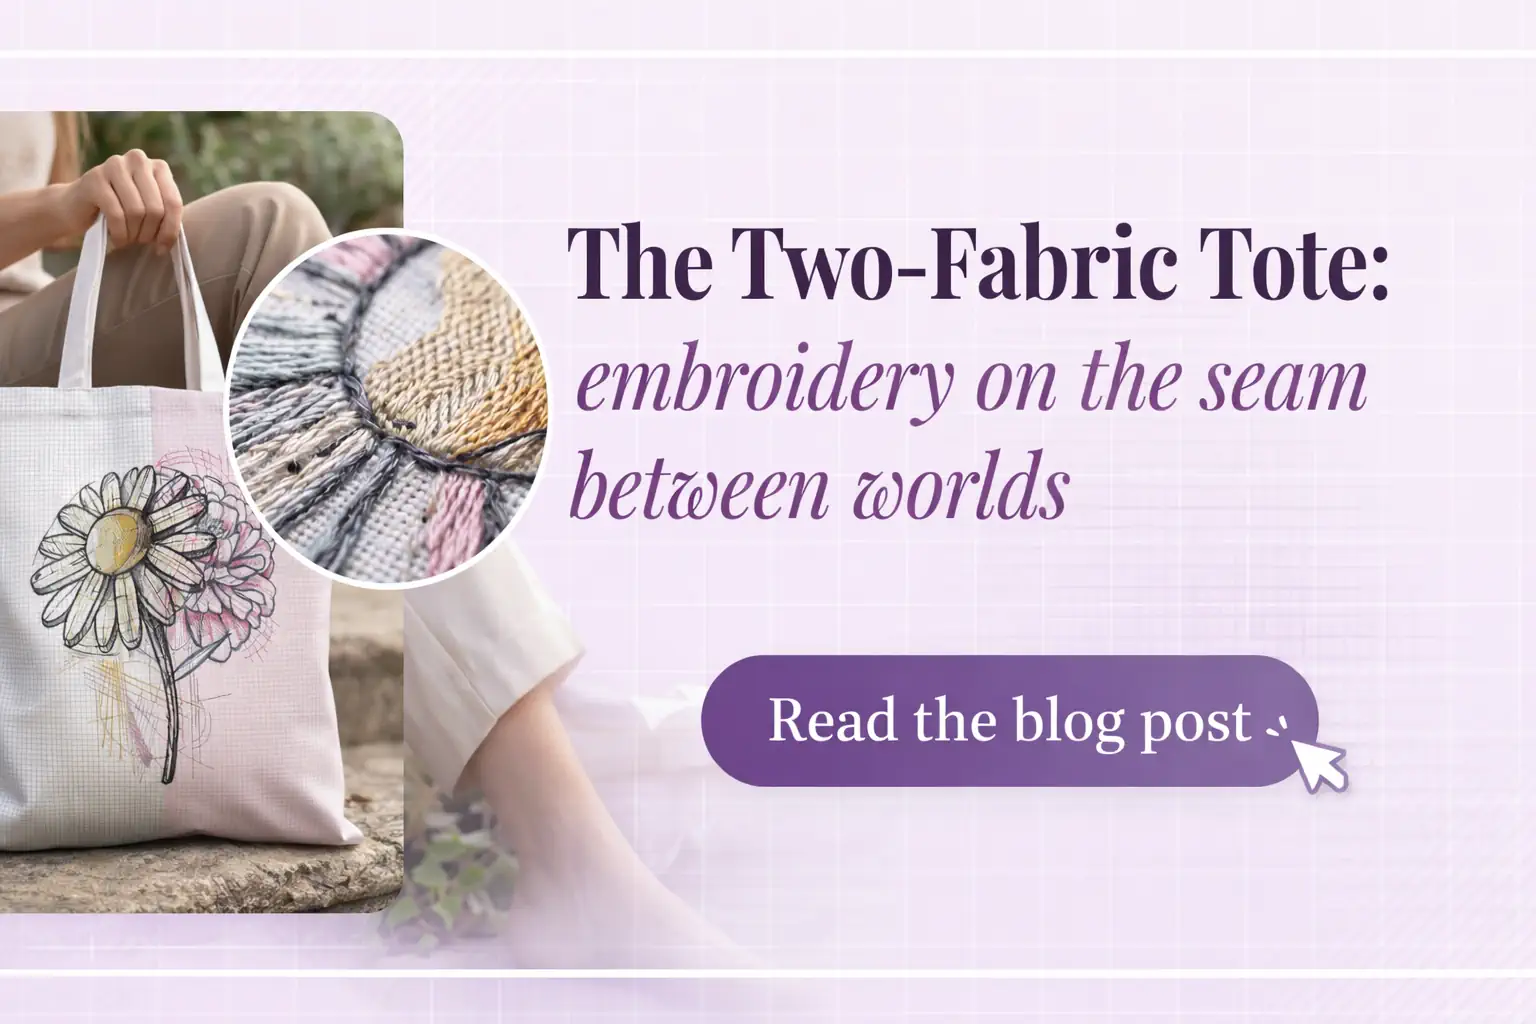
The Two-Fabric Tote
- bag sewing tutorial
- chamomile embroidery
- creative embroidery
- designer embroidery
- diy tote bag
- embroidered accessories
- embroidered bag idea
- embroidered flowers
- embroidery inspiration
- embroidery on seam
- embroidery placement
- embroidery techniques
- embroidery tote bag
- fabric combination
- fashion embroidery
- handmade tote bag
- hydrangea embroidery
- machine embroidery tutorial
- modern embroidery
- sewing project idea
- sewing tote bag
- split fabric design
- textile design idea
- two fabric tote
- unique embroidery ideas

By diver361 in Master classes and instructions
· 36 views
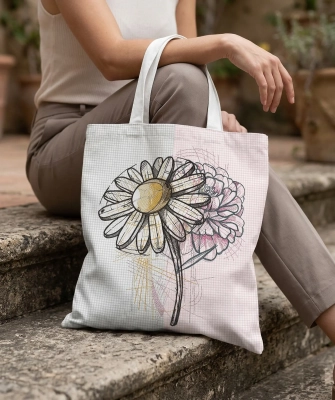
The bag front is split vertically into two panels. Left: plain neutral canvas — dark outlines of the daisy pop sharply. Right: soft blush grid-weave fabric — its pink lines echo the pink tones in the zinnia. The flower straddles the seam. That's the trick.
The right fabric was chosen TO MATCH the right side of the design — pink zinnia = pink grid. The left fabric contrasts — plain = daisy. Two fabrics, one design, zero coincidence.
The vertical seam runs roughly through the center of the flower stem — exactly where the two flowers meet. This is intentional: the seam follows a visual boundary already in the design.
🏆 What do we gain from two fabrics?
Visual depth
Two textures make the eye travel across the bag. The contrast between matte plain and structured grid creates dimension without any extra embellishment.
Design amplification
The fabric echoes the embroidery colors — the pink grid literally continues the pink in the zinnia petals. The design and the fabric become one composition.
Smart fabric use
You don't need a large cut of either fabric. Two smaller remnants combine into one statement piece — perfect for using up beautiful scraps.
Uniqueness
No two bags will ever be identical. Even with the same design, different fabric combinations produce completely different results — every bag is a one-of-a-kind.
🧶 How to choose your two fabrics
The rule is simple: one fabric per side of the design, chosen to echo what the embroidery is doing on that side. In our example:
The same concept works beautifully with grey tones on the left: a fine grey grid or herringbone that echoes the dark charcoal sketch outlines of the design. Left = grey structure, right = blush softness. The embroidery bridges both worlds. Try reversing for a completely different mood.
Both panels must be the same weight — medium-weight cotton or linen (120–200 g/m²). Mismatched weights cause the bag to pull toward the heavier side and make embroidery registration impossible. If your grid fabric is lighter, interface it to match.
📐 Bag dimensions & cutting guide
Finished dimensions: 40 × 36 cm (seam allowance 1 cm included in cutting sizes above). This is a classic A4-comfortable tote — fits documents, a laptop up to 13", and daily essentials. For a larger market tote: scale up to 50 × 45 cm, keeping the panel split at center.
📋 Step-by-step construction
Interface both front panels 🧱
Fuse medium-weight woven interfacing to the wrong side of both left and right front panels. This is what keeps the embroidery stable and prevents the panels from warping differently after stitching.
Join the two panels 🪡
Sew left and right front panels together along the center vertical seam, right sides facing. Press seam open. Topstitch 2mm on each side of the seam for a clean finish — this also helps flatten it for hooping.
Mark embroidery center precisely 📐
Mark the center point of the design with a water-soluble pen. The center should be ON or very close to the seam — so the design spans both fabrics equally. Use a light table or window to check alignment before hooping.
Hoop and embroider 🖨️
Use a floating method: hoop the cut-away stabilizer, spray with KK2000, and adhere the joined front panel flat to it. The seam crossing the hoop area is fine — the interfacing keeps it rigid. Embroider at 80% speed.
Assemble the bag 👜
Sew front to back, right sides together, along sides and bottom. Box the corners (cut 3×3 cm squares from bottom corners, sew across). Prepare lining the same way. Join lining and outer bag at the top edge, turn, topstitch.
Attach handles ✂️
Fold handle strips in thirds lengthwise and topstitch both edges. Position 10 cm from each side, pin with 3 cm inside the bag before the final top seam. Consider matching handles to the plain panel fabric — keeps the neutral anchor.
✨ Design & styling tips
Don't hide the seam — celebrate it. A contrasting topstitch in a tonal color (or even the same thread as the embroidery outline) makes the join look intentional and couture rather than patchwork-casual.
This technique is used in quilted tote bags (two-block panels), Japanese boro patchwork bags, and color-blocked fashion totes. The key difference here: the embroidery is specifically designed around the seam — not placed on a single panel.
Best candidates: designs with two distinct elements side by side (two flowers, butterfly wings, a vase with blooms). The seam falls between the elements. Avoid highly symmetric single-center designs — they need to split perfectly and any drift shows.
Before cutting your fashion fabric, stitch on a test piece of the same weight. Check that the thread tension doesn't change as the needle crosses the seam ridge — even a well-pressed seam adds a tiny height variation that can shift tension by half a point.
For the left panel: try a fine grey chambray or a subtle grey graph-check cotton. Its structure mirrors the dark charcoal sketch lines of the design outline. Result: left side feels architectural and crisp, right side feels romantic and soft. The embroidery is the bridge.
Share your two-fabric tote — we'd love to see it! 🌸
Recommended Comments