
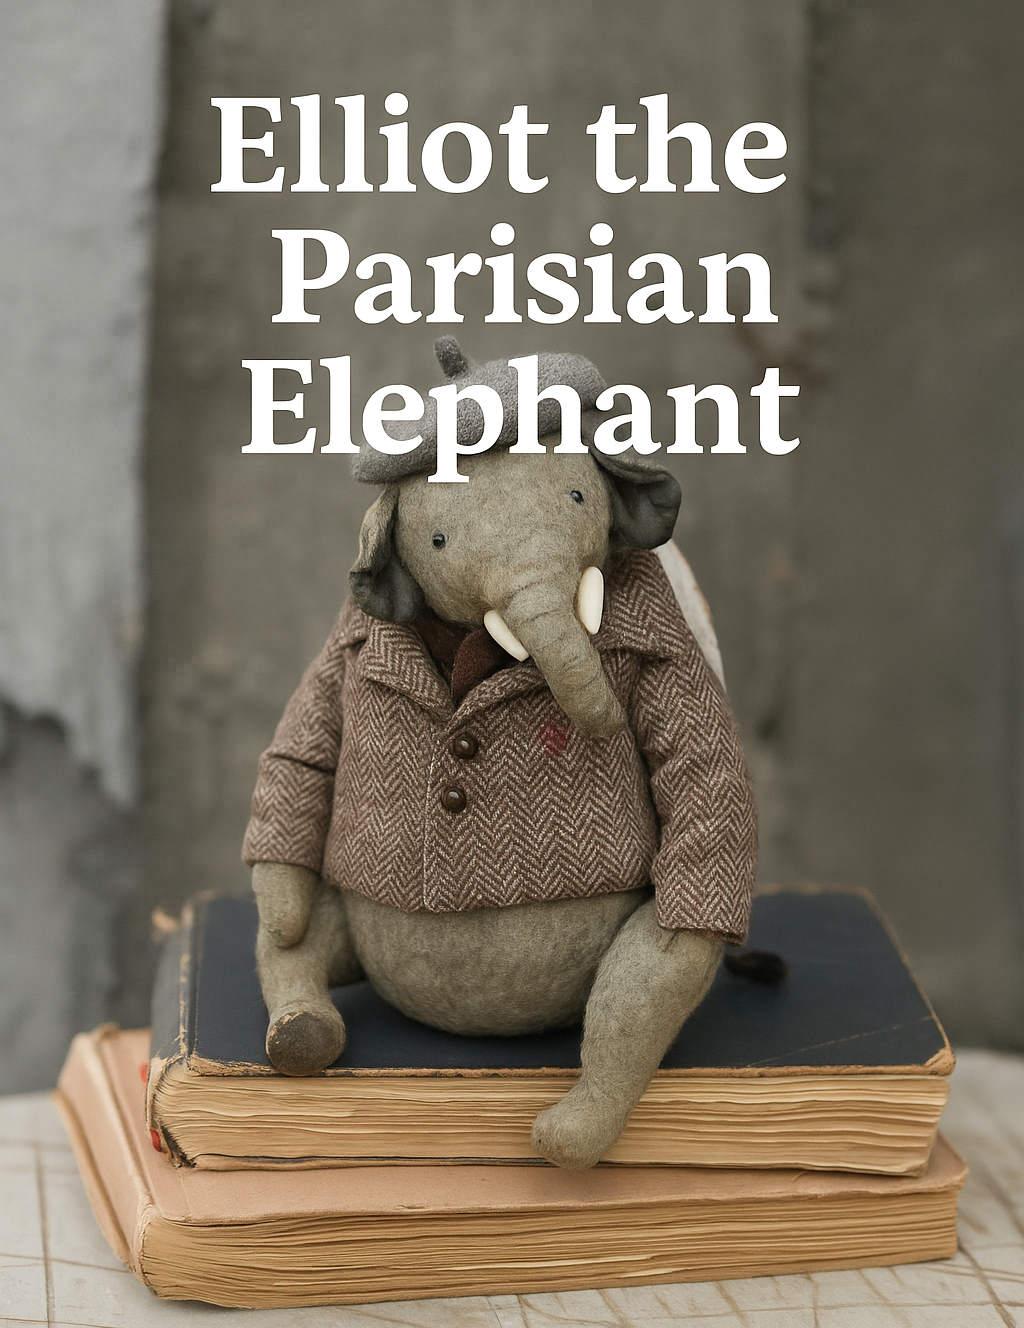
✂️ Sew Your Own Elliot the Parisian Elephant
Bring a touch of vintage Parisian charm to your sewing table!
🧵 What You’ll Need:
Soft wool or mohair fabric
Tweed or herringbone scraps for the coat
Felt for ears, tusks, and beret
Safety eyes or black embroidery thread
Embroidery floss (for details)
Polyester stuffing
Needle & thread or sewing machine
Pattern pieces (included below!)
🪡 Step-by-Step Guide with Pro Tips
1. Cut Your Fabric with Precision
✂️ Pro Tip: Use sharp fabric scissors or a rotary cutter for clean edges—especially around curves like the trunk and ears.
2. Sew the Head and Trunk
Start by aligning and sewing the two head pieces together, inserting tusks securely.
🧠 Expert Advice: Use a ladder stitch to close seams invisibly when hand-sewing. It’s perfect for a neat look around the trunk and cheeks!
3. Construct the Body & Legs
Match the notches for symmetry. Don’t forget to leave openings for turning and stuffing.
📏 Pro Tip: Add a small bean bag inside the bottom for a weighted, seated look—Elliot will sit upright with elegance.
4. Attach the Ears & Tail
Pin ears before final stitching for proper placement.
🧵 Advanced Tip: Consider hand-shading or gently needle-felting the ear folds for a natural effect.
5. Stitch His Parisian Outfit
🧥 Use wool tweed scraps to create Elliot’s signature coat.
🎩 Hat Hack: For the beret, use two circles and a stem, then stuff lightly. Stitch in place on a tilt for French flair.
6. Stuff & Shape
Stuff firmly but gently, shaping with your fingers as you go. Avoid overstuffing the limbs.
📌 Pro Tip: Use a chopstick or stuffing tool for tight areas like the trunk and legs.
📸 Final Touch
Don’t forget to embroider or glue on eyes and sew on buttons for his classic jacket. Pose Elliot on old books or in a vintage suitcase for that true Parisian charm!
-
 1
1
-
 1
1
-
 1
1
Join the conversation
You can post now and register later. If you have an account, sign in now to post with your account.