
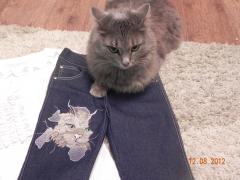
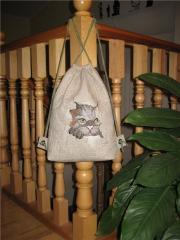
Jeans with angry cat free embroidery design

By diver361
- 4,331 views
- View diver361's images
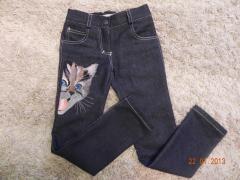
Machine embroidery design Cat tearing fabric perfectly cope with the task of decorating or repairing products made of denim. This is especially true for mummies of little supermen or cowboys. Ripped jeans, hardened jackets, ingrained green specks of grass will no longer make you wrestle with how to save a thing.
Angey catr will do an excellent job of embroidering directly on denim or creating
stylish patch. Consider each of the ideas. Embroidery on denim mane / repair products.
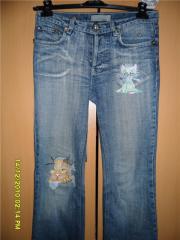
To repair torn products, you must first close the hole with sewing stabilizer. Turn the product inside out. Cut a patch from a stabilizer a little more, than a hole. Iron the interlining with the product.
Stitch the seam of the product if you need to tack off, for example, jeans.
Denim is strong enough, which means that even the most complex designs can be embroidered on it.
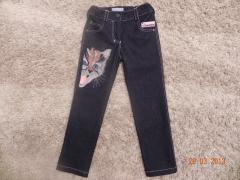
Use a tear-off or self-adhesive medium density stabilizer. For example Madeira Cotton Fix. If you use Madeira detachable stabilizers, note that they do not have an average density stabilizer. For all types of embroidery, the standard stabilizer Madeira Super Gold is used.
For embroidery on denim mans use a pointed needle № 75 / 11 or № 75
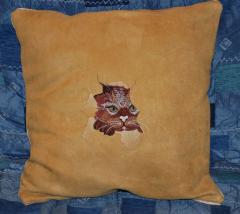
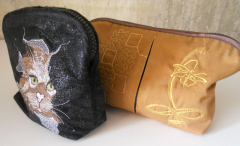
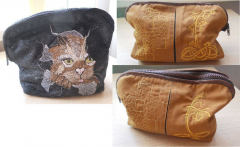
Create a patch using angry cat machine embroidery design
So, to get such a stylish patch for your little superhero's clothes, follow these steps:
Take a base fabric for the stripes, or a normal felt fabric, preferably black.
Tie the fabric into the hoop.
Take the tear-off stabilizer. The ideal is self-adhesive Madeira Cotton Fix. Glue it to the mani. To do this, simply tear off the protective film and attach the adhesive side to the inside of the base. For black mani is best to take a black stabilizer.
Embroider the design. Tear off excess stabilizer or cut the fabric close to the contour. Your patch is ready! It remains only to adapt it to the product. You can sew a patch with a sewing
machine, paving the line on the contour, or manually.
We recommend using a special adhesive base for stripes. It consists of two layers. One layer is matte and the other is glossy.
Cut the canvas a little more than your patch. Attach it with the glossy side down, matte up to the wrong side of the patch. Iron the film with the iron heated to the maximum temperature. After about a minute, it will stick to
stripe.
To glue the patch to the fabric, simply tear off the protective coating and apply a sticky side to the fabric in the required place. Then iron the patch with a hot iron.
Recommended Comments
Join the conversation
You can post now and register later. If you have an account, sign in now to post with your account.