

Original text by: Marina Belova
Today I decided to practice design alignment on my home embroidery machine. With that in mind I created a very simple border, which I'll now try to embroider along the specified line. And try to understand the difference in the alignment processes on commercial and home embroidery machines. And also to figure out how to create a design for future alignment.
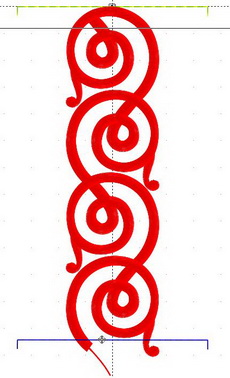
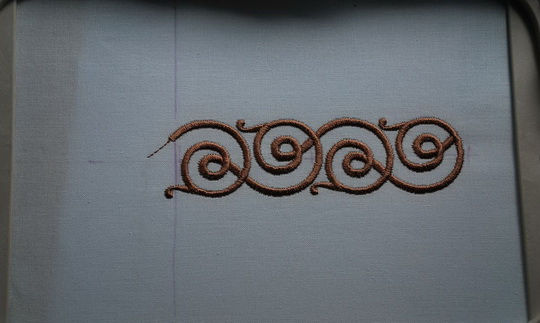
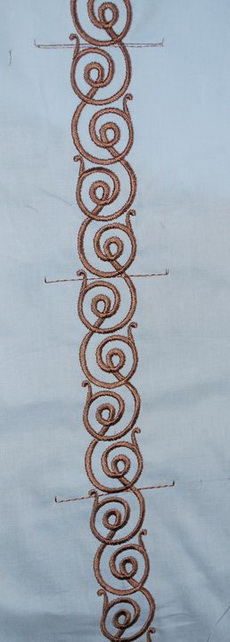
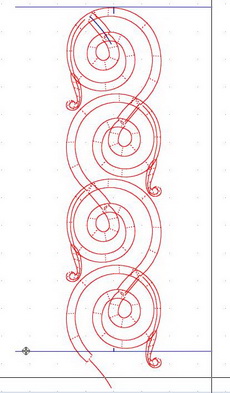
Here is my design, consisting of 2 rapport orders, which I will attempt to repeat along the straight line:
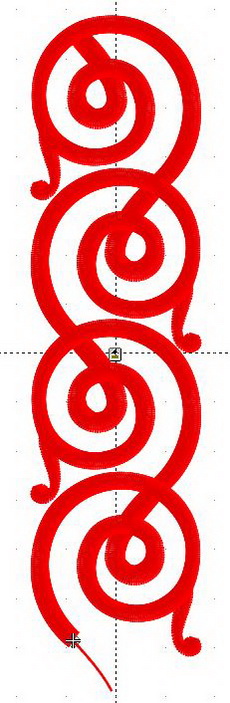
My border is not wide — just 3.4 cm. Theoretically, a design like this one wouldn't be hard to align, for it has only one alignment point. The thickness of the elements doesn't matter for this type of border, because it is embroidered from top to bottom, and each of the already embroidered parts (marked green) will overlap with the next ones (marked red).
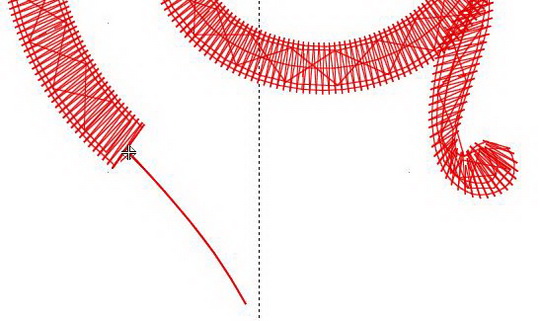
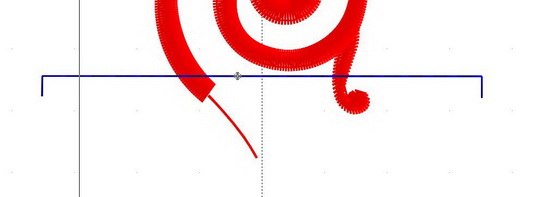
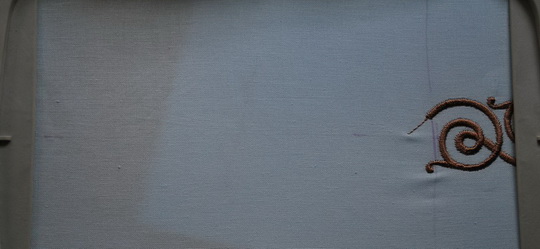
To help joining the parts I draw the alignment stitches — the special placement marks specially designed for alignment. One of them is located near end of the pattern and on the photo looks like a funny protruding stick – it is used for matching of the embroidery pieces together:
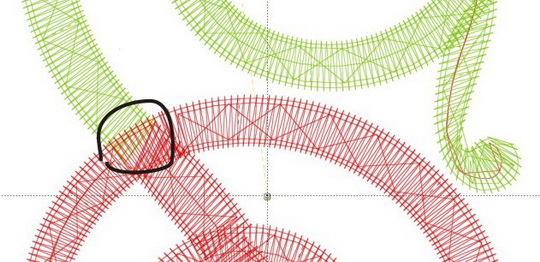
The second alignment stitch is located at the very beginning of the pattern hidden under the upper stitch layer. Here it is marked blue under the red satin columns:
The main goal for the red and blue lines is to coincide when rehooping. Usually this is enough to embroider a big design part-by-part on a single-head commercial embroidery machine.
Well, all that is now left is to try and align the design on my home embroidery machine using my usual technique.
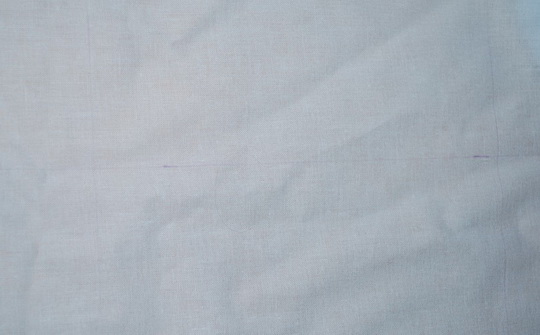
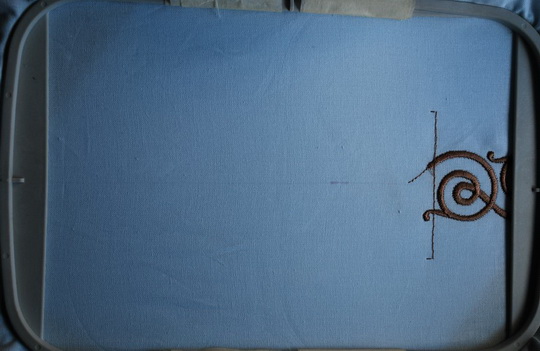
My embroidery base is plain calico + a tearaway stabilizer. I did the marking — one long line with several perpendicular cross-lines (just in case). You can see the horizontal line on the photo below — this is the main guideline, along which the border will lie, — and also the vertical ones:
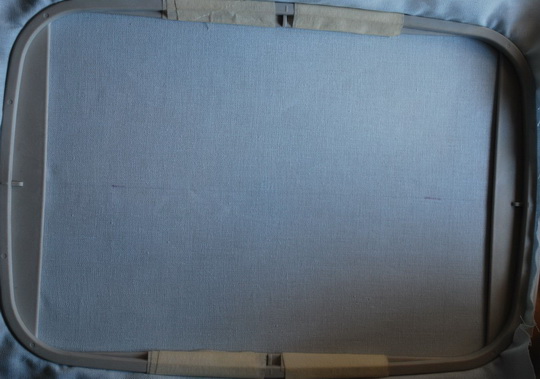
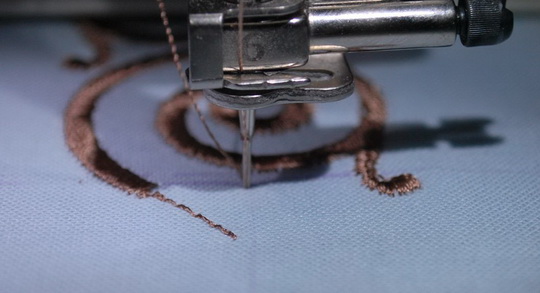
The I started the embroidery. The first hooping and the embroidery process are simple, the main thing here is to do the hooping properly:
You don't even need to align — there is no use in it yet:

But it was only after having embroidered the first part of my future border that I realized that design alignment on a home embroidery machine is anything but the habitual process of doing the same thing on a single-head commercial one. The whole thing is a bit more complicated and resembles the design alignment on a multi-head embroidery machine, where the design is confided within the boundaries indicated by the marks which work as the embroidery starting points. Because of this it was impossible to start the embroidery wherever I wanted in order to regulate the quality of the hooping. Now I understand where all this marking lines (plus signs, check marks, bars) outside of the embroidery area come from.
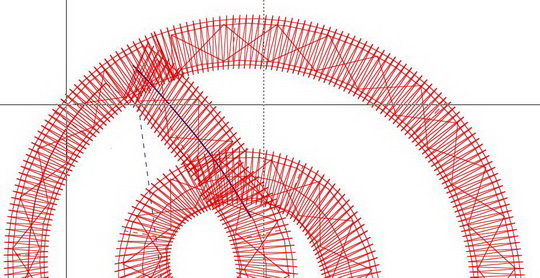
To solve this problem I had to add one more stitch into the pattern, which would be embroidered last, after the embroidery was completed, and which would be ripped off afterward. Here it is (marked blue):
This stitch has the following functions:
- It helps hooping. I will continue to hoop the fabric in accordance with the long line, along which the border will lie. But this new cross-line will be the starting point of the embroidery. And I will make it the embroidery starting point after rehooping. I'm doing it because the fabric will be invariably pulled during the embroidery or, what is even more sad, may turned out having been improperly hooped. And then all these cross-lines, however well-placed they can be, will move so that the next part of the design will be misaligned. The design will either will not reach the lines or there will be overlapping. Therefore, I will position my design in accordance with the long straight line and the new cross-line. Only they are relevant.
- It helps to check the quality of hooping — I'll stitch this line in the beginning, to make sure that the fabric has been hooped correctly. Only after that I'll embroider a little alignment mark in order to make sure that my border will indeed be seamless after alignment.
Thus, my modified embroidery pattern will look like this:
I copy the blue stitch and place it at the beginning of the design. This green guideline should coincide with the blue one from the previous hooping. Of course, one should bear in mind that the idea with an additional stitch will not be work on any kind of fabric. There will be perforations left on delicate fabrics even after ripping off the threads. But judging from my experience, it is good for many types of fabrics.
Now I'll show you what have I got out of all that.
As I have already embroidered the beginning of the design, I drew a line approximately where the green alignment line should be, as showed on the photo above, so I will use it — there is nothing else to align to.
Then I rehoop the fabric and continue the embroidery:
It seemed to me that it was not easy to hoop this thing properly on my Brother. But I mastered the skill in the end. I should definitely make some arrangement for easier hooping. Particularly because one can find a lot of these home-made things on the web.
Then I load the modified machine design into the machine and start the embroidery. I do not iron the fabric with the partly embroidered design, in order to avoid shrinkage. If the fabric shrinks, it will be unclear what parts to align and where — the overall size of the embroidery will change.
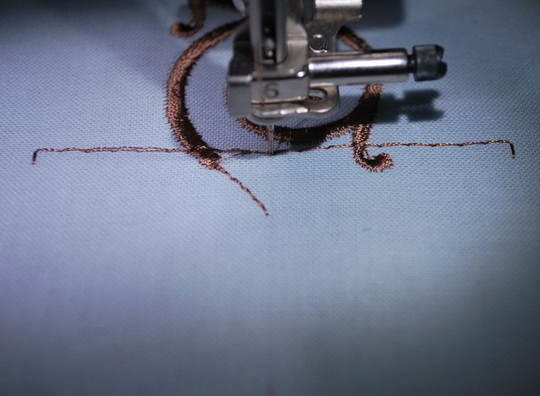
The most important thing is that starting point for the embroidery of the next part would be located on the crossing of the main line and the supporting one (in my case — the one I drew), which is now located on top of the hoop. I place the needle into the fabric to check if will get where intended:
Then I start the embroidery. First I embroider the horizontal alignment line, and in this case it is hard for me to predict the outcome. Another alignment line follows, the one to which I will align my embroidery. It will be splendid if in coincides with the one that already exists.
In order to do so, you need to move the hoop, and rehoop in case the two lines do no coincide at all. This time the new stitch was slightly lower than the one in the previous part, about 1-1.5 mm. On my commercial machine I would shift the hoop in the required direction right away, in order for the two stitches to match, and I wouldn't get a gap between the parts of the border.
But to my profound disappointment it turned out that on the home embroidery machine it was impossible to move the hoop while embroidery was running. Well, I will embroider as it is and see where it will get me. Though, you can do one thing to fix that — to go back and shift the starting point in a pattern, which is what I did.
So this is what I got aligning the first and the second parts — the gap between them is a bit wide, but it does not stand out:
It turns out that I mispositioned the line — it is located too far from the previous part of the embroidery, but there is no gap in between.
I rehoop once again. This time the cross-line is already there:
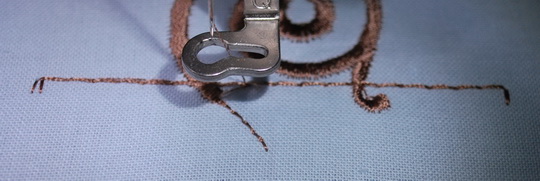
I place the needle into the point where the main line and the supporting line cross:
The first check was perfect:
The second check almost matched the embroidered line, running just beside it, which was acceptable:

The result:
Well, you can go further from here; the more meters you have to embroider, the more times you will have to rehoop. Of course, not everything will go smooth right from the start, but it is possible to work with it.
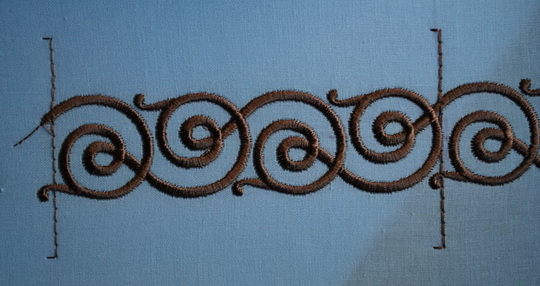
Here is the photo of what I got, before cleaning of the embroidery:
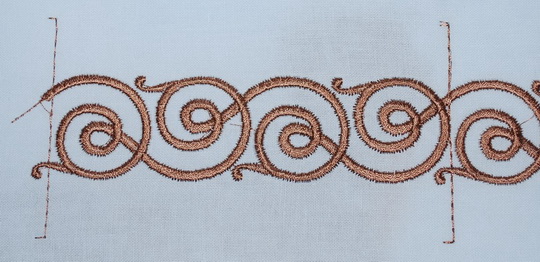
The photo of a border:

This is the conclusion I've come to: you can embroider a design part-by-part and align it on a home embroidery machine, like the one I own.
There always is a way out. But on the whole the method is neither very reliable nor accurate, there are many cons.
So I arrived at the conclusion that my cross-line should have looked like this, and not the way it does on the photo above:
As you can see, the horizontal lines here assumed T-shape, in order to make it easier to set the embroidery starting point. They would have formed a cross in case the alignment went well.
-
 1
1
There are no reviews to display.