
Original text by Marina Belova
To be honest, I don't like to sew, despite the fact that I'm fairly tightly bound to the sewing industry. Therefore, I've long set my eyes on creating a freestanding double-sided appliqué where you don't have to sew anything and a ready item comes right off your machine. What's more, this item is embroidered on both sides. Last year I tried to create New Year trees using this technique but something went wrong. Now I'm ready to try again.
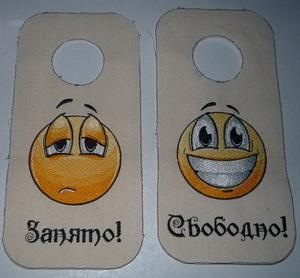
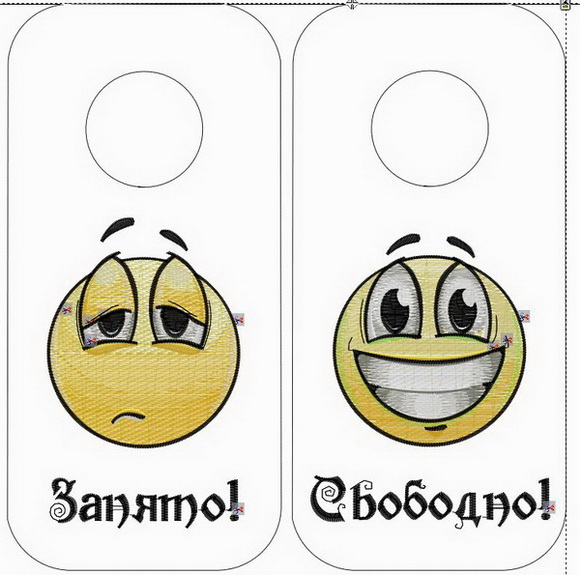
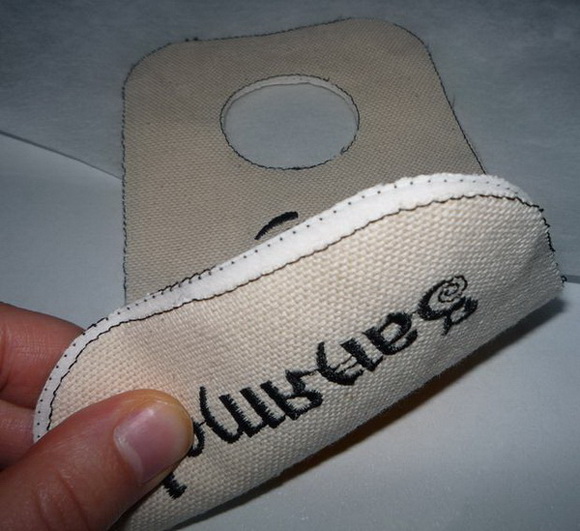
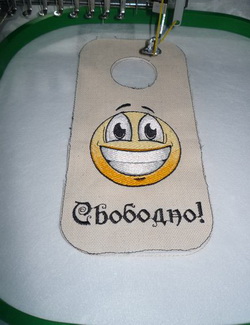
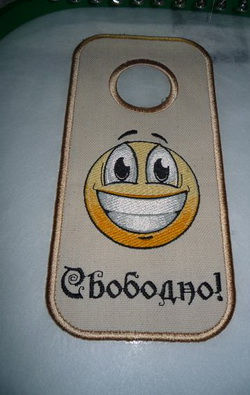
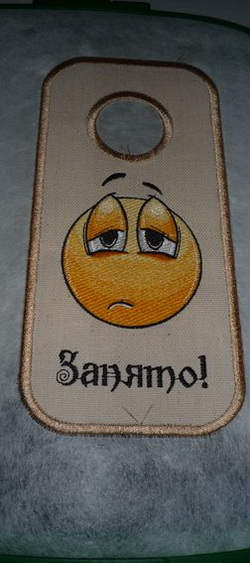
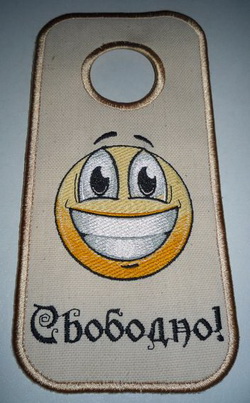
This is the doorknob hanger I got as the result (the inscriptions say, accordingly, "Occupied" and "Vacant" — translator's note):
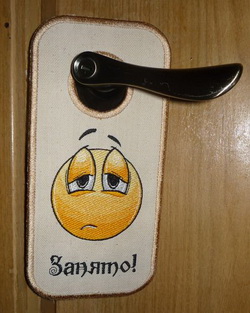
Side 1:
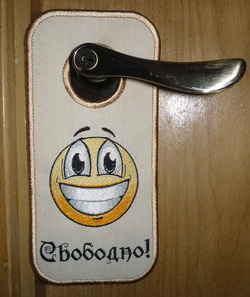
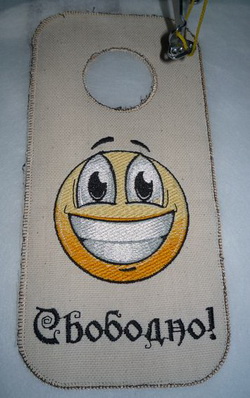
Side 2:
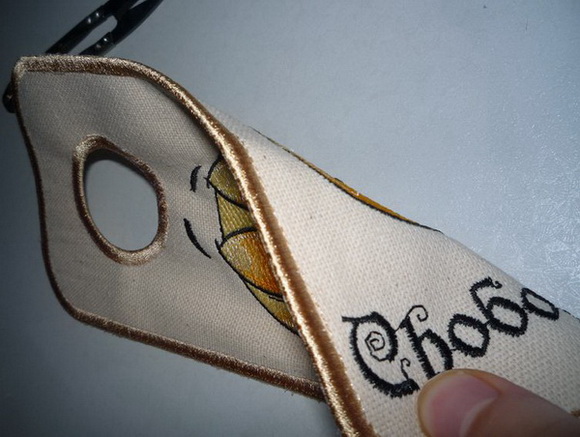
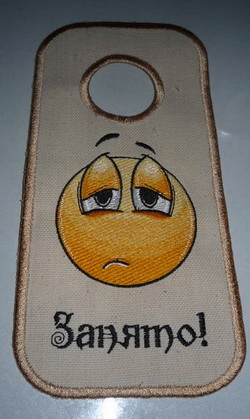
For avoidance of doubt, the two sides view of the embroidered design:
Let me tell you about the making process.
I started, of course, with choosing a design. I found these free smile-shaped oranges on the Web, added some letters and drew my doorknob hanger: Here is what I got:

I created 2 embroidery sequences: First was the design itself.
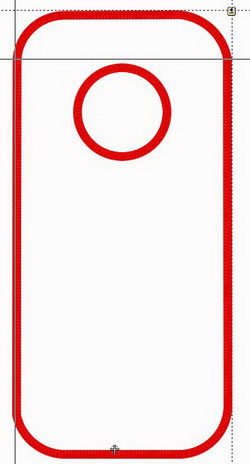
And second was the edge finishing (same as in the traditional appliqué):
Now let's embroider.
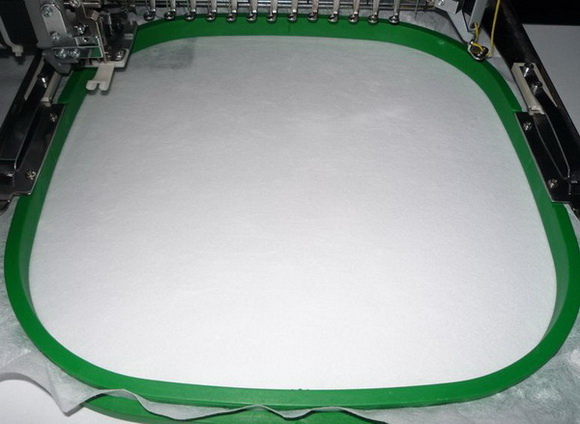
I hoop the basic fabric for my hanger with the stabilizer. I commonly use a cheap Chinese cut-away middleweight one — it works well.
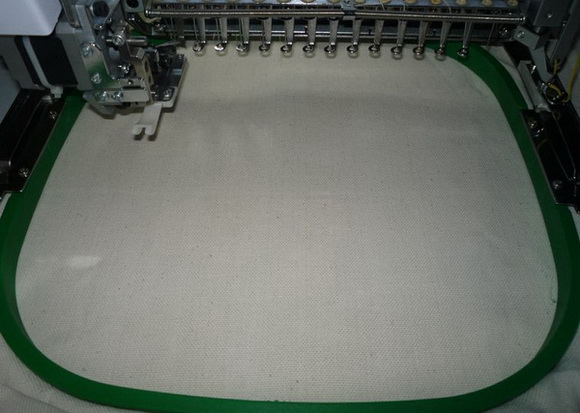
Embroider the main part of the design:
Unhoop the whole thing (carefully!) and trim very close to the stitch that shows us the edges.

Proceed to the second part of the embroidery. Hoop only the cut-away stabilizer.
Put the pieces of fabric with their wrong sides facing each other and fix them with a temporary spray adhesive or an ordinary paper glue (we won't embroider them anymore, only finish their edges, so you can use the glue if you like).
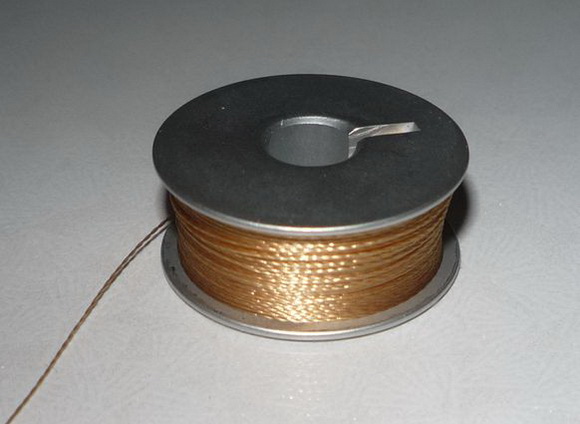
After that, I changed my standard bobbin thread for the upper thread specially winded on a bobbin. After all, my item has two faces, so it won't look good if one side of a thick satin column is embroidered with an ordinary white thread:
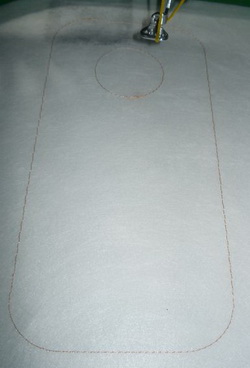
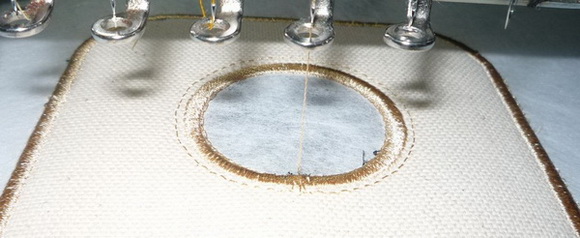
I load the second part of my design to the machine and embroider the outline:
Sprinkle the hooped stabilizer with the temporary spray adhesive and stick my semi-finished product onto it by either side so that it fit the hoop:
Now I do an E-stitch that stitches my item to the stabilizer perimeter-wise:
At this stage, you still have a possibility of adjusting the hoop if the stitch shifts. Because if it does, it is highly probable that the finishing border won't cover enough fabric, which will result in it falling off the item. For this reason, you need to carefully check everything and, in necessary, adjust the hoop.
I embroidered the finishing border:
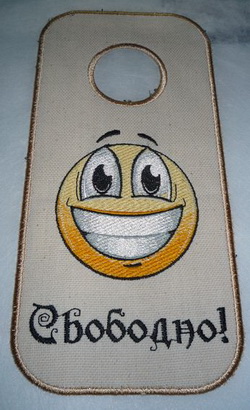
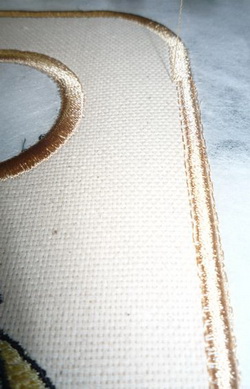
Having embroidered the finishing border, I checked whether the fabric didn't fray and found that it did in a couple of places, in spite of all the hoop shifting. I've arrived at the conclusion that I was too skimp – the border would do better if it was a couple of mm wider (mine was only 4 mm).
Then indeed nothing will fray and the border won't detach from the fabric. Also, the black outline that I stitched for the purpose of trimming, is exposed. It had better be covered.
So I created an additional embroidery sequence with a wider border and embroidered it right on top of the already existing ones. Just how much wider it was, you can see in the photo below:
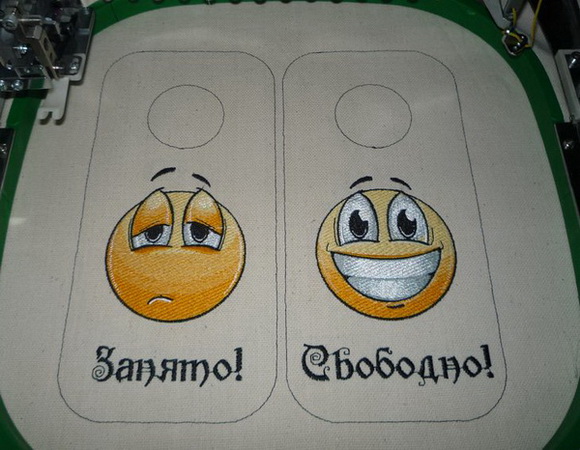
This is my hanger still in the hoop, front side:
This is the wrong side:
After that, I unhooped the item, thoroughly tore off the stabilizer, cut the ends of the tie-offs, and singed the leftover fibers sticking out of the satin edges with a lighter. And get this hanger as a result:
All my efforts resulted in the following conclusions:
- Such an item is quite easy to make. The finishing border should not be less than 6 mm.
- The letters didn't come out good enough but if I ever going to make a hanger in the future, I'll correct my mistakes.
- Gradients painted along a straight line look very crude on round objects. I should master the technique of painting gradient along a curve. Or, I should have blended all 3 colors instead of 2. But this is another topic.
Edited by Irina
-
 1
1
There are no reviews to display.