

Original text by Marina Belova
Nowadays any self-respecting online shop with machine embroidery designs has In-the-Hoop projects to offer. Also, projects where even a zipper is stitched right on the embroidery machine, simple as they are from a sewer's standpoint, have become commonplace. In other words, you won't need to do any sewing at all.
I've long set my eyes on such items and finally decided to make something like that myself. After all, why buy a design if I can create one with my own hands? Moreover, step by step master-classes that cover the creating process in details are ten a penny on the Web. Just pick the one you like and go!
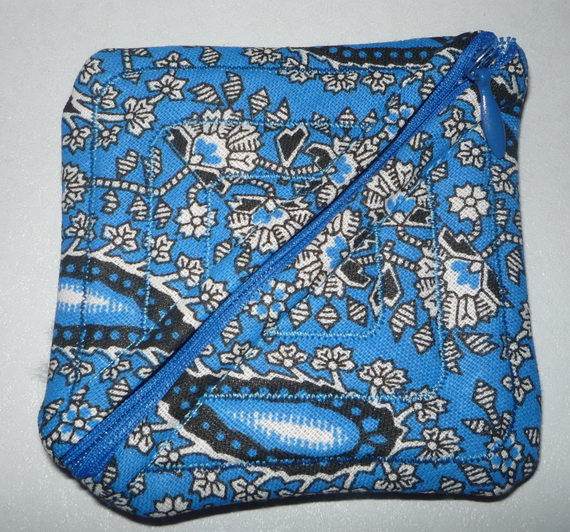
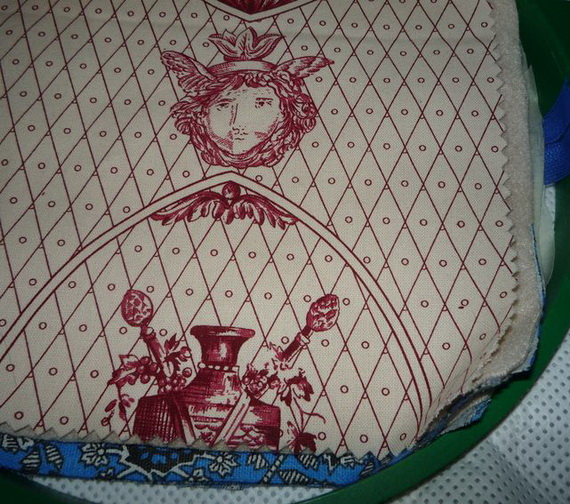
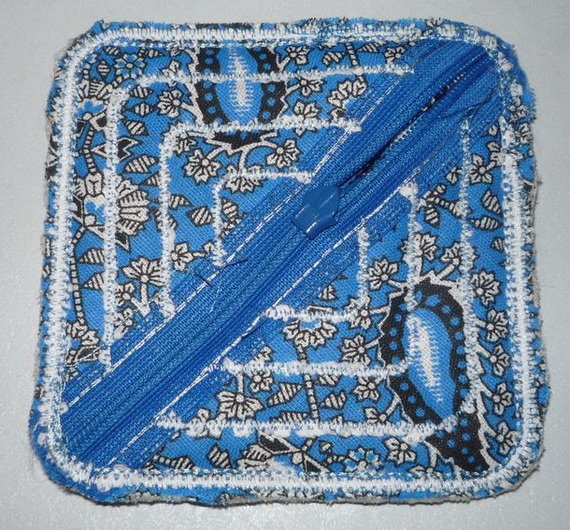
For starters, I decided to give the easiest of such projects a try. On the photo below you can see the result of my first attempt – a coin purse:
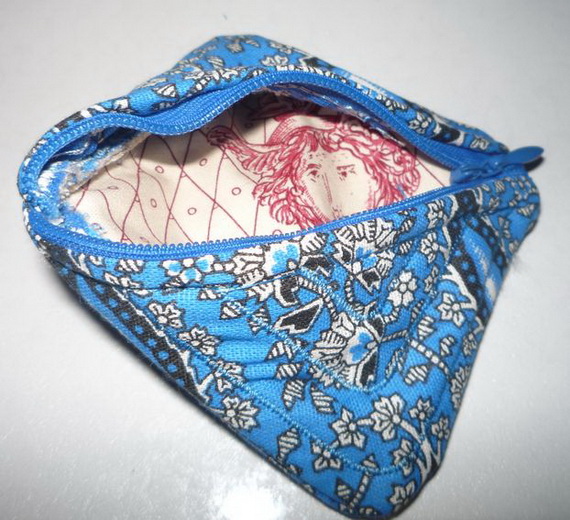
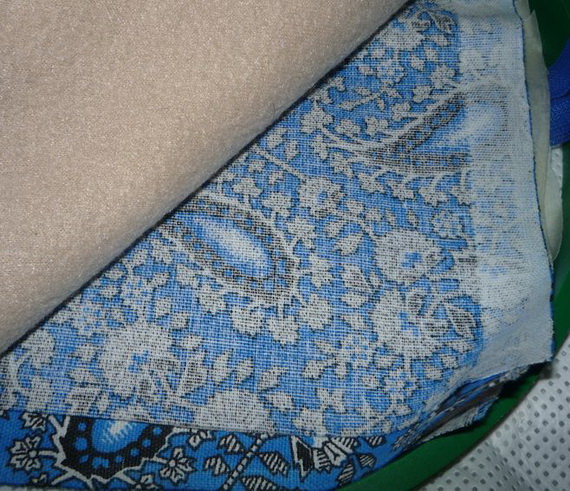
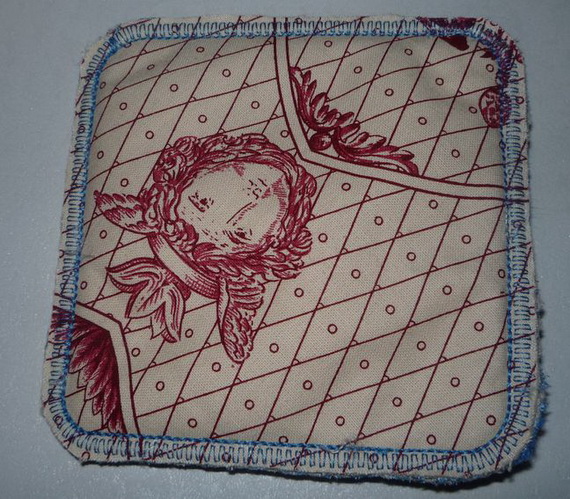
This is how it looks from within:
It turned out that it is rather simple to make an item like that, zipper and all, entirely on the embroidery machine, from a digitizer's standpoint as well as an embroiderer's standpoint. There were mistakes, of course, and today I'll write about them, too. But mistakes are what ignites the thinking process and causes progress, aren't they?
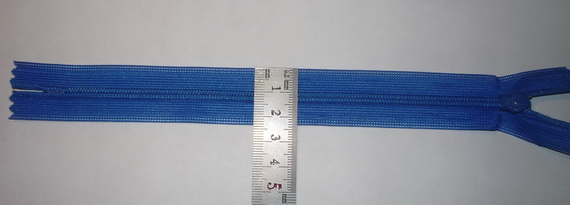
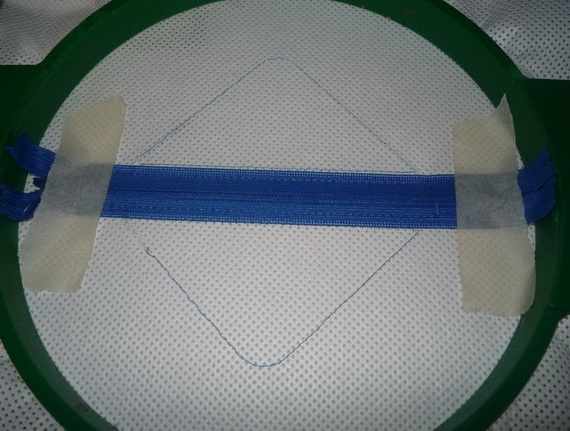
I'll cover the creation process in details. I picked an ordinary blind zipper. I didn't risk to use an ordinary zipper, for I didn't know how the machine would behave. A blind zipper is thinner, after all. Before creating the design, I measured its width. It was necessary for the basting stitches:
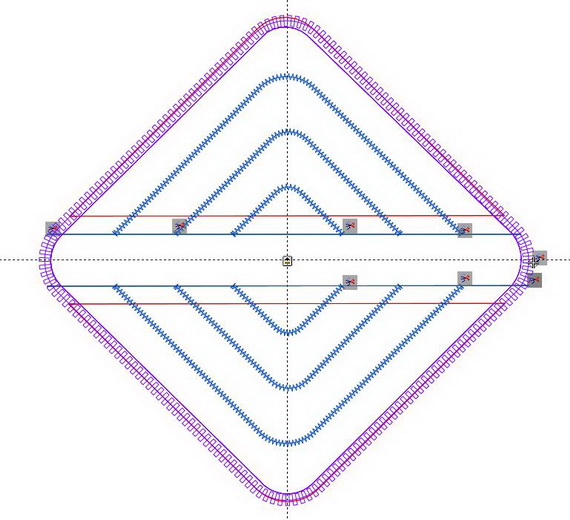
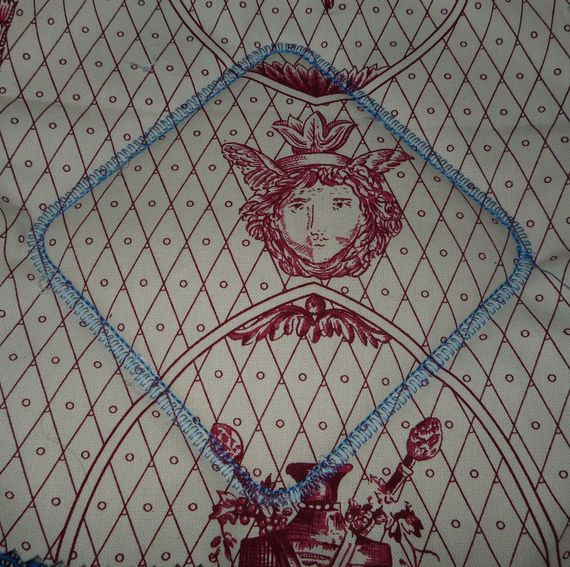
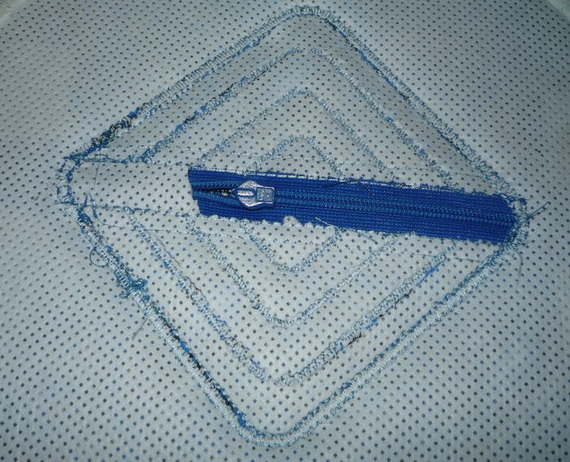
Then I digitized a very simple design, just 14 outlines, and 2900 stitches. Below is preview of the machine embroidery file:
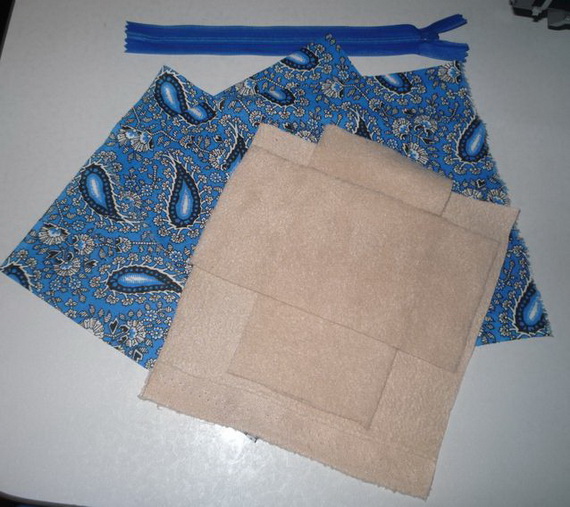
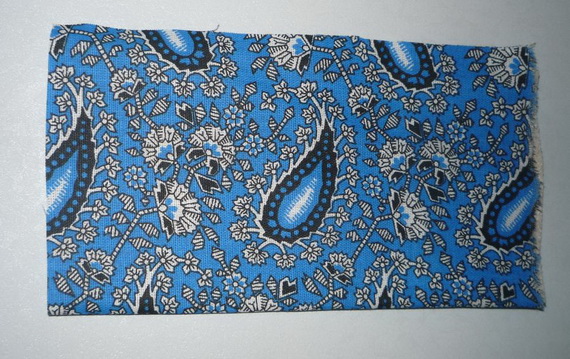
After that, I selected fabrics for the front side of my coin purse, and also the filler. For the front side, I chose an ordinary cotton print and cut 3 identical squares out of it. I used thin fleece trimmings for a filler, because they were the only suitable thing I had, thinking that they could add some volume. I cut out 2 squares, and then cut one of them in half.
After all these simple manipulations, I went to my machine. I hooped a tear-away stabilizer:

Loaded my design and hit the start button. First, I embroidered a guideline. I did that to outline my future embroidery and to mark the place where the zipper would be.

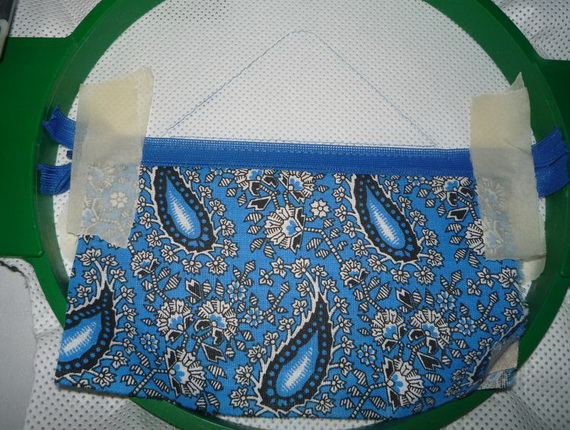
Now it was time to stitch it. I placed my zipper face up and secured it with a painter's tape:
Started the machine again and stitched my zipper to the fabric. I used a running stitch for that:

After that I picked up one of the cotton squares, put it on the table wrong side up and covered with a strip of fleece:
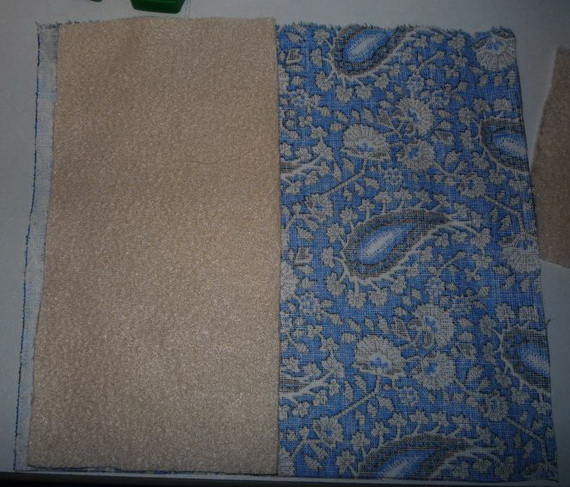
Then I folded the cotton piece like a book. The strip of fleece ended up inside:
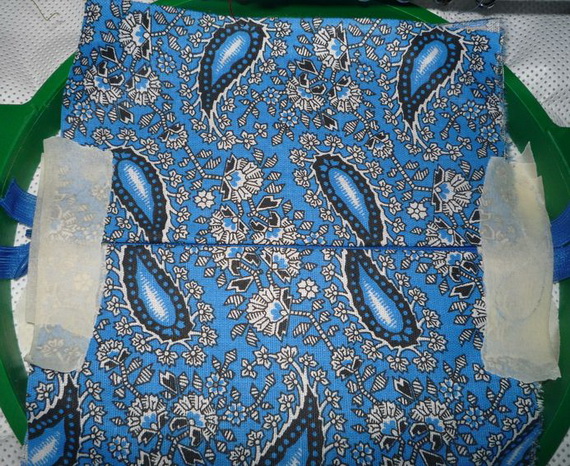
I repeated my actions with the remaining cotton and fleece cuttings. All the preparations for my future coin purse were finished. I took the first "book", positioned it with its fold along my zipper and secured it with sticky tape:
Same with the second "book":
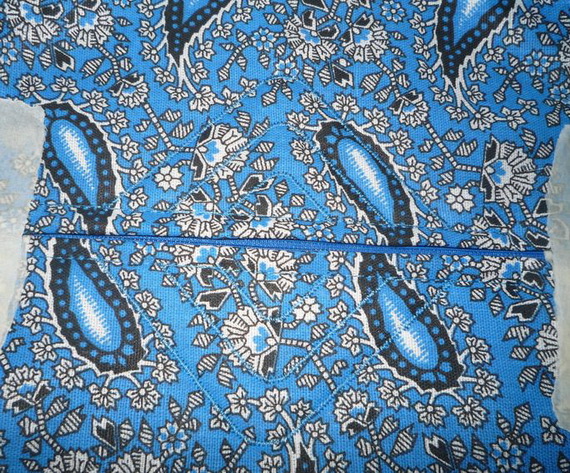
I started the machine again and stitched both of them along the zipper, then outlines my future coin purse with a zig-zag stitch:
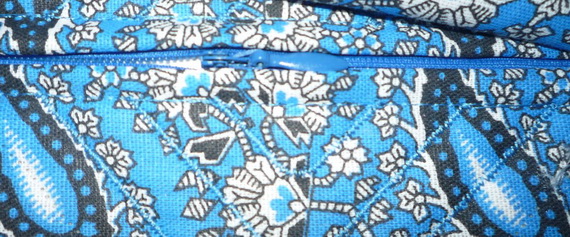
I should have half-unzipped it at this stage. But I forgot about it – like many other first timers, I believe.
Only when almost everything was ready did I remember about it, so I had to partly unstitch the whole thing in order to go back and do it. In the end, I got it right:
Now I needed to make a "layer cake" for the back side of my coin purse. When I started to arrange the pieces of fabric, I saw that I had forgotten to prepare the backing. Again, I had to make a detour in order to cut out one more square.

Then I assembled the following "layer cake" right in the hoop (layer after layer): Cotton print, with its front side to the already embroidered piece:
Fleece (for the filling) on top of it and also the backing with the right side up:
I started my machine and stitched all these layers perimeter-wise. I used the 3d stitch for this. And also E-stitch for the edges to prevent fraying:
This is the wrong side of my coin purse:
I unhooped the item and removed the stabilizer:

Then trimmed along the perimeter:
Mind you, trimming so many layers of fabric didn't come easy! At last, I turned my purse the right way round.
Everything is now ready.
Summary:
- a coin purse is very easy to make, just pay attention so that not to forget anything.
- An embroidery machine and a zipper go along fine.
- I've also noticed that the diagonal positioning is not the best: it distorts the item, and zipper crawls out of seams.
- It would also be a good thing to add a loop beside the zipper, which would not be difficult.
- A bar tack on the zipper should be strengthened, my usual 3 runs are not enough.
- And if you divide the whole process into 2 stages, you can also embroider the back side of the purse.
Edited by Irina
-
 2
2
There are no reviews to display.