
Original text by Marina Belova
I continue my quest of embroidering fluffy toys on my embroidery machine. Last time I wrote about making a simple one piece stuffed teddy-bear. Today I decided to make the task harder and embroider paws and several other details separately.
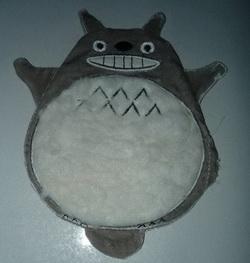
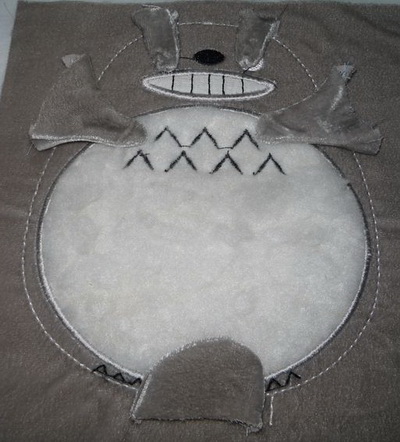
A couple of days ago I came across a pattern in a Chinese magazine called Pomelo Handicraft, and this pattern seemed suitable for making what I wanted — a Japanese animation character Totoro. So I decided to make it. Here's what I got:
This toy was created entirely on my embroidery machine, except for one short side seam (about 3 cm), which was made by hand. In order to make my Totoro, I needed to create 2 embroidery design files.
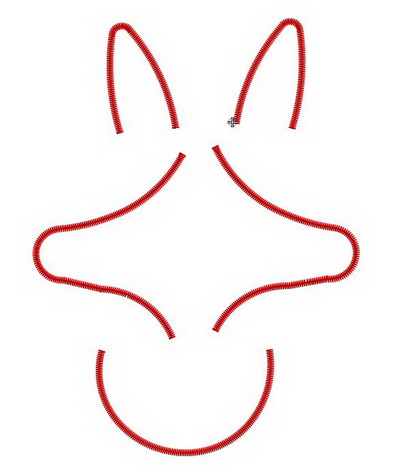
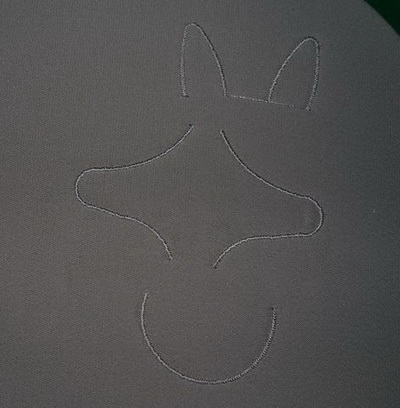
One for ears, paws, and tail:
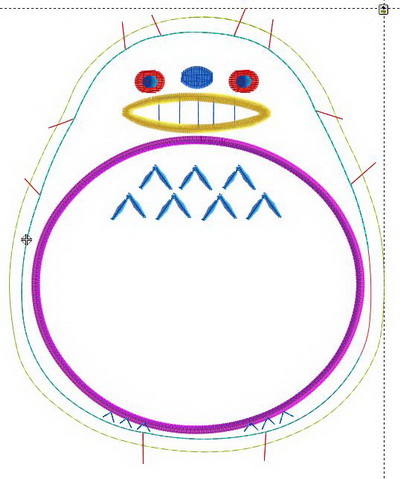
And another one for embroidering different parts and sewing them all together:
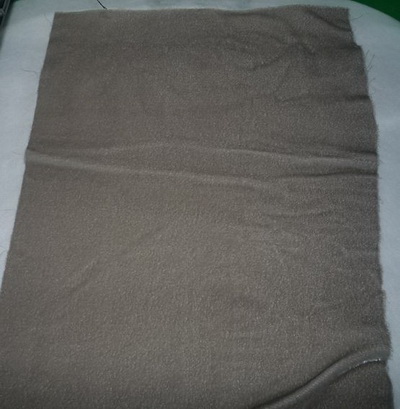
I picked several pieces of gray stretchy velvet as the main fabric for my Totoro's coat. For applique on the belly — the faux fur cuttings, and for the teeth applique — the ordinary calico.
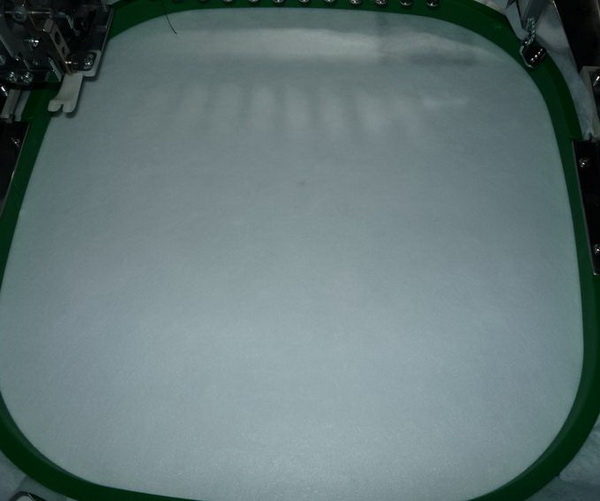
My first step was to embroider the flap pieces of the toy. In order to do this I hooped the velvet, folded it in two with the pile surface on the inside:

Then I started the machine and stitched the details:
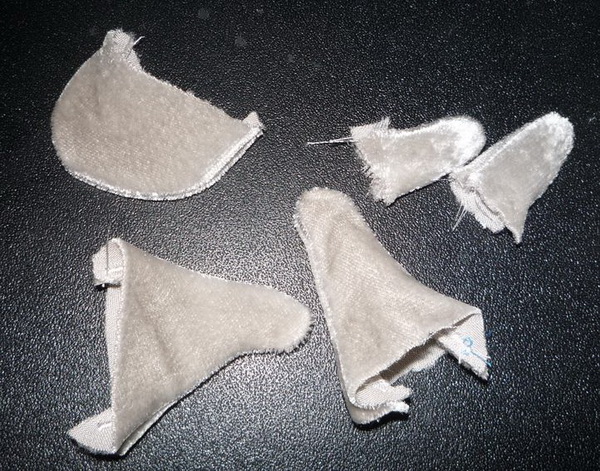
My subsequent operations were trimming the details along the perimeter (I had stitched a zig-zag outline) and turn them the right side up. I should mark that it was not easy to do the latter, for these details are very small. And so I decided not to stuff them, but to leave as they were:
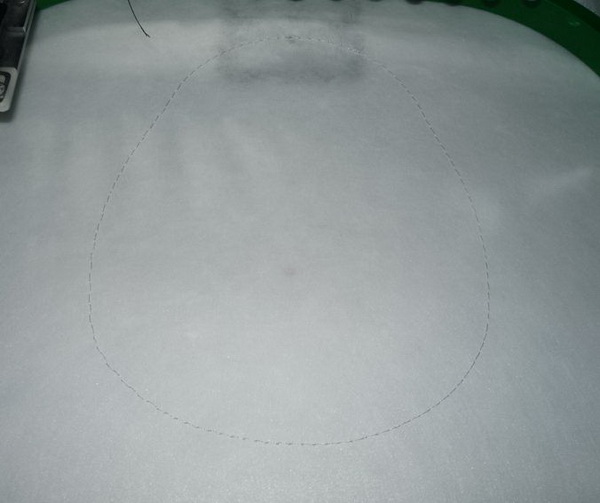
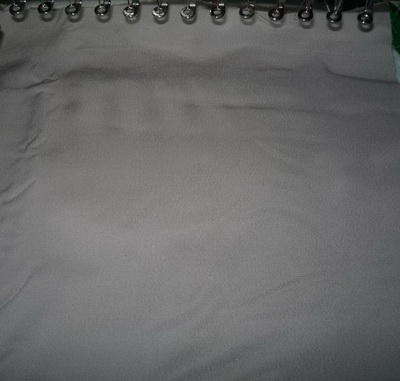
Now I needed to hoop a tear-away stabilizer:
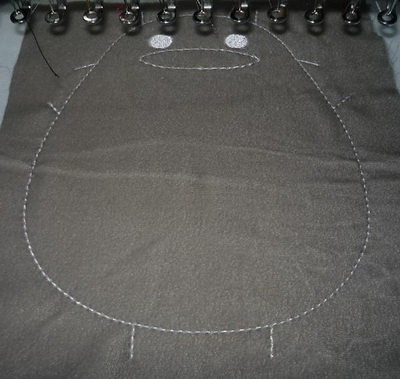
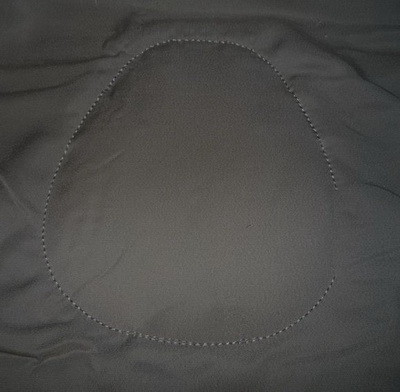
After that I embroidered an outline:
Attached the velvet to the stabilizer with its right side up:
Then I stitched the velvet along the perimeter to prevent it from peeling off and embroidered the eyes and the outline of the first applique — the mouth:
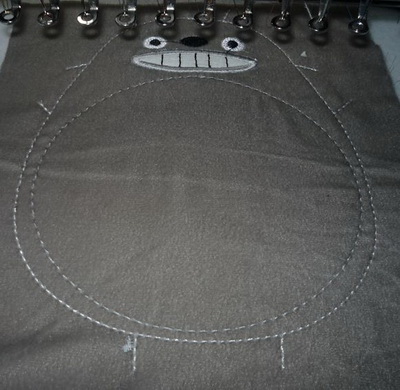
Now I position the fabric for the mouth:

I stitch and trim it and enclose it in a satin column border. I will skip these steps as the obvious ones. Immediately after that I stitch the outline for the belly:
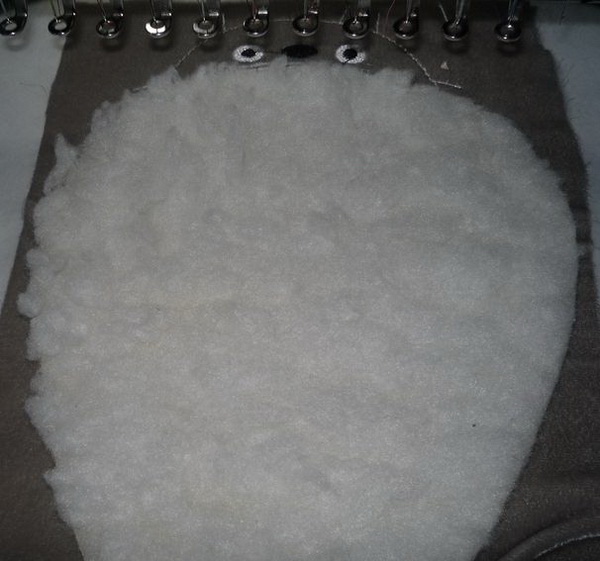
Place a piece of fur for the belly applique:
After having completed this applique comes the most important part — positioning of the flap details. I placed them in accordance with the embroidered marks and tried to secure them with glue, which doesn't usually work well on velvet:
Then I stitch these details to the fabric:
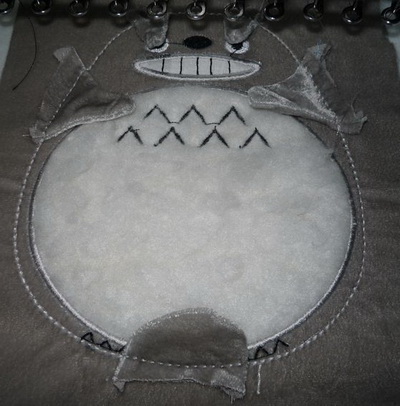
Now I cover this with another layer of velvet the wrong side up for the back part of the toy:
And after that comes the finishing touch: sewing the parts together. I left a small opening on the side through which I would stuff the toy with a filler:
That is all; now I may take the hoop off. I trimmed the fabric along the perimeter in accordance with the outline, embroidered at the very beginning:
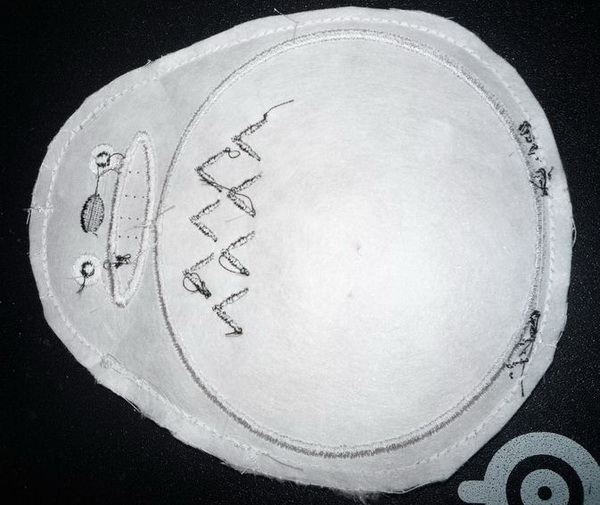
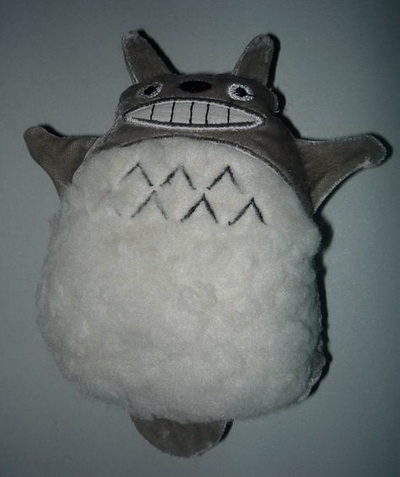
Then I removed the stabilizer and turned the yet two-dimensional Totoro up front:
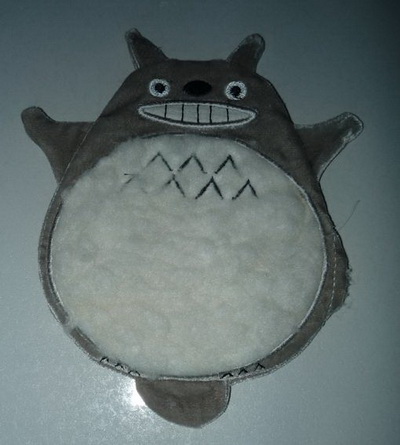
The rest is easy — I stuff the toy and sew up the opening. But you may go without stuffing if you like. I think that I should have made the hind-paws, too, for he looks somewhat strange. But I'll leave it for the next time.
-
 1
1
-
 1
1
Recommended Comments
Join the conversation
You can post now and register later. If you have an account, sign in now to post with your account.