
Original text by: Marina Belova
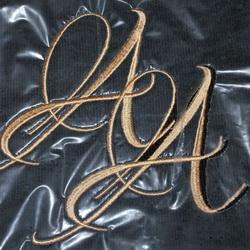
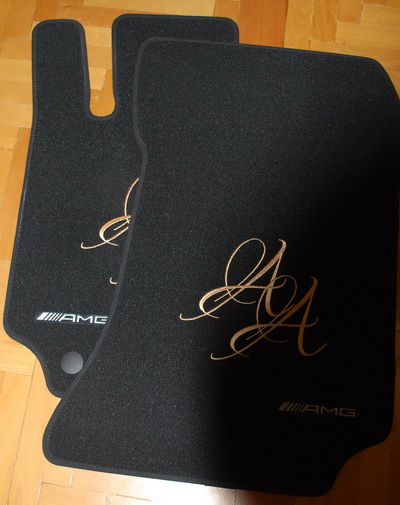
Several days ago I received an order that turned out a quite unconventional one for me — I was asked to embroider a monogram on the car foot pads as a present for a girl.
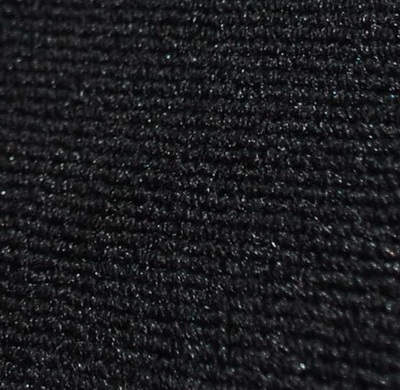
These foot pads were thick, densely woven, rubber-covered and foamed, with high ridges on the front side. In short, industrial carpet as it is.
I've heard that it is possible to embroider on them, and besides, they bore an embroidered trademark on them. This one:
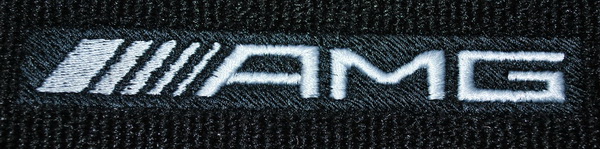
So I decided that if other people can embroider on the car foot pads, why couldn't I do the same? And I began embroidering. What's more, the design on those foot pads was a vivid demonstration of one of the ways in which that could be done – first fill the ribbed surface with Tatami in order to make it smooth, and after that embroider on this base.
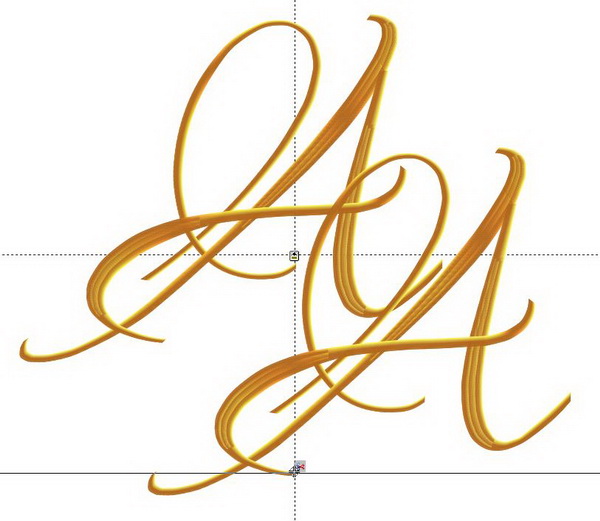
The tricky thing is that I need to embroider not a 10х2 cm monogram, but instead large satin letters 23х21 cm each and with twirls. I can fill the space under them, of course, as on the photo above, but it would take a vast amount of stitches and also make the foot pads look worse. And I need to make them look good.
Then a new idea came into my head – to embroider an additional contour filled with black stitches as a leveler under each of the satin columns. The one that won't show much from below, but that will make the surface under the columns smooth.
But I reckoned how much time it would take and measured it by the amount of money I was paid. And decided that it is not worth losing my sleep over it, and besides, it was not clear that it would work anyway. So I began to seek a settlement that would take as little of my time and labor inputs as possible. And the answer came immediately — to use a water soluble film; long time ago it was suggested here by not-so-unknown Deborah Jones.
She advises to use the Underlay-at-once embroidery technique on similar coarse fabrics. It's main point is that a water soluble film should be used as the means for smoothing of the embroidery surface, and that the embroidery pattern should be made in a slightly different way. It means that you should do a layer of understitching (underlay) in one go, then the pattern will tell the machine to stop (every machine does it in its own way), and only after removing the stabilizer you create a layer with satin columns. Of course, she does not disclose any embroidery parameters, but it is still clear where to go.
Having watched the video and pondered over the matter, I came to a thought that even this method is too long and wearing, because you'll need to draw understitching by hand. So I decided to do it as simple as possible, namely, to remove the film in the end of the embroidery, as if
I was embroidering on a very coarse net, and make a standard pattern (all the elements are embroidered in a sequence). If it was good for a net, why should it not help me here?
No sooner said than done. I created a rather simple pattern with dense understitching in order to support the final layer, which should be beautiful and without a ragged edge.
For the basic supporting stitches I chose 2 edge runs with 1.5 mm stitch length and quite a dense double zigzag stitch (1 line/mm in my software). And I began embroidering.
Of course, you cannot hoop the foot pads of such density. So I decided to stick them onto water soluble stabilizer in a frame. I took 1 layer of water soluble stabilizer, stuck a double-sided adhesive tape along the perimeter of the frame, and put a foot pad down onto it:
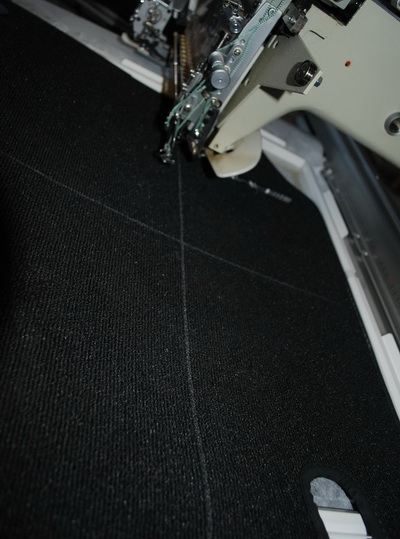
I should point that I didn't have to stick anything apart from that, because the understitching held the foot pad in place sure as death.
Put a piece of a heavyweight film on top of it:

Embroider the design:
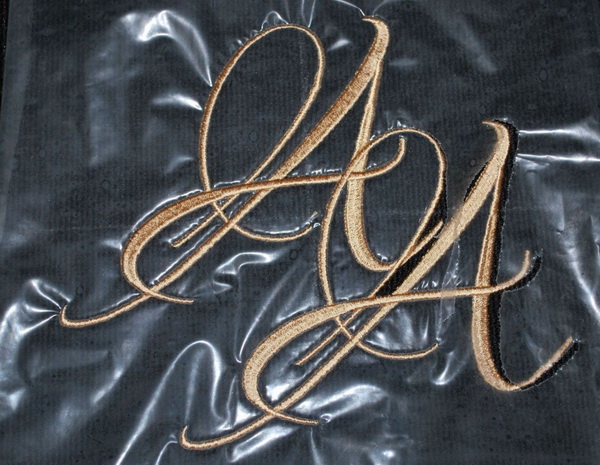
I take the film off and realize that because of a double stitching along the perimeters of the letters I should have increased the space between it and the elements, for I got several extremely unpleasant loops at the edges:
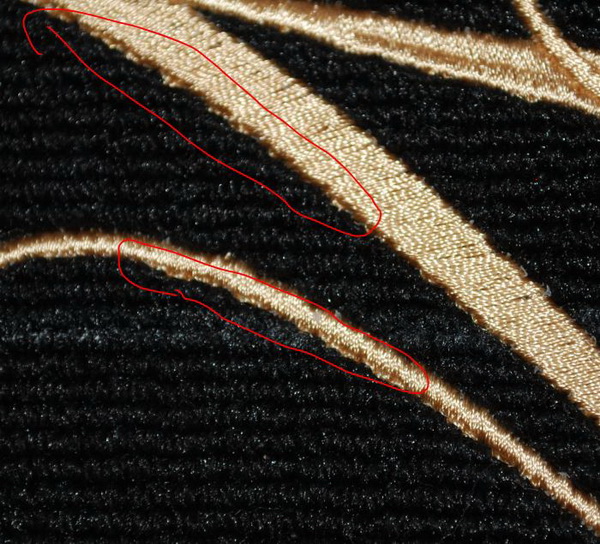
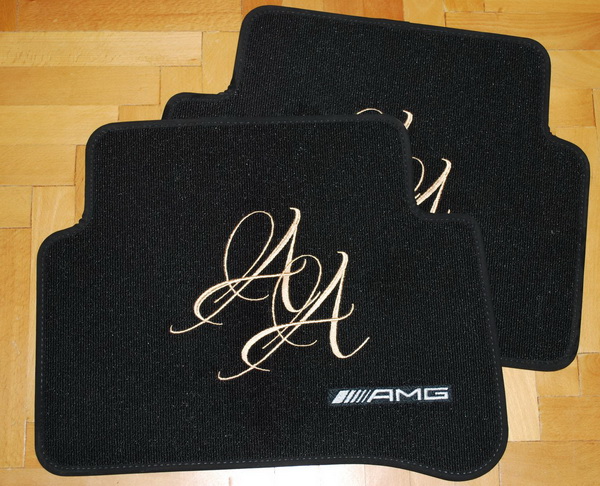
This can be corrected, though I will have to sweat over it a little. I also modified the pattern for other pads, so that the understitching would not show. In the end, I got a design of quite a decent quality. The edges of the satin columns became ragged whenever they encountered a ridge, but it's not so awful as it had been when I embroidered on the ribbed fabric for the first time:
These foot pads made me remember a curious detail: when selling embroidery machines, ZSK dealers tell their customers that they can embroider car footpads on them. But what I want to say is that it is possible embroider foot pads not only on ZSK equipment, but on the Chinese embroidery machines (like the one I own) as well.
This time I used a standard needle, which came with my machine and the Fufu's polyester thread. I use standard DBxK5 75 SES needles for everything. And for all 100 thousand stitches the thread only broke once; as for the needle, it has never broken at all. In the end, everything is possible.
Edited by Irina
-
 1
1
There are no reviews to display.