
Original text by Katya Ebber
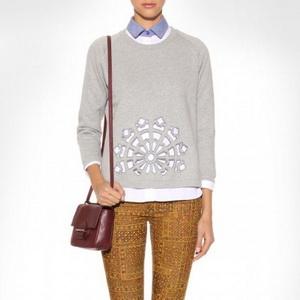
Having stumbled upon this jumper on the internet, I simply couldn't pass it by. Creation of the design didn't take much time unlike the choice of the materials and the technique compelled me to try several fabric + stabilizer combinations. A cut-away stabilizer proved the most effective: the embroidery maintained its shape even after washing.
This master-class will tell you how to do openwork embroidery on medium density knitwear with the use of a cut-away backing.
Materials for this master-class:
- Spray adhesive
- Upper thread
- Underthread
- Machine embroidery design
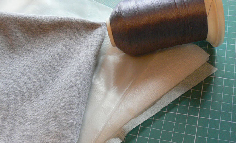
- Cutaway non-adhesive stabilizer
- Filling-knit fabric or ribbed fabric
Openwork: the making process:
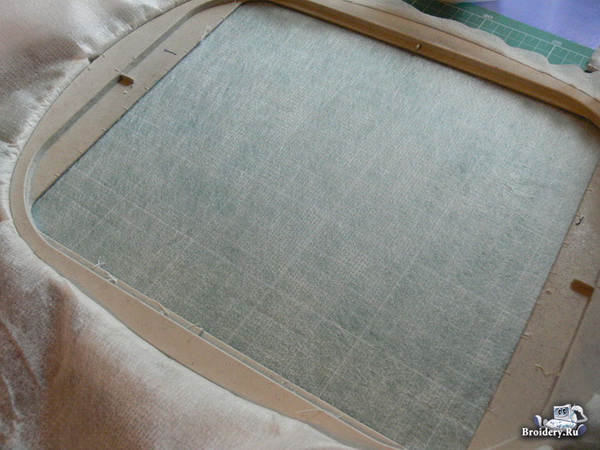
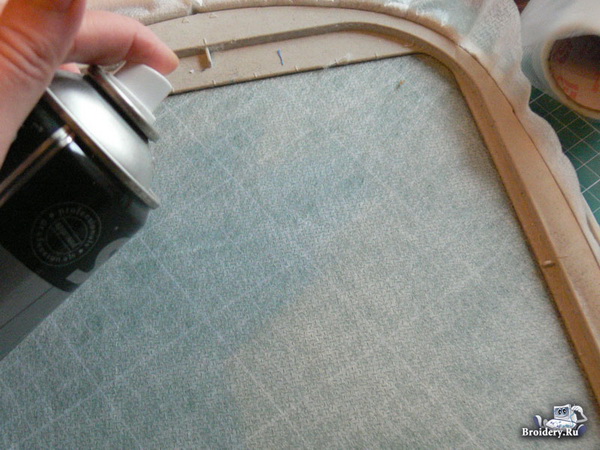
Hoop the cut-away non-adhesive stabilizer. Sprinkle it with a temporary spray adhesive and press the fabric to it facing up.
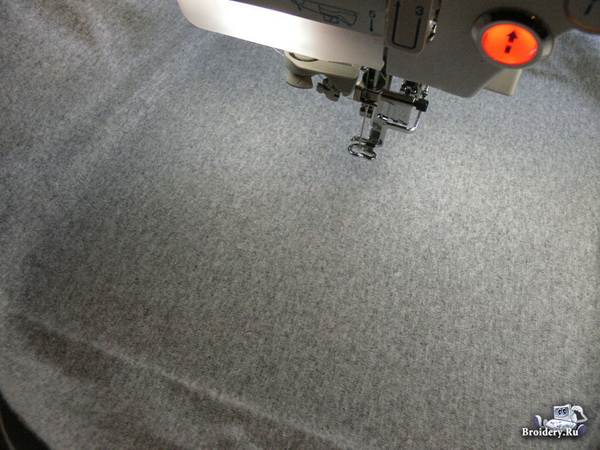
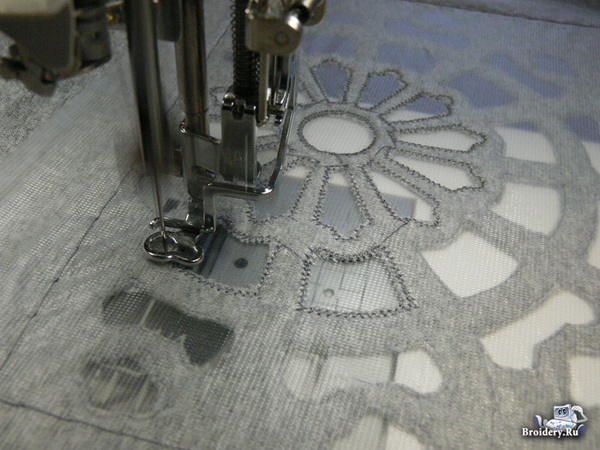
Insert your hoop into your machine. Load the design, hit the start button and embroider the first color with the running stitches.
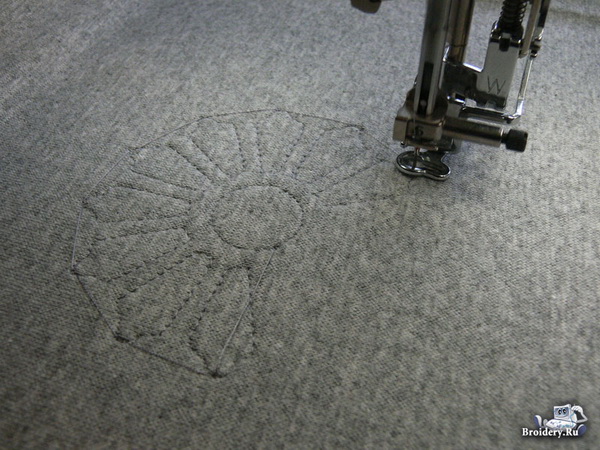
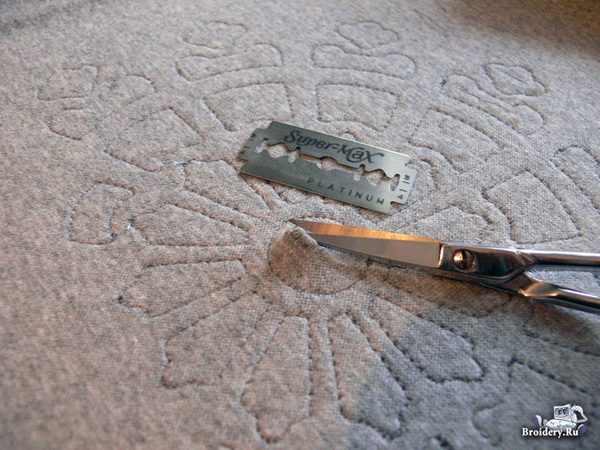
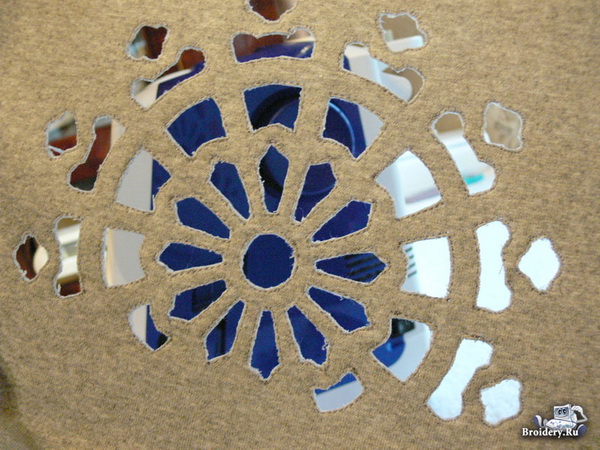
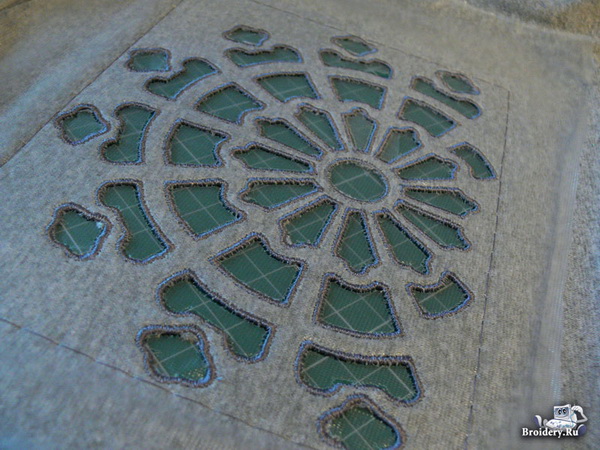
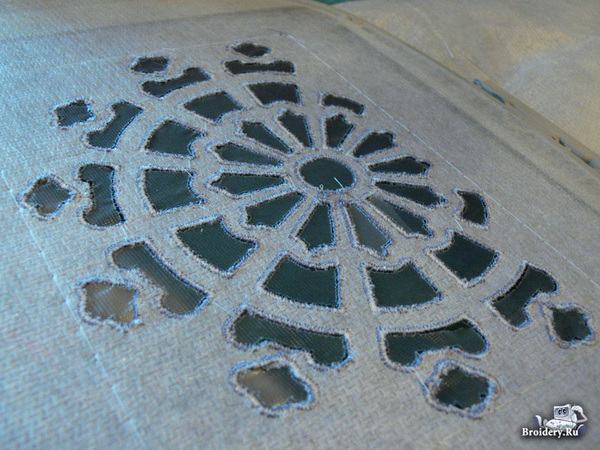
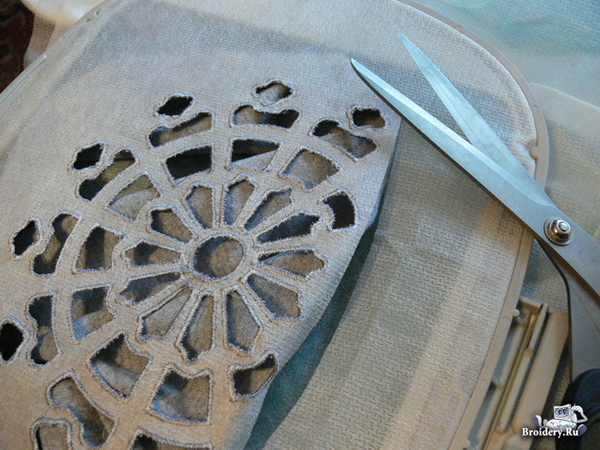
After that, the machine makes a stop as if for a color change. Take the hoop off the machine and make incisions in the fabric and the stabilizer inside the closed objects using sharp scissors or a cutting blade. Carefully cut the pieces of fabric and the stabilizer out, keeping close to the running stitch.

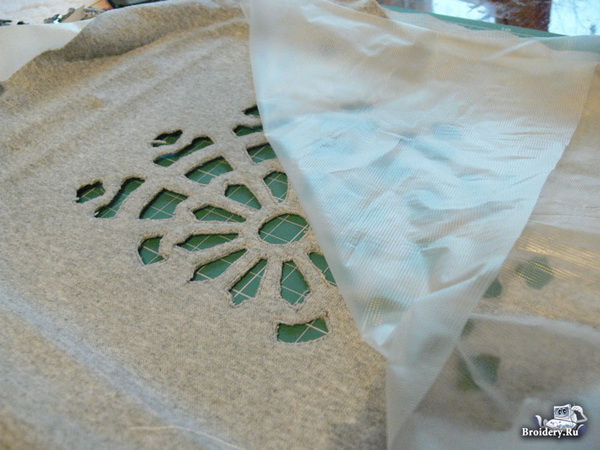
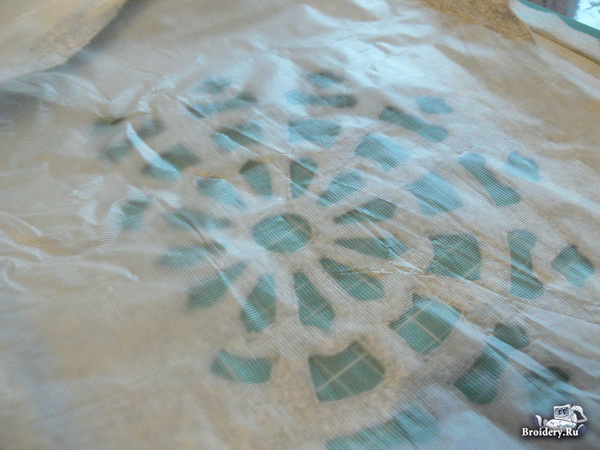
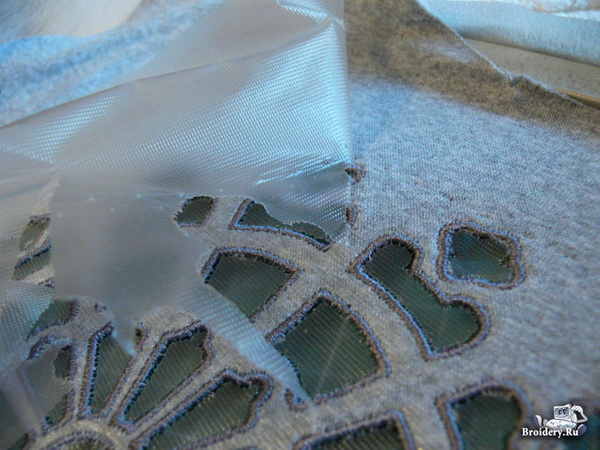
On top of the fabric with the holes, place a layer of the water-soluble stabilizer. Secure it with a basting stitch or with pins.
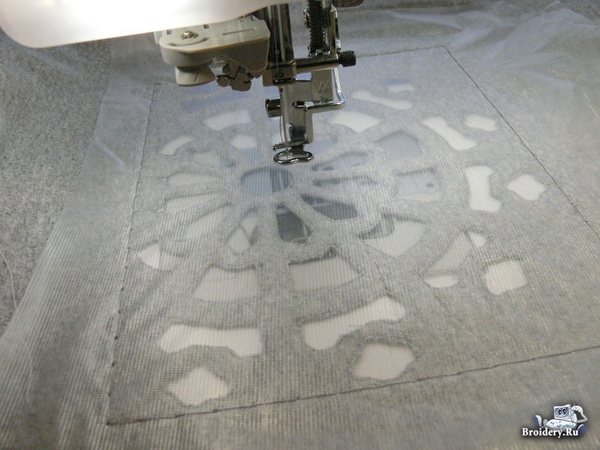
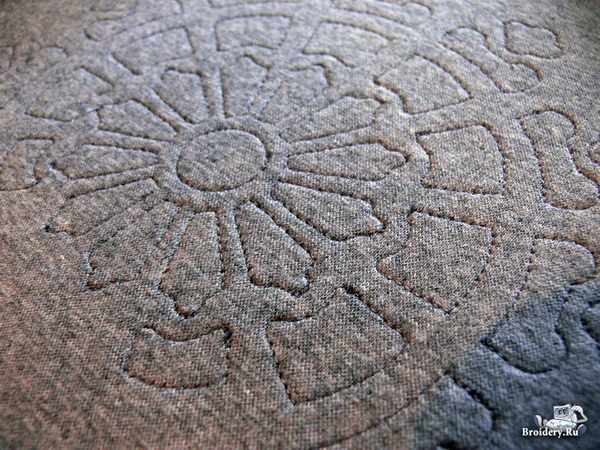
Insert the frame into your machine and restart the embroidery. The machine will stitch the zig-zag stitch and the finishing satin column. The main part is now finished.
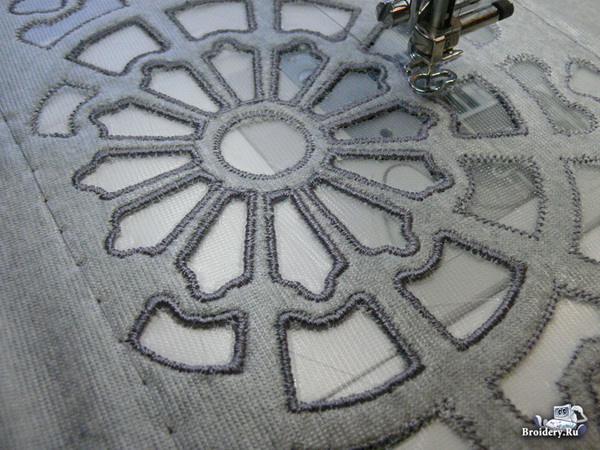
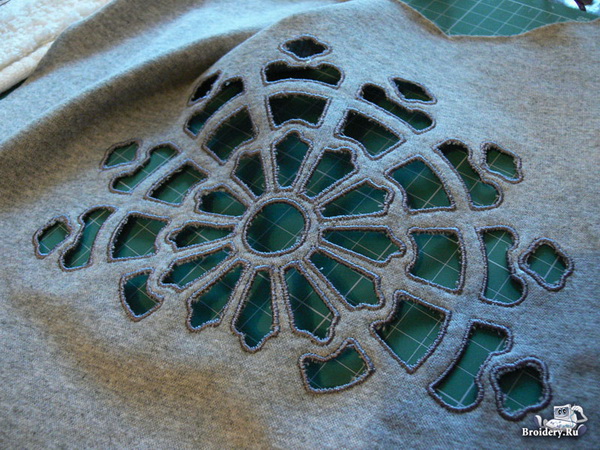
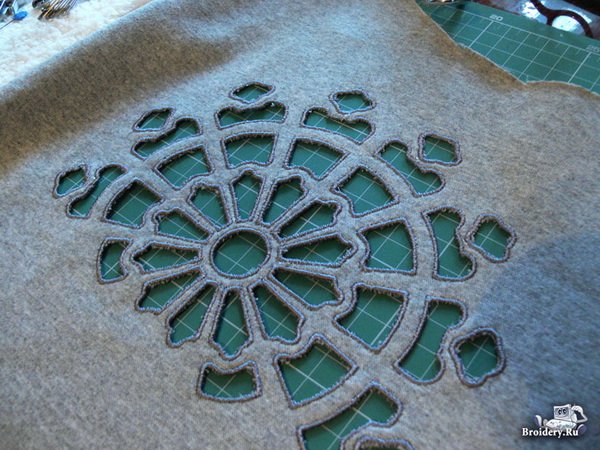
You only need to remove the basting stitch, tear away the water-soluble stabilizer and cut the backing along the contour, leaving a small allowance.
Your openwork on knitwear is ready.
-
 3
3
-
 1
1
Recommended Comments
Join the conversation
You can post now and register later. If you have an account, sign in now to post with your account.