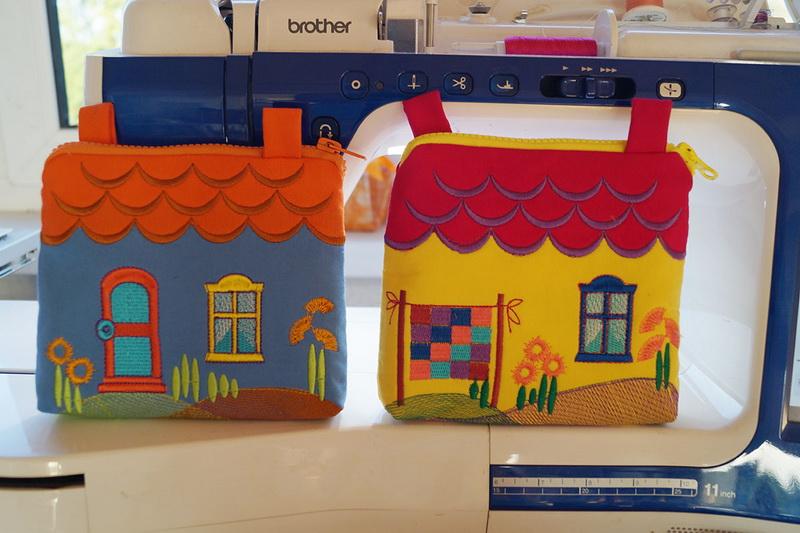

Sewing in the hoop: An embroidered bag in the shape of a house
An embroidered bag in the shape of a house
For this job, you’ll need:
- A hoop, size 20 x 30 cm
- A design, size 20 x 30 cm
- A piece of yellow fabric, size 20 x 24 cm
- Two pieces of red fabric, size 20 x 8 cm each
- Two strips of fabric for the eyelets, size 7 x 3 cm each
- A piece of lining, size 32 x 18 cm
- Colored embroidery threads
- High-loft interfacing material (adhesive)
- Tearaway stabilizer
- A zipper
If you’re going to use a Brother V machine, you’ll need to have the Premium Pack I installed to be able to enlarge the embroidery field to 20 x 30 cm.
An embroidered bag in the shape of a house. Embroidery
With an iron, fuse the high-loft interfacing material to the yellow fabric. Place a piece of tearaway stabilizer under the fabric and hoop them together. Make sure that the center of the yellow piece corresponds to the center of the hoop.


Begin the embroidery. The machine will stitch the outline and make a stop.

Don’t unhoop; place the red pieces on top. Fuse them to the high-loft interfacing material with an iron, fix the edges with glue and continue embroidery.


Trim the extra fabric from the scallops and embroider the rest of the design.


")
An embroidered bag in the shape of a house. Sewing
Iron the embroidery and cut along the outline.
Now create the eyelets. Fold the 14 3 cm strip of fabric in two, stitch along the longer side and turn the right side out. The ready eyelets should measure 7 x 2 cm.


Fold the strip in two and stitch it to the right side of the fabric with a straight stitch, as shown in the picture.

Sew the zipper to the upper part of the bag.


Stitch the lining along the zipper. Fold the bag, right side inside, align the sides. Stitch the sides. Leave 5 cm of the lining for the turning out.


Fold the lower corners inside and stitch across, 2 cm from the edge.

Turn the right side out and iron. Drag a cord or a band through the eyelets. It will serve as a handle.


Original text by Olga Milovanova
-
 1
1
-
 3
3
There are no reviews to display.