

Original text by Marina Belova
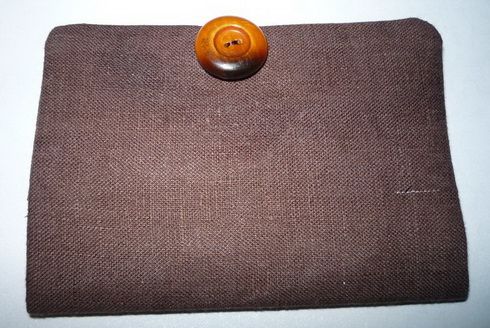
I got an idea of making a passport cover. Not a common one, with a thick satin border, but of a more elaborate kind, with all seams closed – like the ones made on a sewing machine. It all began when my daughter obtained a passport and bought a funny cover for it. The cover was clearly handmade, vivid color with a button. I turned it this way and that, feeling glad for the creator of this eye candy. Tonight it suddenly dawned on me how to make something like that on an embroidery machine, together with the embroidery.
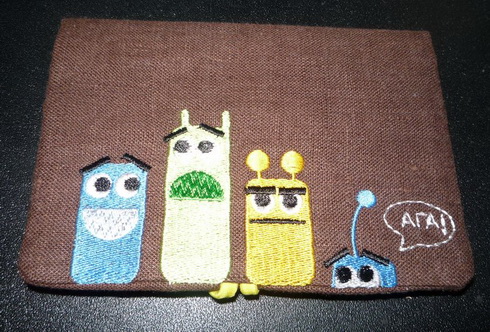
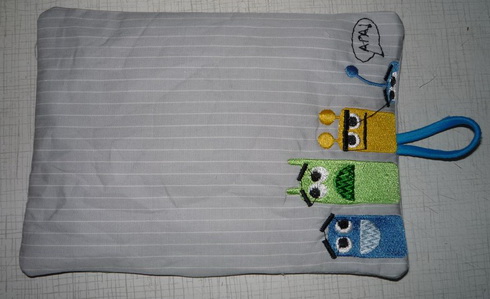
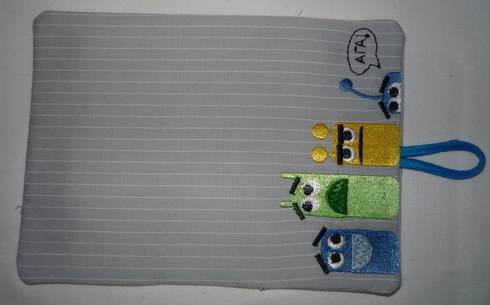
I got this as the result:
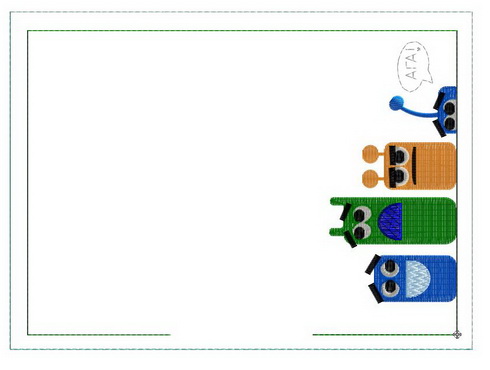
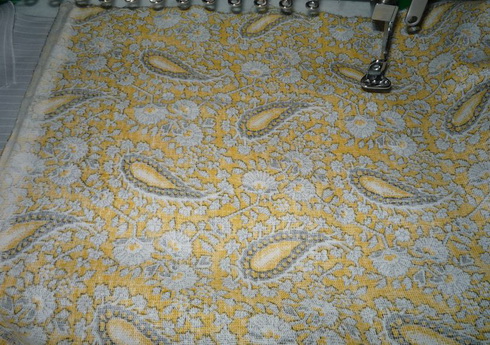
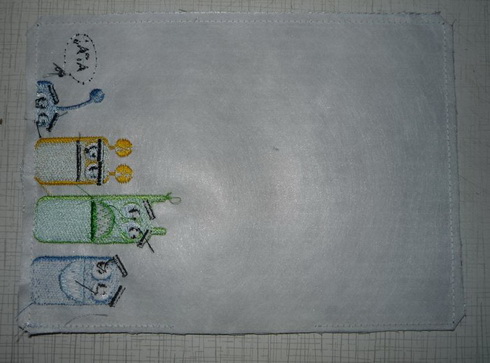
The making process is very simple. Anyone who practices sewing can guess its structure. But let's begin with choosing of a design. Having measured the passport and left some fabric for the turn-ups, I dug up yet another free design on the Web and fitted it to the resulting pattern:
As always, the embroidery sequence contains several stops. The first stitch outlines the future design, and the second one stitches the cover.
The line is not closed. I left an opening through which I'll later turn the cover the right side out.
The number of the stitches in the design is not high – about 9000. In my step-by-step demonstration, I'll use the test sample (you can see the final variant in the photo above).
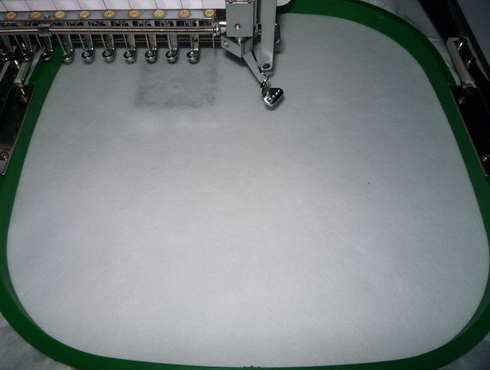
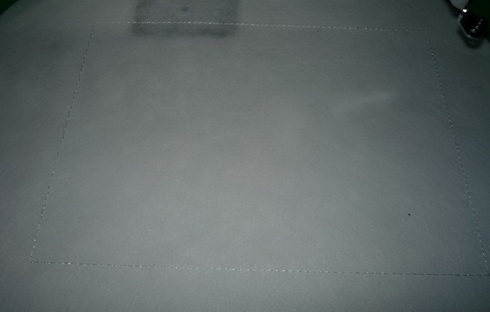
The first step is to hoop the tear-away stabilizer:
Then I load the design and stitch the outline:
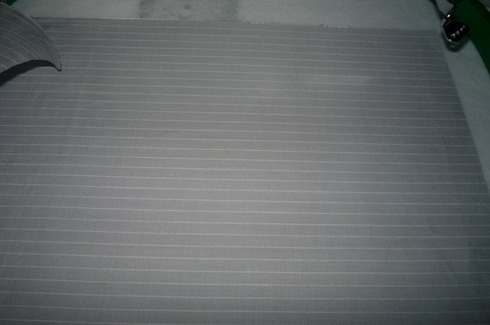
Place my fabric on top of the stabilizer, face up, and secure it with an adhesive. This is how the front side of the cover looks like:
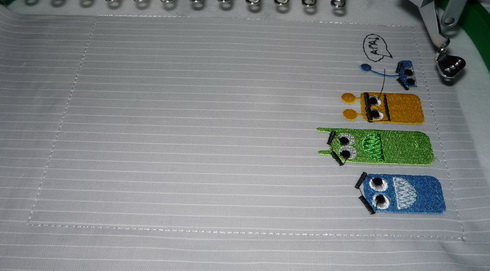
I start the machine and embroider the entire design as planned. After that, stop.
This is where the things get interesting. I prepare the fabric for my eyelet. I chose a plain hair tie, the only elastic thing of the matching color I could find:
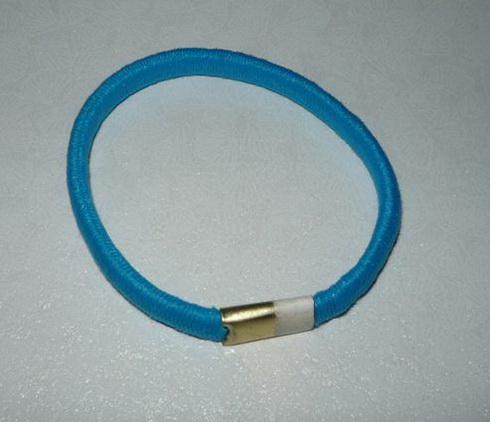
Away with the metal thingy on the hair tie – I won't need it:
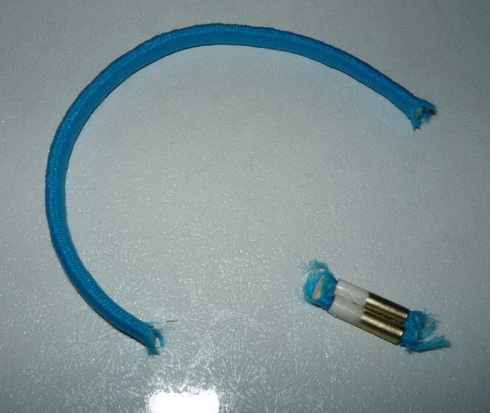
I place the hair tie approximately in the middle of the embroidered side and secure it with paper painters tape:

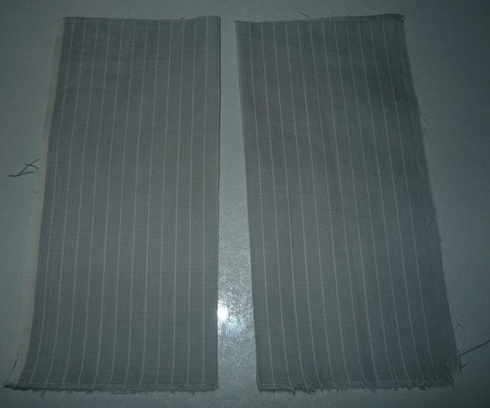
Time to add the flaps (or how are these things called), which will hold my passport. While preparing for the embroidery, I cut out 2 square pieces of fabric:
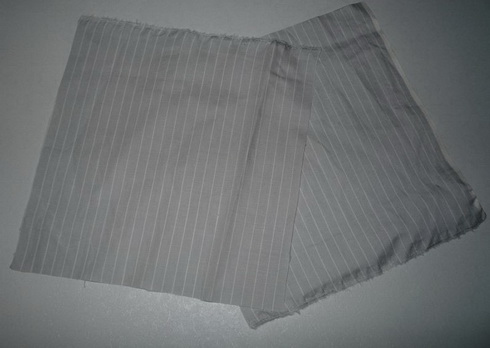
I folded them in half and pressed them with an iron, face up:
What I need to do now is to secure them with an adhesive on the front side of my cover:

Add another layer of fabric, for the inner side, face down:
Stitch this "sandwich" with a running stitch along the perimeter. Unhoop the whole thing and turn the wrong side out:

Trim the extra fabric to the outline, which is the outermost stitch: Also, I cut the corners diagonally:
I decided against removing the stabilizer because I thought it would help the cover to maintain its shape. Time to see how the result looks like.
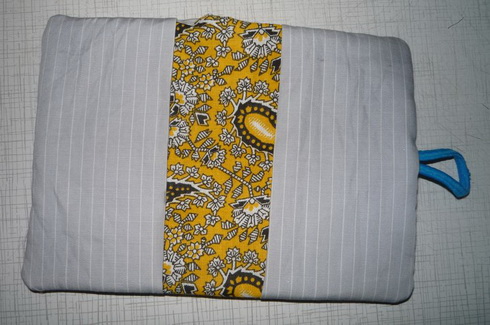
This is the front side:
This is the inner side:
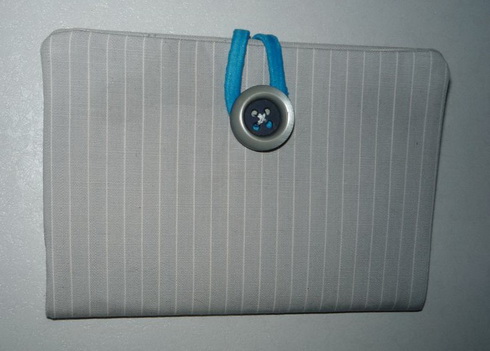
I sew up the opening by hand. Now I grasped how I should have done it. You can use the machine if you want. I sewed the button on, aligning it with the eyelet.
Removed the jump stitches and ironed the embroidery:
The cover is ready for the passport.
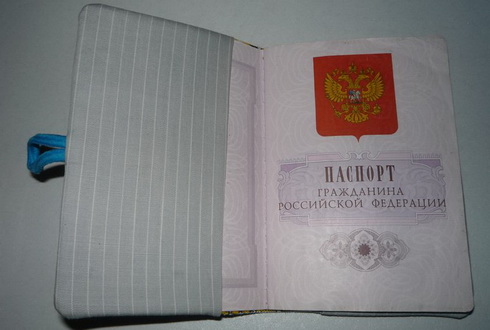
This is how it looks like with the passport in it:
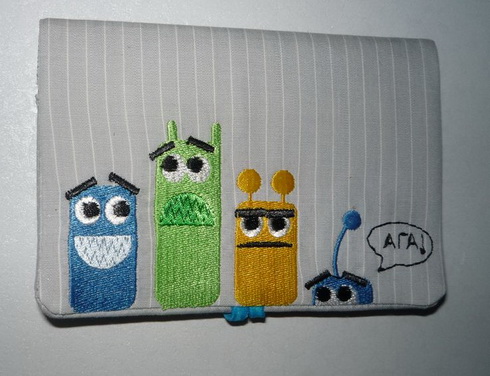
Nevertheless, I didn't like the sample. So I decided to choose another fabric, add one more cm for the allowance and modify the pattern.
The design didn't change much, but the embroidery became way easier: I added the marks for the flaps. See the small vertical ticks that mark their position:

I align my flaps with them, and I also stitch them before the fabric for the inner side:
The whole thing takes about an hour. But the result sure is cool enough. Find out how to make a cover for a school diary by using a similar technique.
There are no reviews to display.