How to Stitch a Halloween Cow Design on a Small Hoop Machine

By diver361 in Help for embroiderers
· 562 views
🧵 Can I Make This on My Machine? Halloween Embroidery Tips 🎃
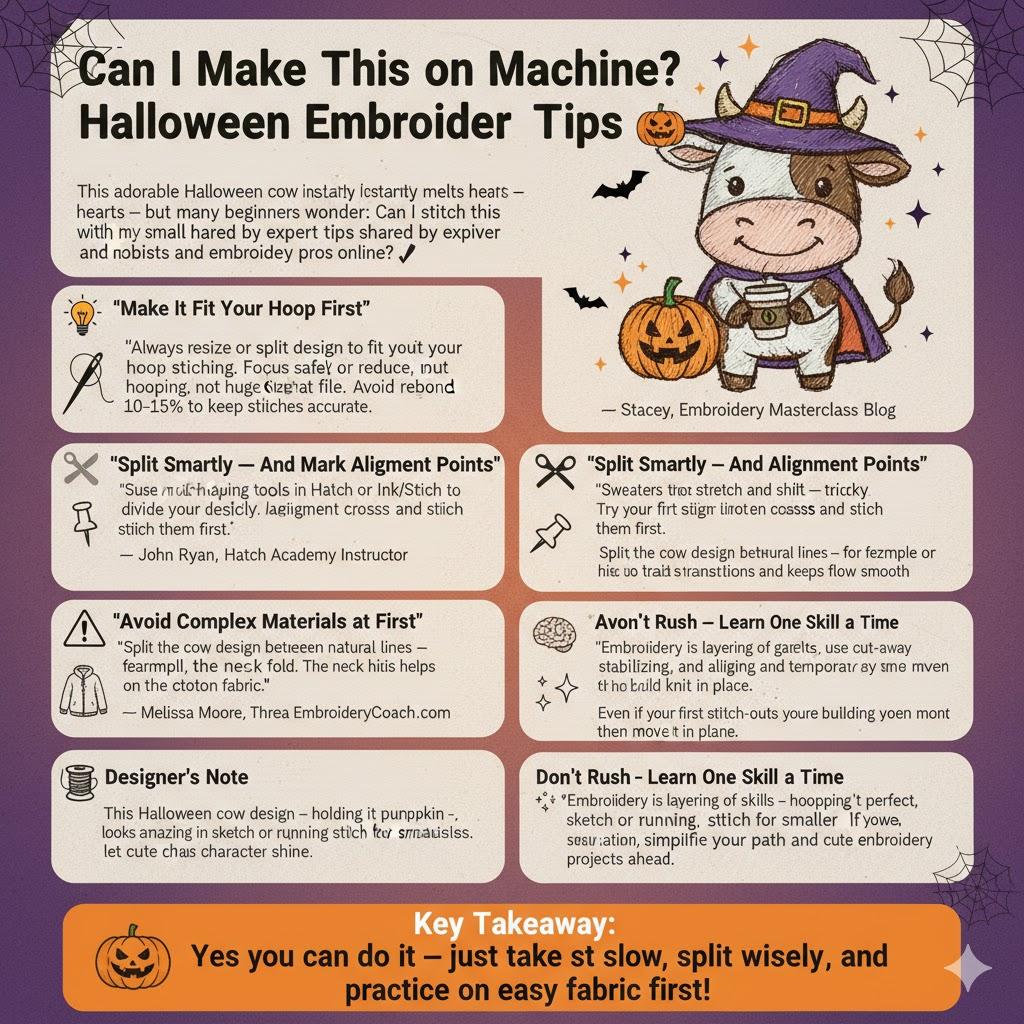
This adorable Halloween cow design instantly melts hearts — but many beginners wonder: Can I stitch this with my small hoop machine? Let’s dive into expert tips shared by hobbyists and embroidery pros online 👇
💡 “Make It Fit Your Hoop First”
“Always resize or split the design to fit your hoop before stitching. Focus on mastering hooping, not huge designs.” — Stacey, Embroidery Masterclass Blog
🪡 Start simple. For a 5x12 hoop, you can safely reduce or split the file. Avoid resizing beyond 10–15% to keep stitches accurate.
✂️ “Split Smartly — And Mark Alignment Points”
“Use multi-hooping tools in Hatch or Ink/Stitch to divide your design logically. Add alignment crosses and stitch them first.” — John Ryan, Hatch Academy Instructor
📍 Split the cow design between natural lines — for example, the neck or cape fold. This helps hide transitions and keeps the flow smooth.
⚠️ “Avoid Complex Materials at First”
“Sweaters stretch and shift — tricky for beginners. Try your first split on a stable cotton fabric.” — Melissa Moore, Thread Art Studio
🧥 When you’re ready for garments, use cut-away stabilizer and a temporary spray adhesive to hold the knit in place.
🧠 “Don’t Rush — Learn One Skill at a Time”
“Embroidery is layering of skills — hooping, stabilizing, splitting, and aligning. Master one, then move on.” — Jane Hooper, EmbroideryCoach.com
✨ Even if your first stitch-outs aren’t perfect, you’re building the foundation for stunning embroidery projects ahead.
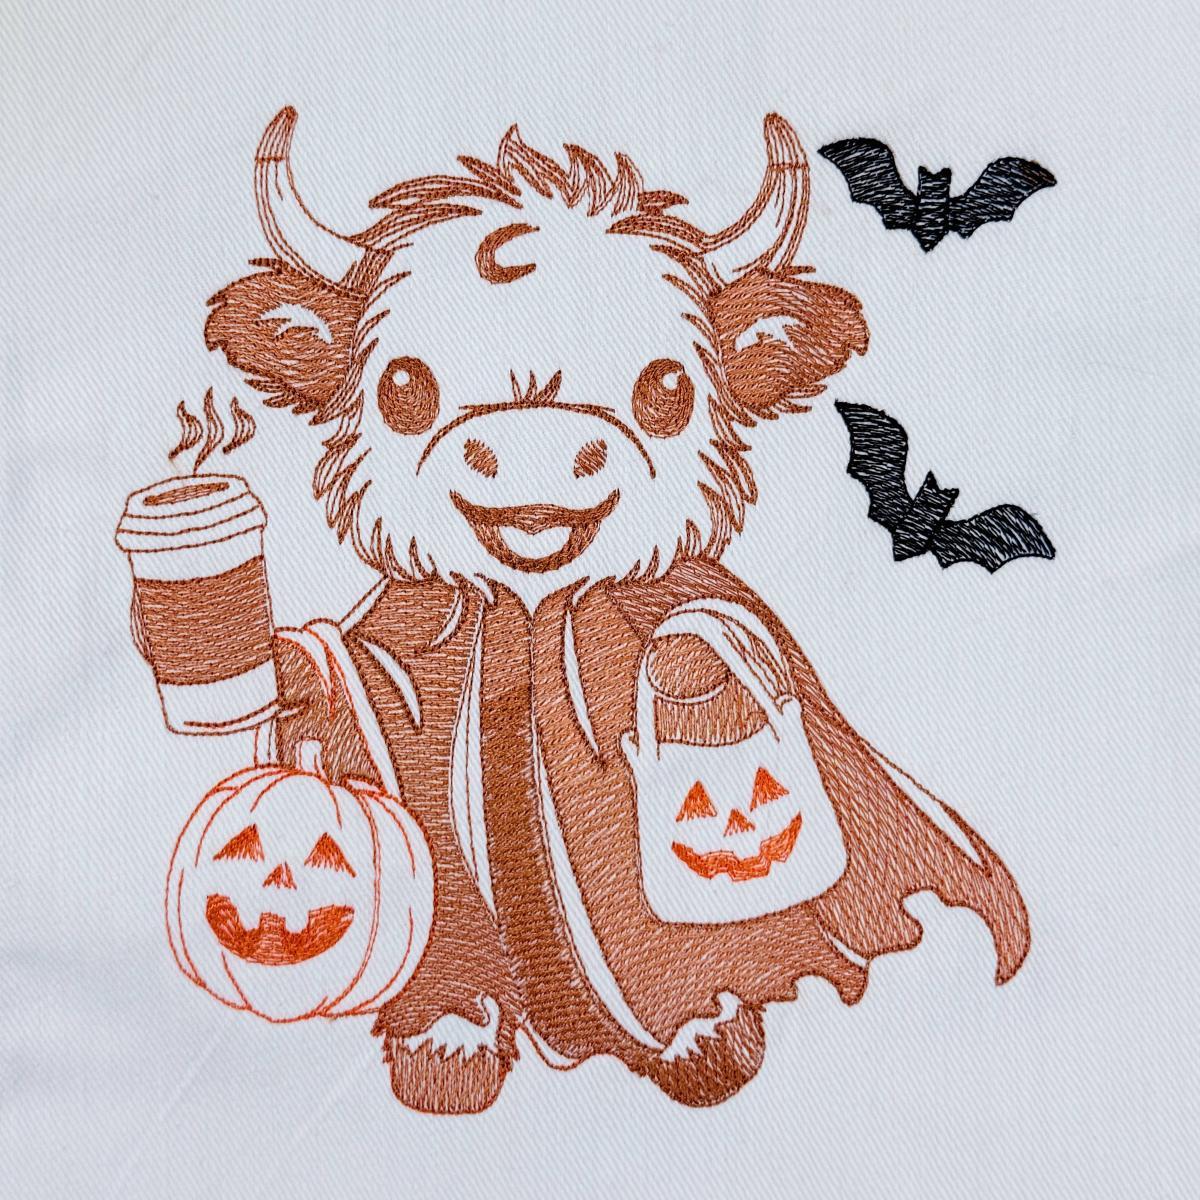
🧵 Designer’s Note
This Halloween cow design — holding a pumpkin and coffee cup — looks amazing in sketch or running stitch for smaller hoops. If you’re new, simplify your path and let the cute character shine.
🎃 Key Takeaway: Yes, you can do it — just take it slow, split wisely, and practice on easy fabric first!
Recommended Comments