Remove Stabilizer from Embroidery Patches?

By diver361 in Embroidery Patches
· 260 views
🧵🔥 Should You Remove Stabilizer from Embroidery Patches? Let’s Settle This Once and for All! 🔥🧵
If custom embroidery patches are your jam (same here 😎), you’ve probably asked yourself this exact question:
Does leaving stabilizer inside a patch affect durability or quality?
Short answer?
👉 No — and in many cases, it actually makes your patches BETTER.
Let’s break it down using real-world embroidery wisdom from makers who live and breathe patches 💪🪡
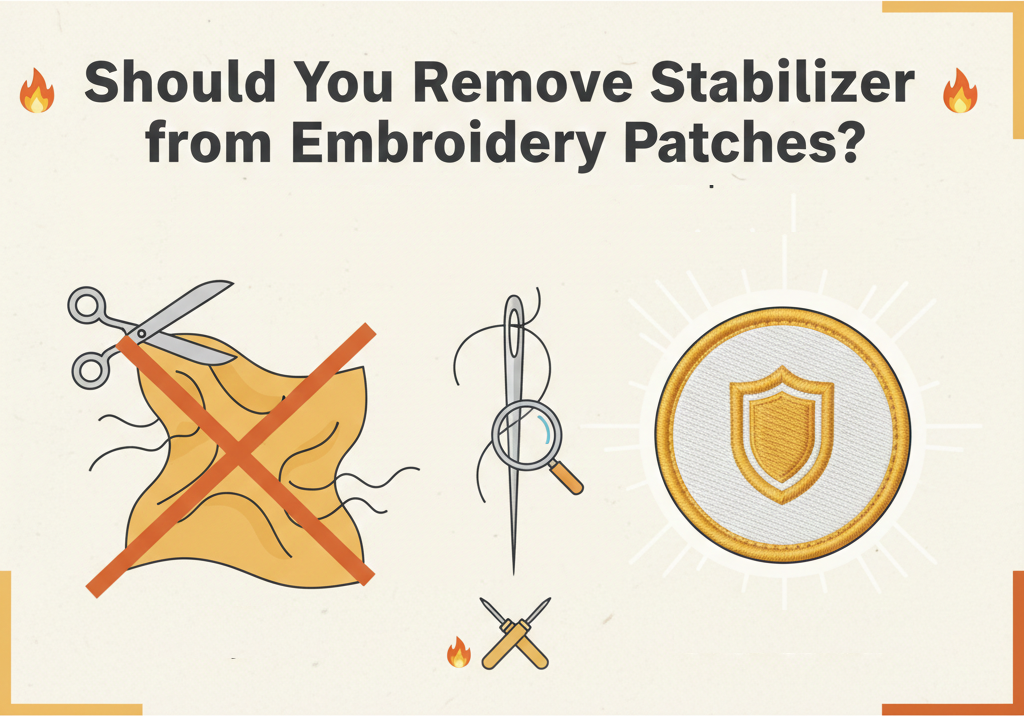
🧠 The Big Myth: “You MUST Remove Stabilizer”
Many beginners assume that all stabilizer should be removed after stitching. That’s true for garments — but patches are a whole different beast 🐉
When making patches:
The stabilizer is part of the structure
Removing it can cause warping, wrinkling, or curling
Leaving it in = clean shape + long-term stability
💡 Tear-away stabilizer that stays inside the patch is totally fine, as long as it trims cleanly.
🛡️ Why Leaving Stabilizer INCREASES Durability
Experienced patch makers agree on this:
✨ Leaving stabilizer inside:
Adds firmness and body
Keeps edges crisp
Prevents fabric distortion
Makes patches easier to sew or mount later
One maker summed it up perfectly:
“The stabilizer always stays on mine. It would be way too much work otherwise — and it adds stability to the finished product.”
And honestly? They’re right.
🧵 Pro Patch Workflow (Battle-Tested Method)
If you want professional-grade patches, here’s a proven process used by serious stitchers:
✅ Materials Matter
100% polyester fabric
100% polyester stabilizer (cutaway or heavy tear-away)
❌ Avoid stretchy fabrics
Why polyester?
🔥 Because it seals beautifully when heat is applied.
🪡 Step-by-Step Patch Process
Hoop one layer of cutaway stabilizer + fabric
Stitch the patch design
A solid satin or merrow-style border helps a LOT
Remove from the hoop
✂️ Trim as close to the edge as possible
🔥 Seal the edges
Lighter 🔥 or
Soldering iron ⚡
Result?
👉 Clean edges
👉 No fraying
👉 Rock-solid patch
Yes… some makers proudly say:
“I use a lot of fire in my process 😄”
And honestly? Same energy 🔥
🔥 Fire vs Soldering Iron — Which Is Better?
Both work. Choose your vibe 😎
Method | Pros |
|---|---|
🔥 Lighter | Fast, simple, effective |
⚡ Soldering iron | More control, less open flame |
Either way — polyester is the key. Cotton won’t forgive you 😬
🎮 Bonus: Patches for Games, Fandoms & Art
If you’re making patches inspired by games, art, or fandoms (👋 TLoU fans!), this method is perfect for:
Collectible patches
Jackets & backpacks
Display pieces
Trading or selling
Clean borders + stable structure = 💯 professional look.
🧷 Final Verdict
✨ Leaving stabilizer inside embroidery patches does NOT reduce quality
✨ In fact, it improves durability, shape, and finish
✨ Especially true for polyester-based patches
So don’t stress. Trim clean. Seal edges. Trust the process 🪡💪
Recommended Comments