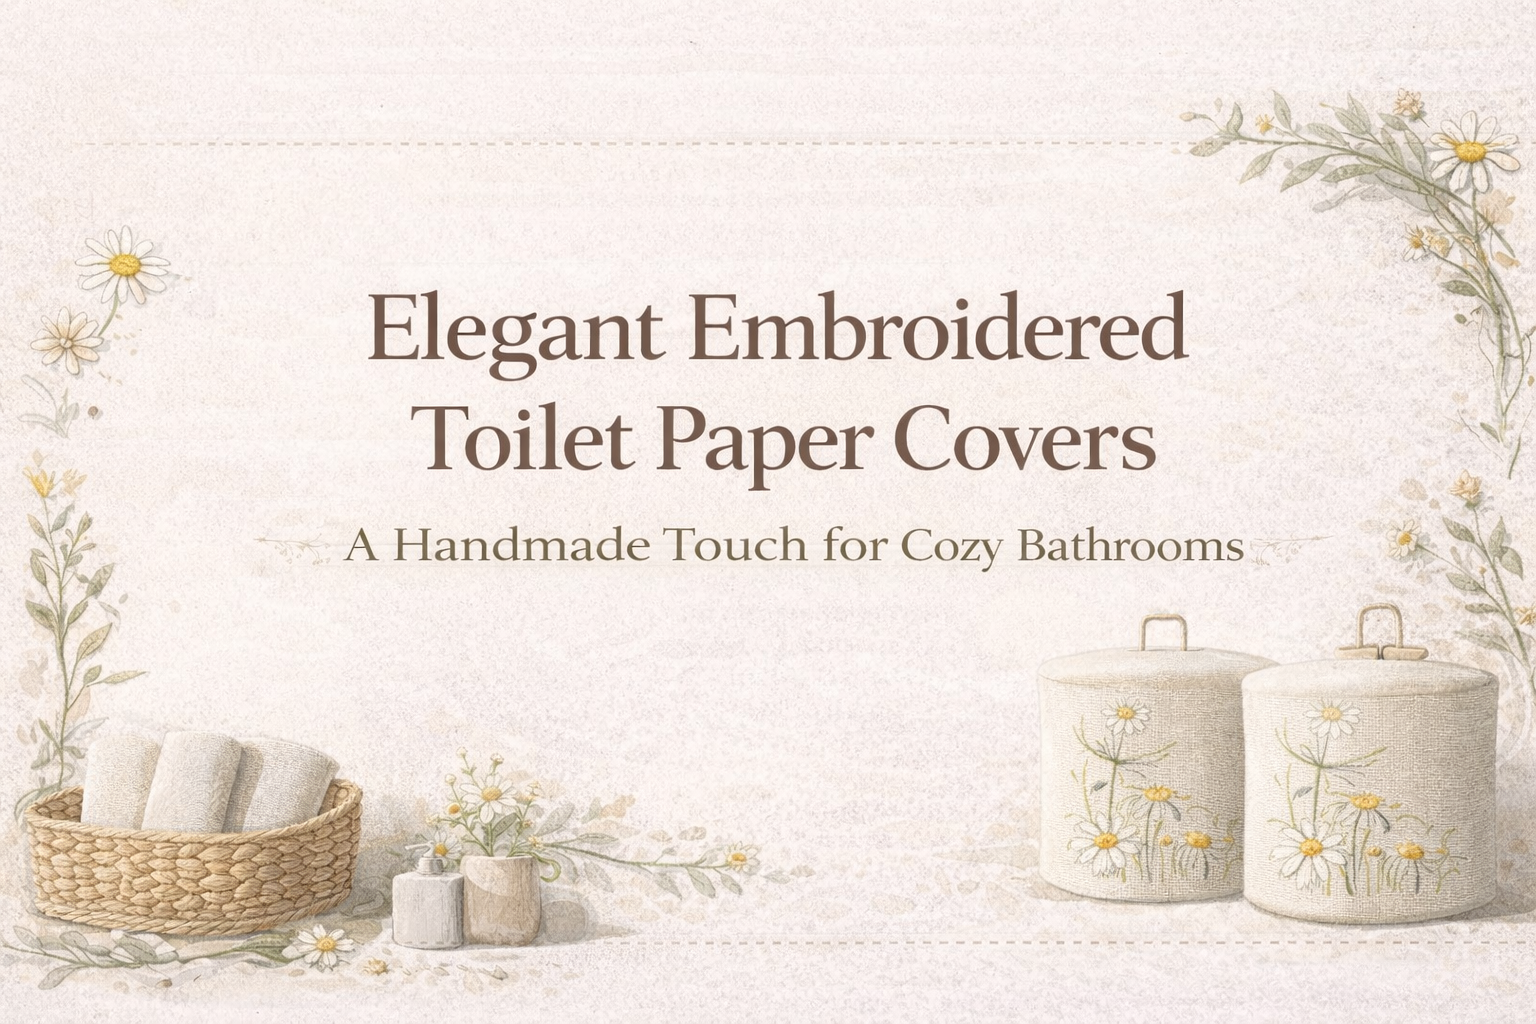
🌿 Elegant Embroidered Toilet Paper Covers: A Handmade Touch

By diver361 in Machine embroidery designs in everyday life
· 135 views
🌼 How to Create Embroidered Toilet Paper Covers
A Cozy Handmade Bathroom Accent with Chamomile Meadow Embroidery
Bring warmth, softness, and a handmade touch into your bathroom with beautifully embroidered toilet paper covers. Below is a complete, practical guide with fabric calculations, embroidery placement tips, and professional finishing advice.

📏 1. Measurements & Calculations
Before cutting fabric, measure your toilet paper roll.
Standard Roll Size (average):
Height: 9.5–10 cm (3.7–4 in)
Diameter: 11–12 cm (4.3–4.7 in)
Circumference: approx. 35–38 cm (13.7–15 in)
✂️ Fabric Calculation Formula
Width of fabric panel:
Circumference + 2 cm seam allowance
Example: 36 cm + 2 cm = 38 cm
Height of fabric panel:
Roll height + 3–4 cm (for top casing and bottom fold)
Example: 10 cm + 4 cm = 14 cm
For a more decorative cylindrical cover (like shown in the images), increase height to 16–18 cm for a soft rounded top.

🧵 2. Choosing the Right Fabric
Recommended Fabrics:
🌿 Medium-weight linen (200–260 gsm)
🌿 Cotton canvas
🌿 Cotton-linen blend
🌿 Upholstery-weight natural fabric
Why?
The fabric must:
Hold cylindrical shape
Support embroidery without distortion
Not be too thin (avoid quilting cotton alone)
🪡 3. Stabilizer & Embroidery Preparation
Stabilizer Choice:
Tear-away for medium fabrics
Cut-away for dense floral embroidery
Add water-soluble topper if using textured linen
Embroidery Placement Calculation:
If your panel width is 38 cm:
Center embroidery horizontally:
38 ÷ 2 = 19 cm center lineKeep main floral motif 4–5 cm above bottom edge
Ideal embroidery width: 16–20 cm
💡 Keep at least 2 cm clear from side seams.
🎨 4. Design Placement Tips
🌼 Meadow-style embroidery works best when:
Grass stitches start close to bottom edge
Main flower is slightly off-center (natural look)
Use vertical composition for cylindrical balance
Recommended Embroidery Size:
Height: 7–9 cm
Width: 16–18 cm
🧷 5. Sewing Construction
Steps:
1️⃣ Embroider fabric panel first
2️⃣ Fold panel right sides together
3️⃣ Sew vertical side seam
4️⃣ Press seam open
5️⃣ Fold bottom edge 1 cm + 1 cm and stitch
6️⃣ For top:
Fold 2 cm inward
Stitch casing
Insert elastic or leave soft dome shape
7️⃣ Optional: Add small fabric loop handle on top
🎀 Optional: Structured Version
To create a firm cylindrical shape like in the photos:
Add thin fusible interfacing to entire panel
Insert lightweight foam stabilizer (1–2 mm)
Create circular top piece (Diameter + 2 cm seam allowance)
Top circle calculation:
If diameter = 12 cm
Add seam allowance = 14 cm cut circle
✨ PRO TIPS
🌿 Fabric Tip
Always prewash linen to avoid shrinkage after embroidery.
🪡 Thread Tip
Use matte cotton embroidery thread for farmhouse style.
Polyester thread gives brighter contrast.
📐 Design Tip
Test-stitch embroidery on scrap fabric first — linen tension varies!
🧺 Practical Tip
Make covers slightly taller than roll so paper edge is hidden.
🎨 Styling Inspiration
These covers work beautifully in:
Farmhouse bathrooms 🤍
Rustic interiors 🌾
Cottage-style homes 🕊
Neutral Scandinavian decor 🌿
Pair with:
Linen towels
Wooden shelves
Ceramic soap dispenser
Dried wildflowers in vase 🌼
💛 Final Thoughts
Embroidered toilet paper covers are small details that create big warmth.
They combine practicality and artistry — a perfect handmade accent.
Recommended Comments