The Hidden Side of Machine Embroidery

By diver361 in Help for embroiderers
· 140 views
🧵 What Is Happening on the Back of Your Embroidery?
When we look at embroidery, we admire the beautiful front side — shiny threads, perfect satin stitches, rich colors.
But there is another side that most people never talk about.
👉 The backside of embroidery.
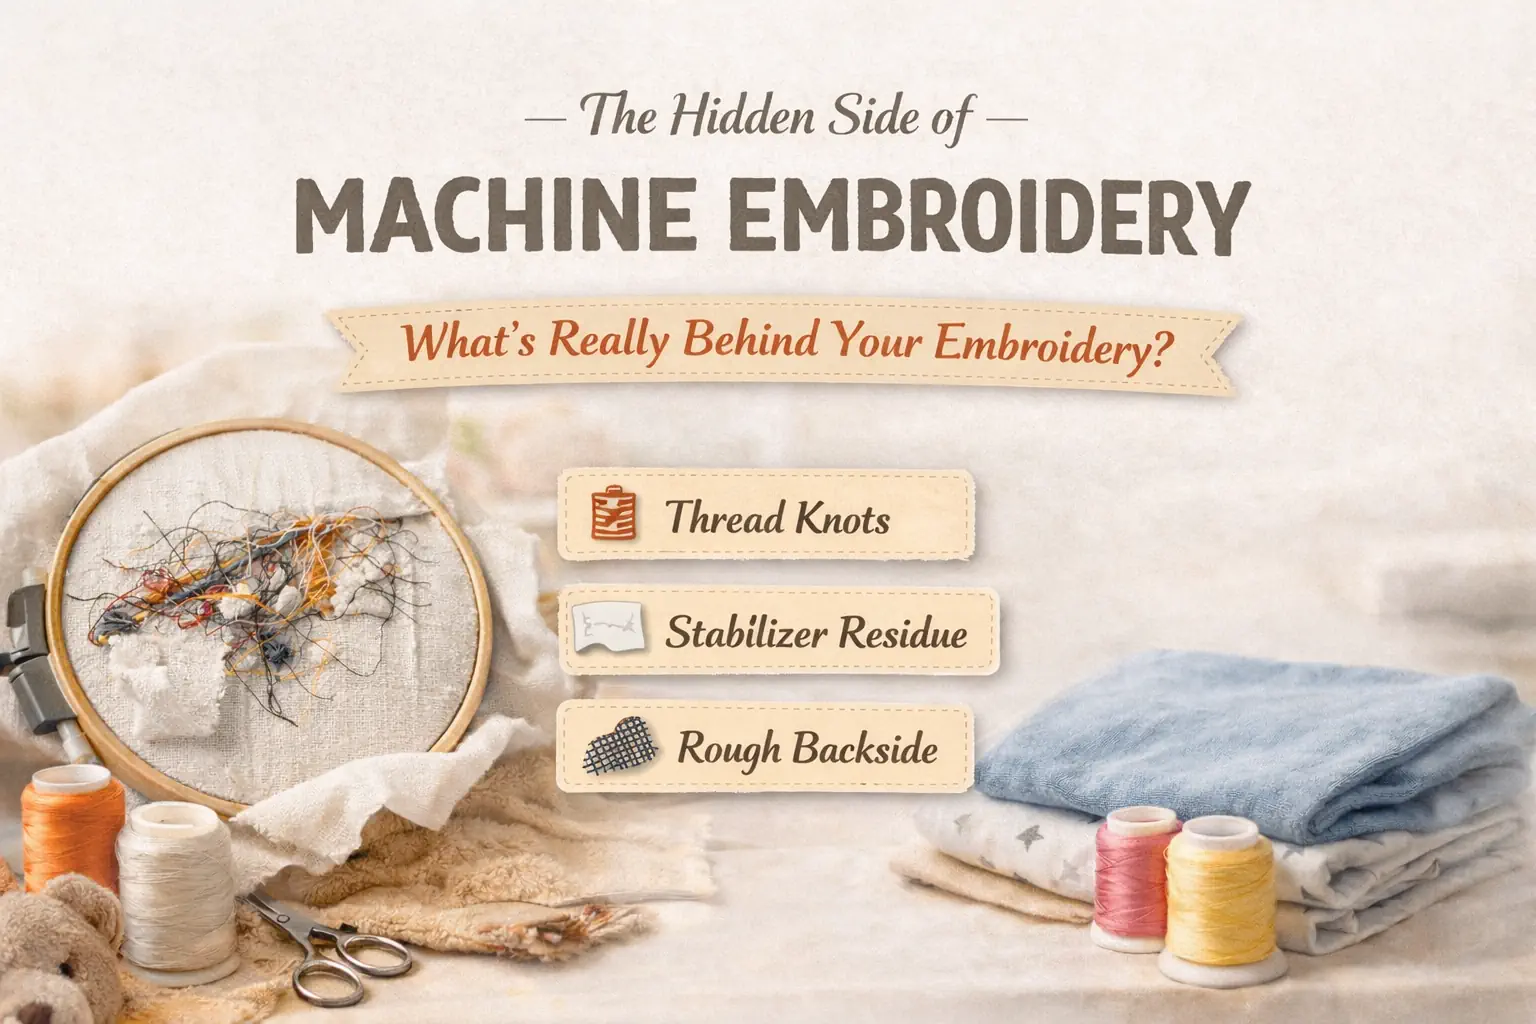
Behind the fabric there may be:
• thread knots
• jump stitches
• stabilizer leftovers
• dense thread layers
All of this may scratch the skin, irritate sensitive areas, or feel uncomfortable when the garment is worn.
This is especially important for:
👶 baby clothes
🛏 bedding
🧥 hoodies and sweatshirts
🧦 towels and bathrobes
Many professional embroiderers say:
The true quality of embroidery is visible not only on the front — but also on the back.
🔎 What Actually Exists on the Back of Embroidery?
Even perfectly stitched embroidery hides a technical structure on the reverse side.
Let’s look at the most common elements.
🧵 1. Thread Knots and Lock Stitches
Every embroidery machine must start and finish a thread.
To do this, the machine creates tie-in and tie-off stitches.
These small stitches become tiny knots on the back.
⚠ Possible problems
• rough surface
• thread tails
• skin irritation
• uneven texture
💡 PRO TIP
✂ Always trim thread tails after embroidery.
Loose threads can scratch the skin and catch during washing.
🧻 2. Stabilizer Residue
Embroidery stabilizer supports the fabric during stitching.
But after embroidery it remains behind the design.
Common types:
• Cut-away stabilizer
• Tear-away stabilizer
• Water-soluble stabilizer
💡 PRO TIP
👕 For clothing that touches the skin, soft cut-away stabilizer works best.
It stays flexible and does not create rough edges.
🧶 3. Dense Stitch Layers
Some embroidery designs use very high stitch density.
From the front it looks luxurious.
But on the back it becomes:
• thick thread mass
• stiff embroidery pad
• rigid fabric area
⚠ Warning
Dense embroidery may feel like a hard patch on clothing.
This is one of the most common complaints about embroidered hoodies.
🧵 4. Jump Stitches
Jump stitches appear when the machine moves between elements.
Even with automatic trimming, small thread bridges may remain.
Problems:
• snagging in washing
• messy backside
• irritation on skin
👶 Why This Matters Especially for Children
Baby skin is extremely sensitive.
Even a tiny knot or stabilizer edge can cause:
• itching
• redness
• discomfort
This is why many professional garment manufacturers cover embroidery backs on baby clothing.
🛠 How Professionals Make Embroidery Comfortable
Here are the most effective techniques used in professional embroidery production.
🧻 1. Use Soft Stabilizers
The stabilizer determines most of the backside comfort.
Best choices
✔ soft cut-away stabilizer
✔ wash-away stabilizer
✔ lightweight knit stabilizer
💡 EXPERT TIP
If embroidery touches skin directly, avoid stiff tear-away stabilizer.
✂ 2. Clean the Back Properly
Professional embroiderers always finish the backside.
✔ trim stabilizer close to the stitches
✔ remove jump stitches
✔ cut thread tails
💡 PRO TIP
A clean backside makes embroidery look more professional and last longer.
🧵 3. Cover the Back of the Embroidery
Large embroidery on garments often gets a soft protective layer.
This can be:
• fusible backing fabric
• embroidery cover film
• soft knit interfacing
💡 PROFESSIONAL SECRET
Many clothing manufacturers iron a soft knit patch over the embroidery.
Result:
✔ smooth surface
✔ no irritation
✔ hidden knots and stabilizer
🧶 4. Choose Skin-Friendly Designs
Not all embroidery designs behave the same.
👍 Good designs
✔ light stitch density
✔ satin stitch elements
✔ minimal color changes
✔ open embroidery
❌ Problematic designs
✖ very dense fills
✖ layered logos
✖ excessive underlay
✖ many color changes
💡 DESIGN TIP
If embroidery is meant for clothing, choose clean, airy designs instead of dense logos.
🧵 5. Better Digitizing = Better Backside
Professional digitizers carefully control:
• stitch density
• underlay
• trims
• tie-in stitches
• tie-off stitches
Good digitizing creates:
✔ cleaner back
✔ softer embroidery
✔ less thread buildup
🧪 6. Always Test the Design
Professional rule:
Never stitch directly on the final garment.
Always run a test on similar fabric.
Testing helps detect:
• stiffness
• thread buildup
• stabilizer problems
💬 What Professional Embroiderers Say
🧵 Digitizing specialist
A clean backside is one of the clearest signs of professional embroidery.
👕 Garment production specialist
If embroidery touches the skin, protect the backside.
👶 Children's clothing designer
For baby clothes always use soft backing and minimal stitch density.

✨ Final Thought
The front of embroidery shows the beauty.
But the backside shows the craftsmanship.
If you pay attention to:
✔ stabilizer choice
✔ thread trimming
✔ good digitizing
✔ protective backing
your embroidery will be:
⭐ more comfortable
⭐ more durable
⭐ more professional
⭐ safer for children
-
 1
1
Recommended Comments