Original text by Irina Lisitsa
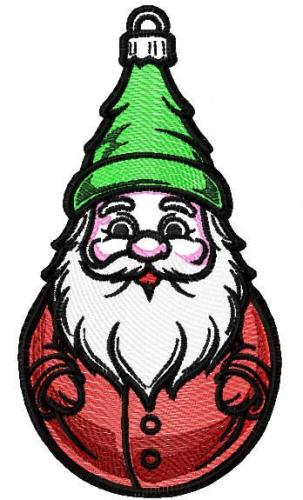
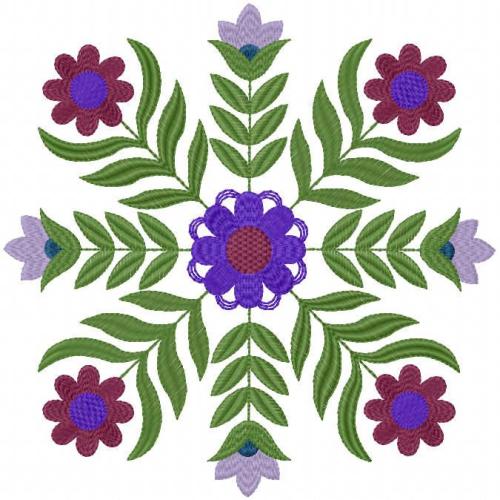
Circular embroidery may cause trouble for newcomers. It is not as difficult as it may seem. The only thing you need to do is to follow instructions that will much simplify the task and speed up the process. This masterclass will teach you how to digitize a design in the embroidery software, properly position it on an item, align circular blocks, then cut the fabric for the future napkin and finish its edges. As a result, you'll get an elegant napkin decorated with Christmas embroidery.
Materials:
- Fabric
- Thin sewing interfacing fabric
- Tear-away adhesive stabilizer
- Embroidery threads
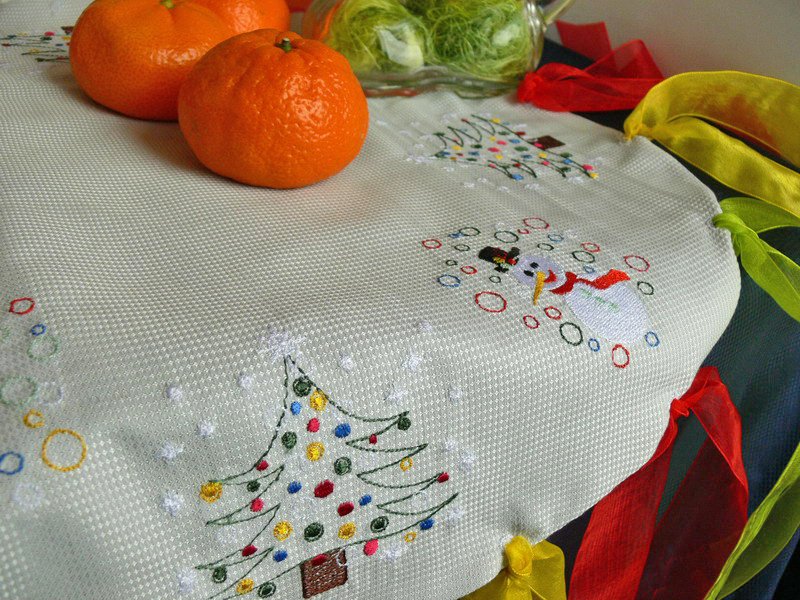
- Ribbons for decoration
- Water-soluble marker or tailor's chalk
- Machine embroidery design from BFC-Creations collection
Let's combine the designs in the embroidery software:
Although in this masterclass I use Wilcom software, you can use any one you like. And if you don't yet have any, draw all the lines and marks right on fabric.
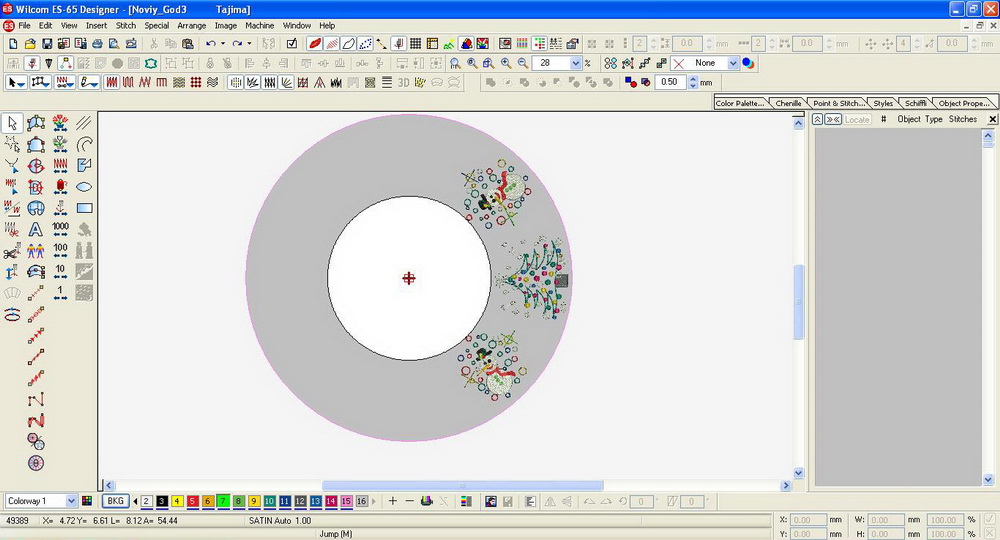
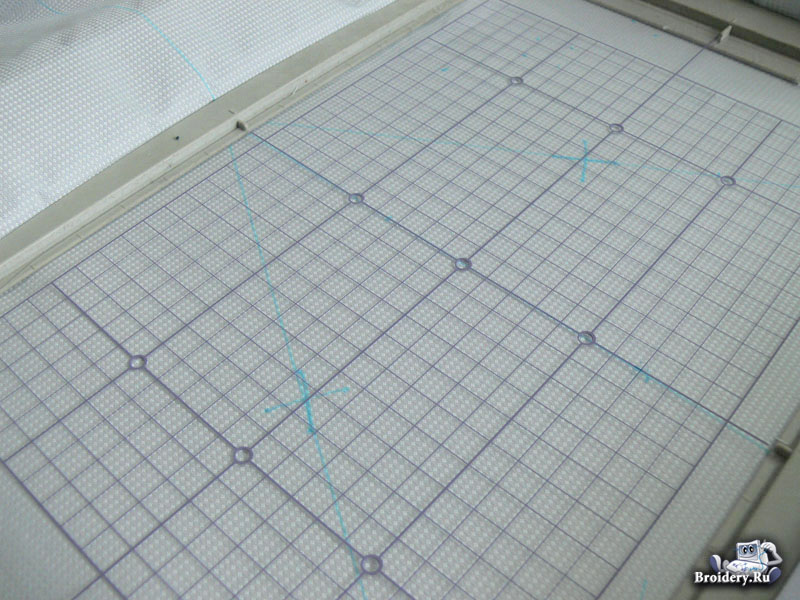
Using the vector object drawing tools, create two circles of the same diameter as your future embroidery. The diameter of the first circle (marked white in the screenshot) is equal to the inner diameter of an item, and the diameter of the second – to the outer one (marked gray).
Using the Straight Line tool, add the center lines and diagonals between them. Using the Rectangle tool, draw an object the size of the embroidery area of a particular hoop. Duplicate the rectangle a required number of times, arranging the objects in such a way that the hoop outlines overlapped.
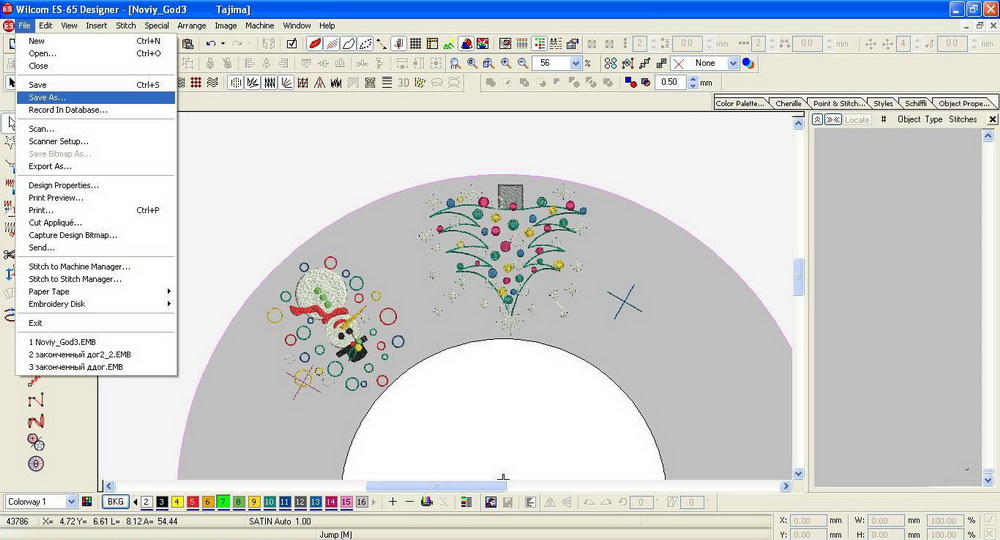
Save every part of the design under the unique name in the same order they will be embroidered. When saving the designs, make sure that the alignment crosses are present in both. This will enable quick and efficient alignment.
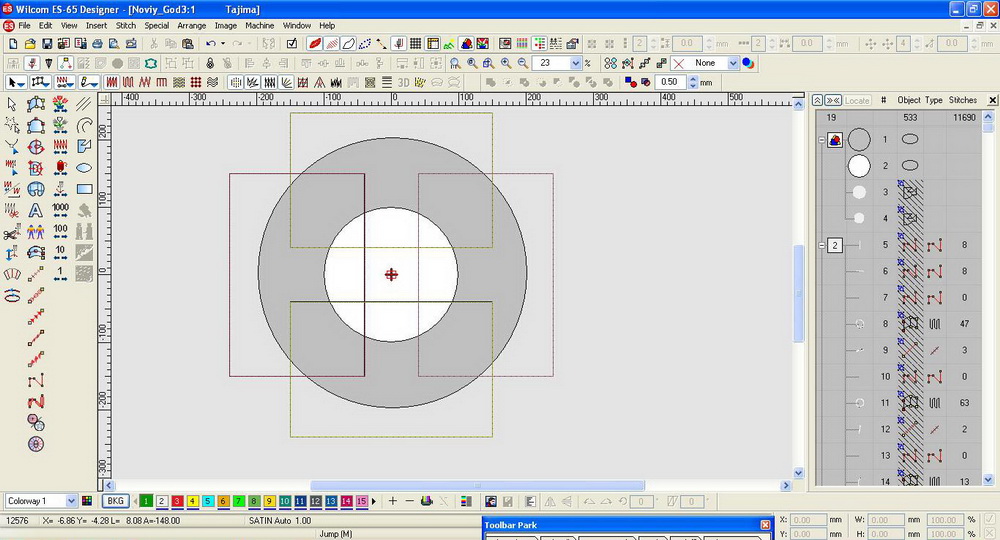
In accordance with the hoop centers, draw the diagonal lines. Straight lines and diagonals will work as guidelines when you will trace your design onto the fabric.
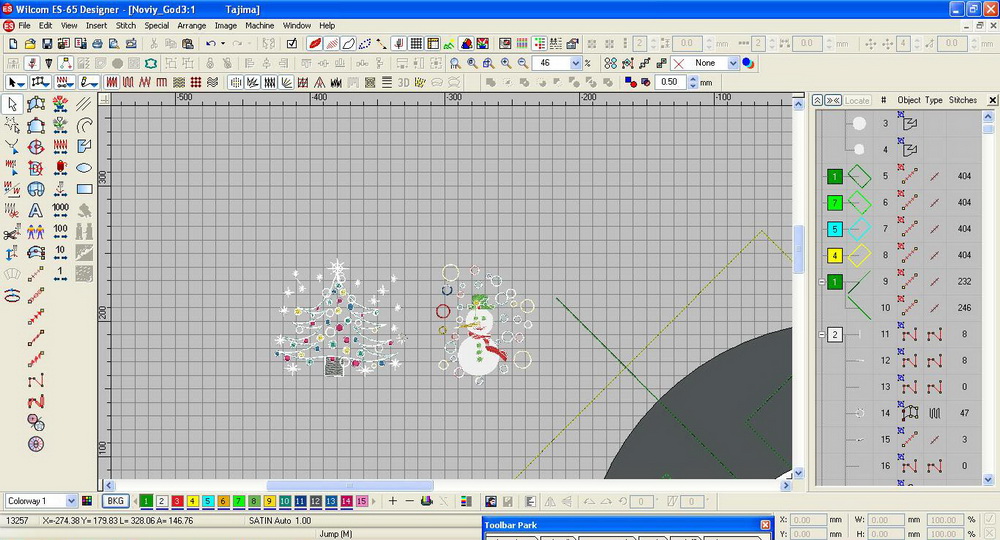
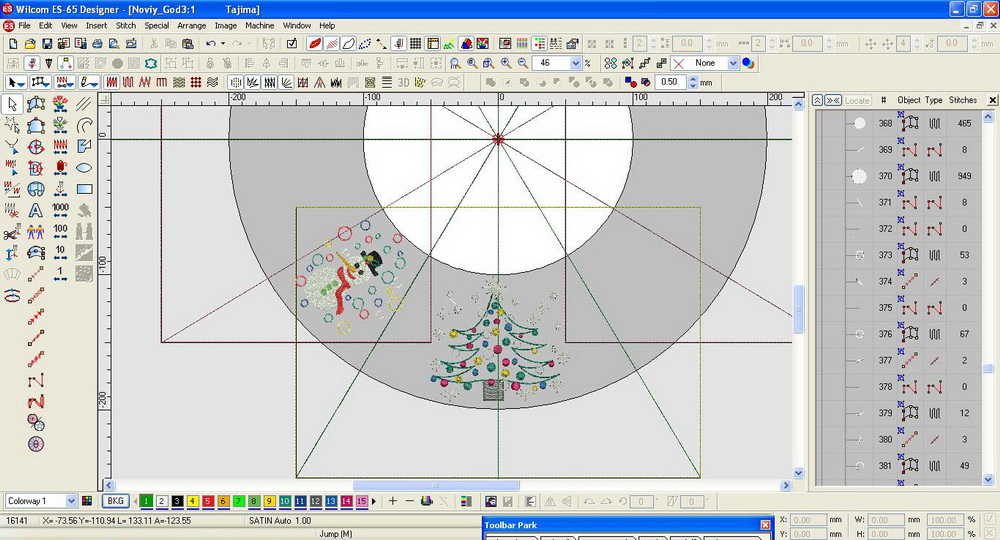
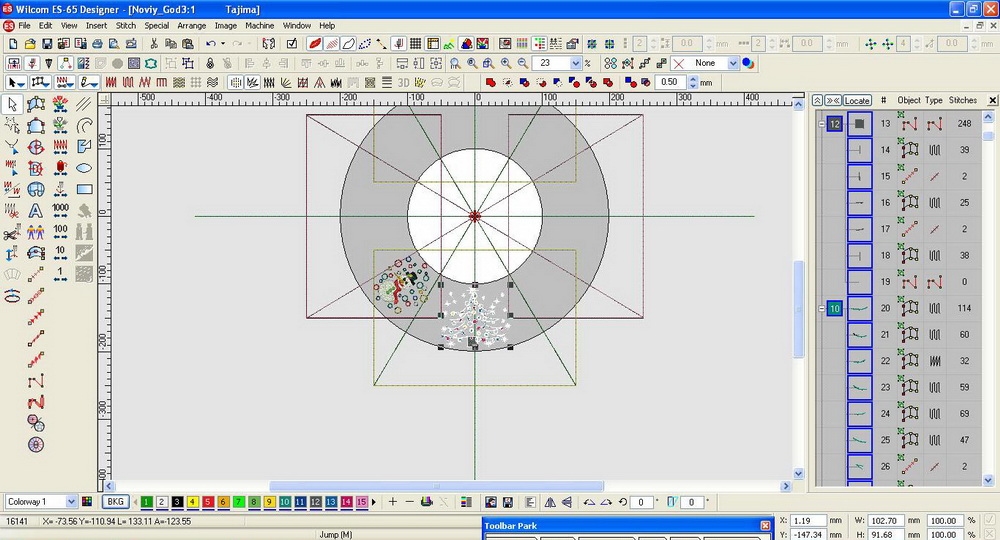
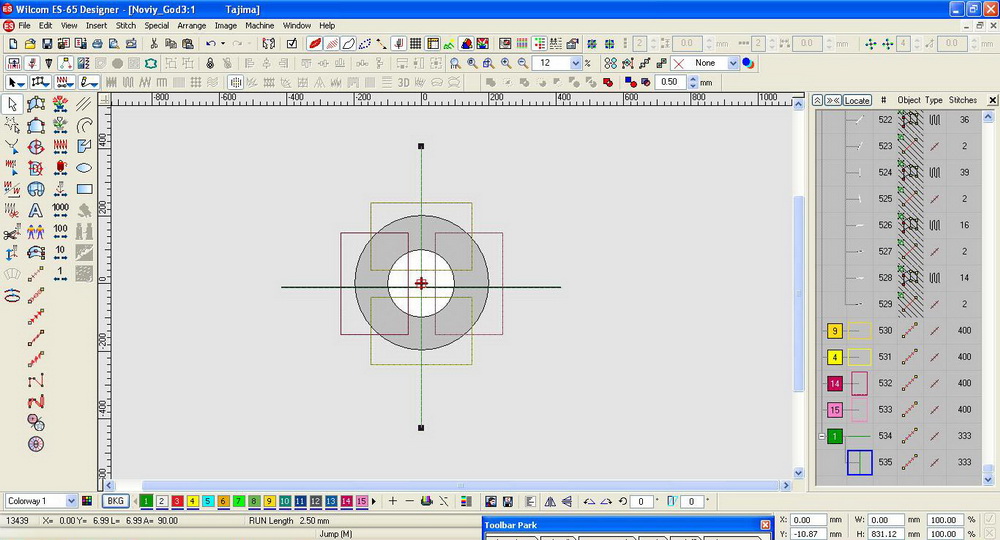
Load the chosen designs into the software. Arrange them in a circle in accordance with the lines. To do that, use the Kaleidoscope tool.
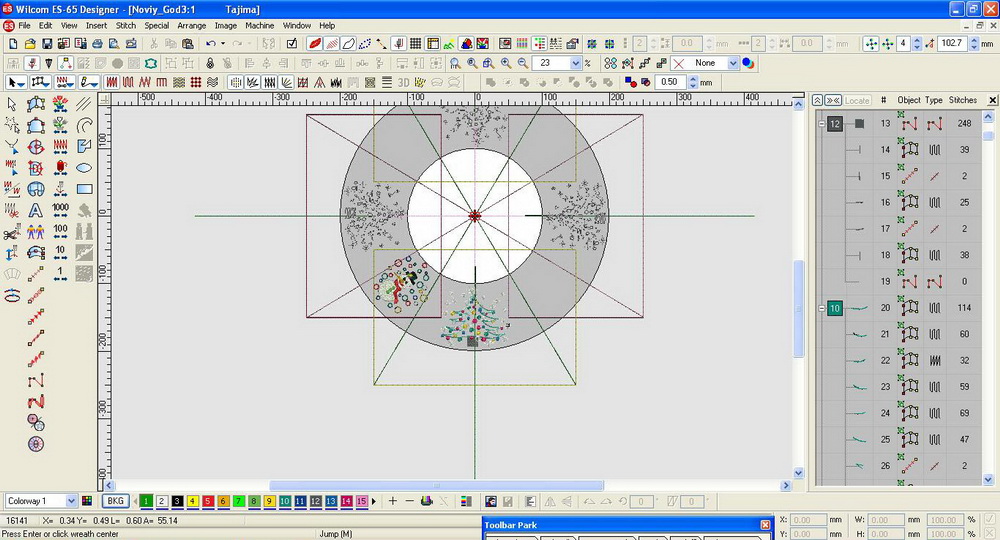
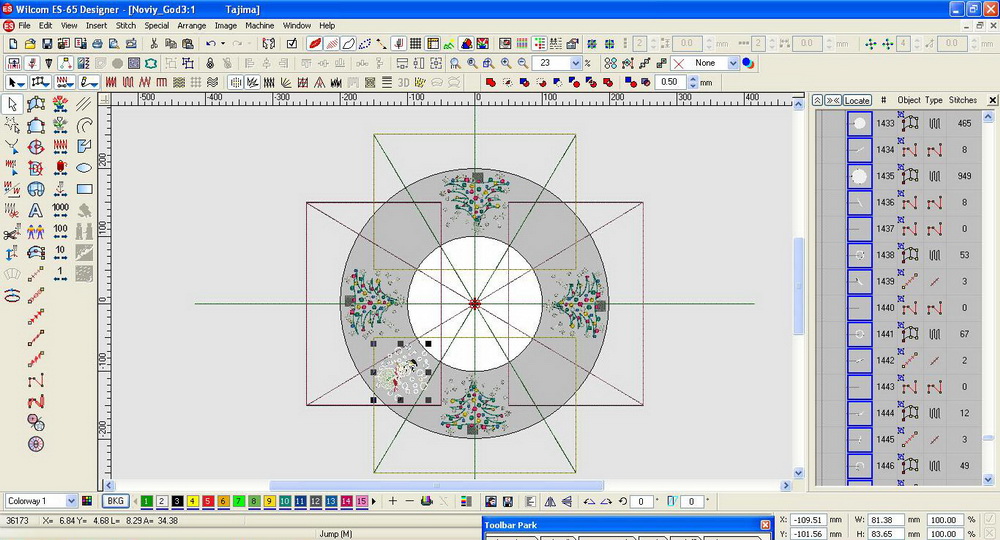

In places of joint, put the alignment stitches or crosses.


Save parts of the design each under its own name in the same order they will be embroidered. If necessary, adjust the embroidery sequence (objects, flowers) in order to save time.
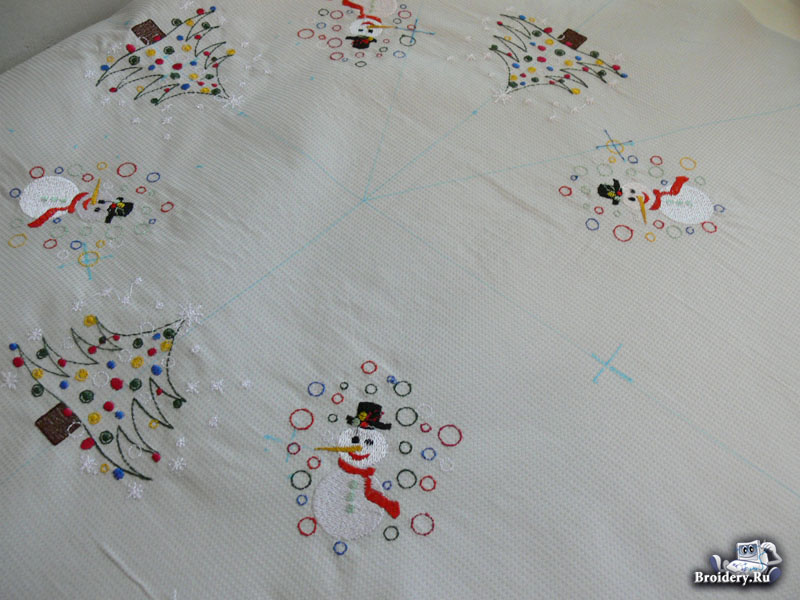
Aligning circular blocks
Preparing the fabric:
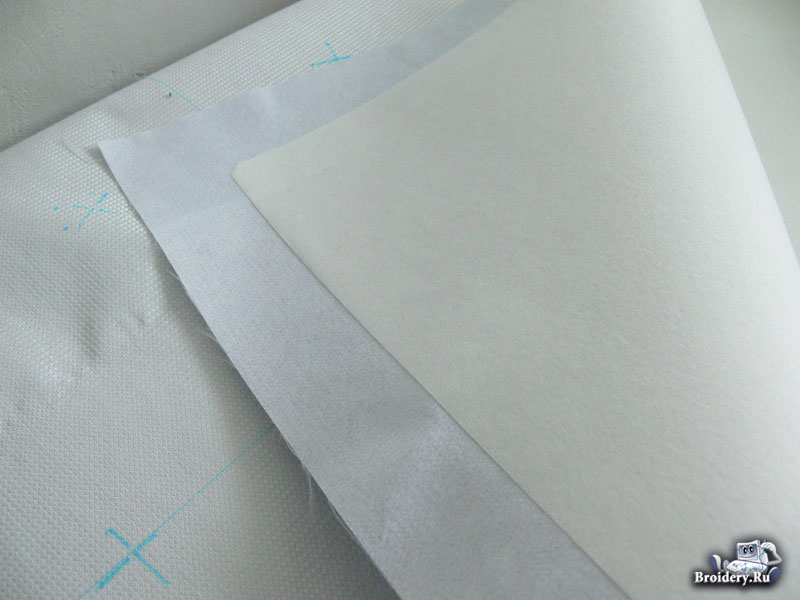
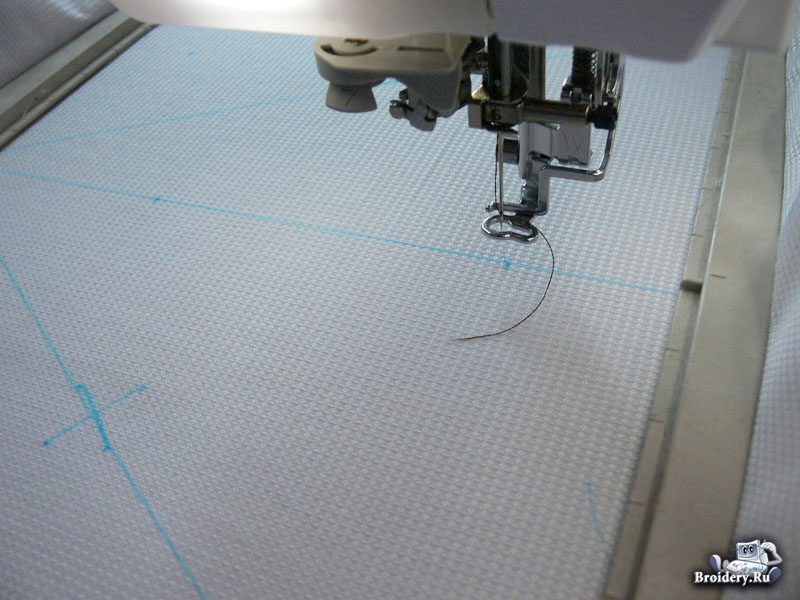
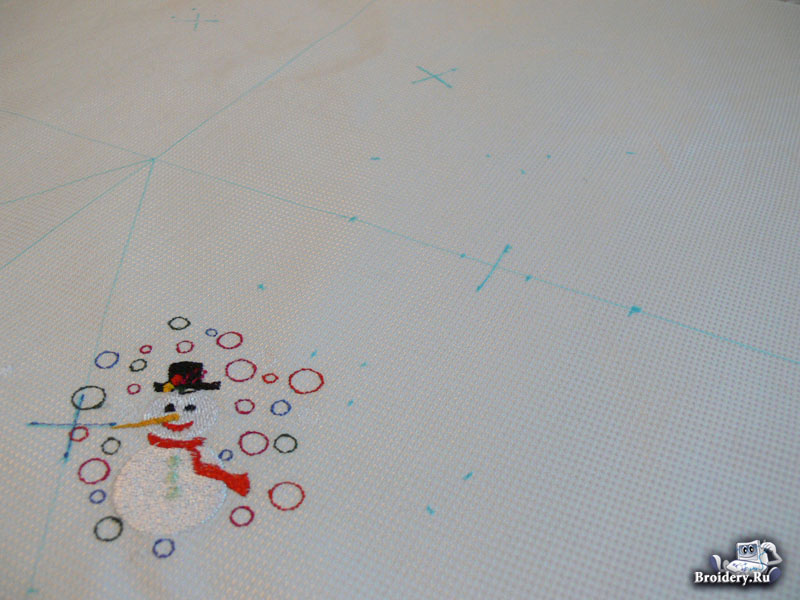
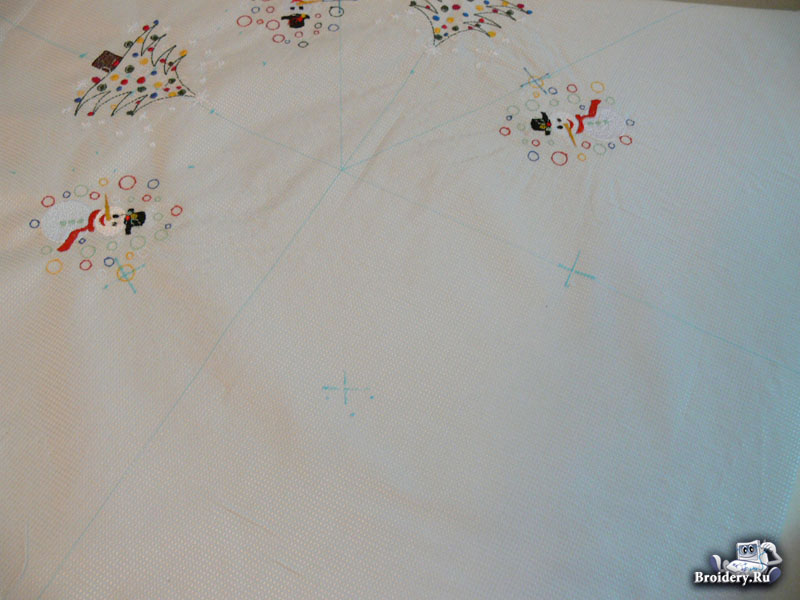
If your fabric is thin, strengthen it with one layer of interfacing of an appropriate density. Print the template and trace the guidelines, alignment crosses, center points and diagonals onto the fabric.
Glue the tear-away adhesive stabilizer to the wrong side of the fabric where the first design will be placed.
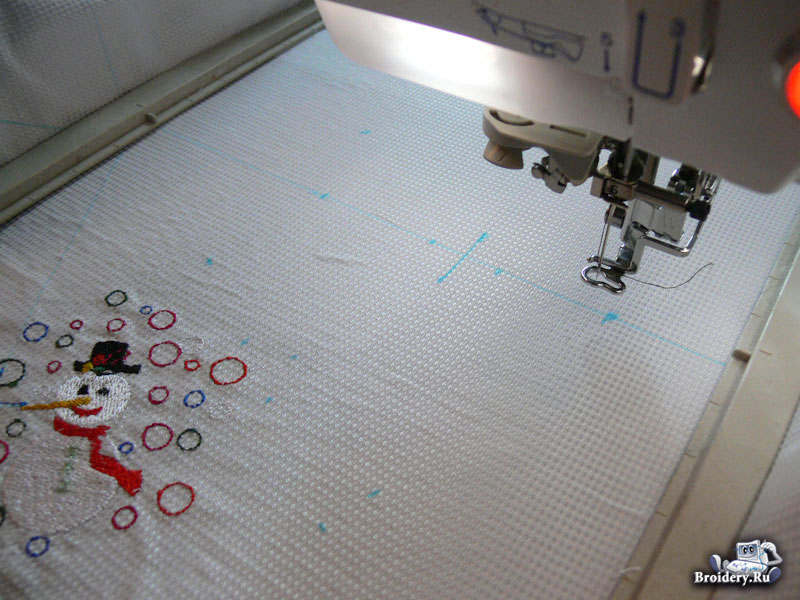
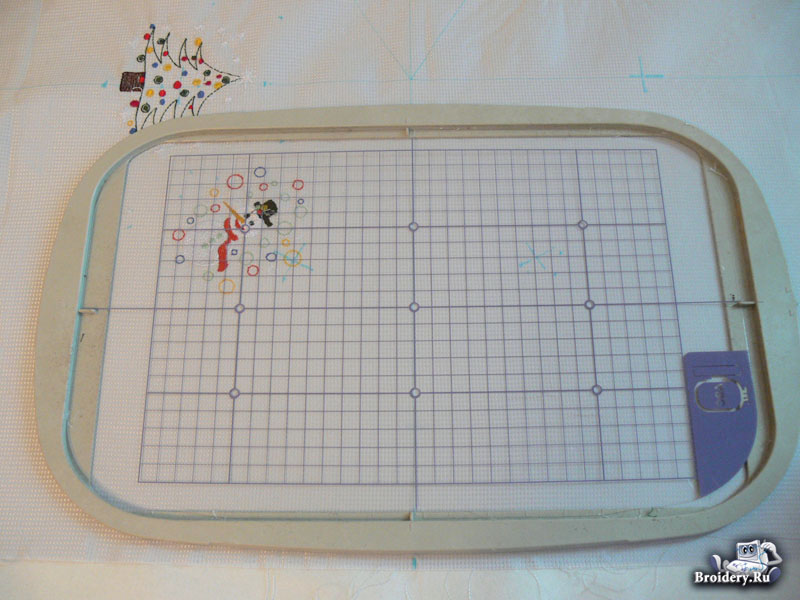
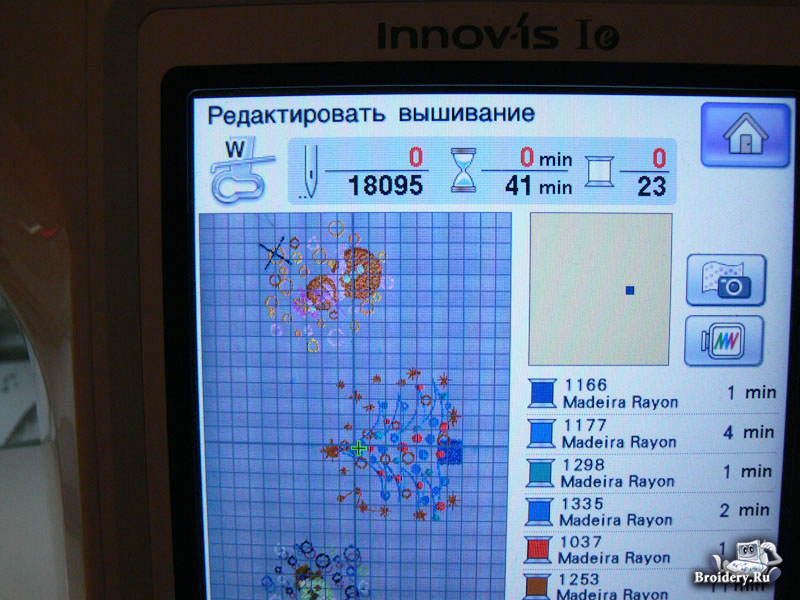
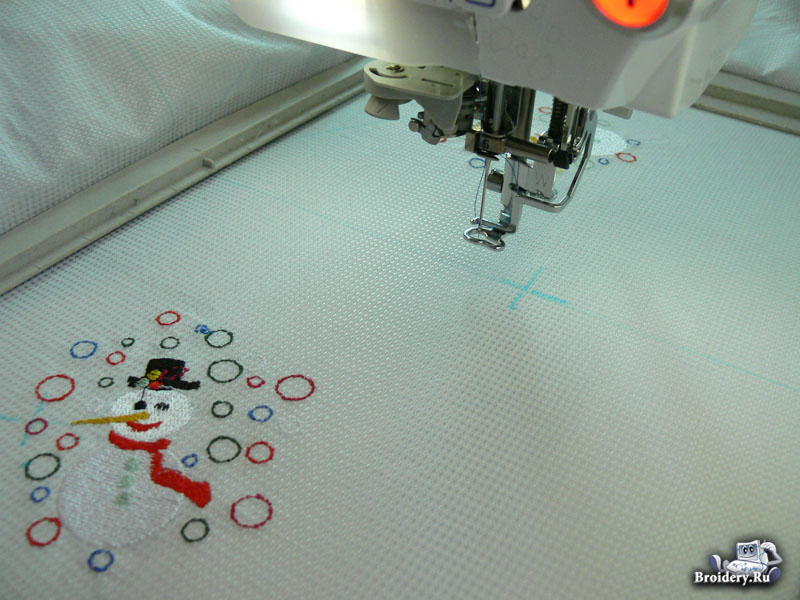
Load the design into your embroidery machine and make sure that the fabric is correctly hooped by using the plastic template overlay that comes with your embroidery equipment. If necessary, rehoop the fabric or move the design in the machine, using the Edit option.
Embroider your design. Take the fabric out and iron it slightly to remove the hoop traces.
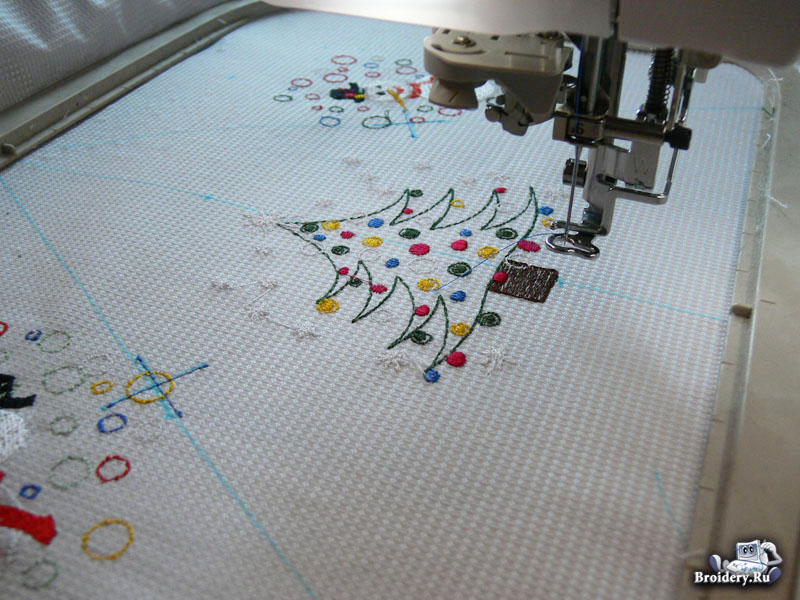
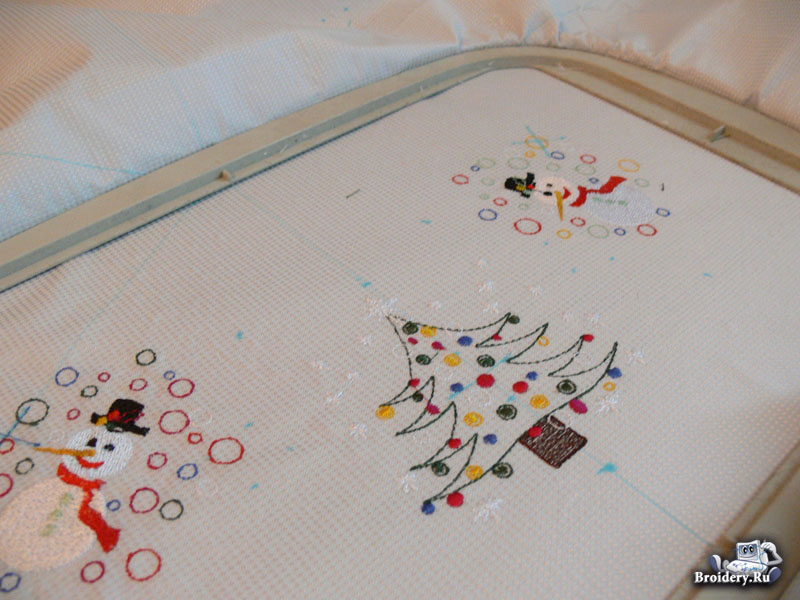
Glue a tear-away adhesive stabilizer to the fabric where your second design will be placed. Hoop the fabric in accordance with the marks and the design, already loaded into the machine. Plastic template overlay will aid in correct and quick positioning.
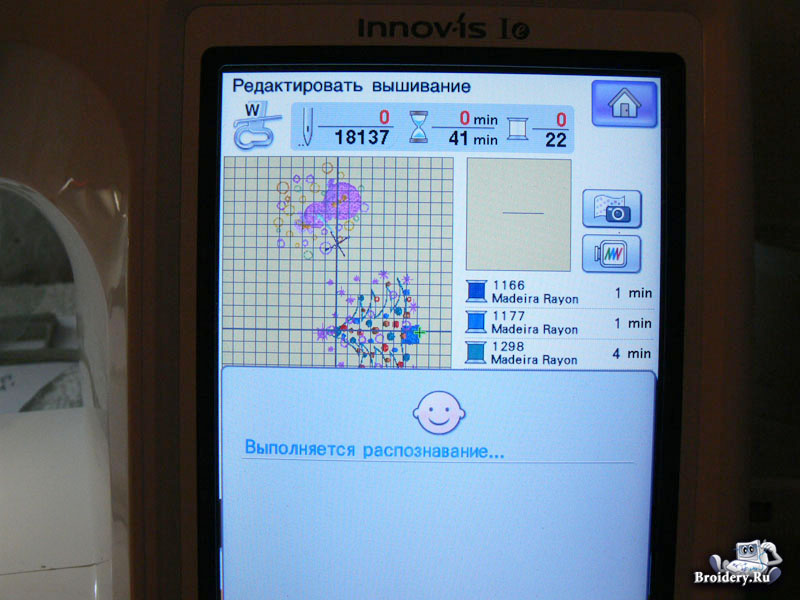
If your machine has a fabric recognition option, scan the fabric you've just hooped.
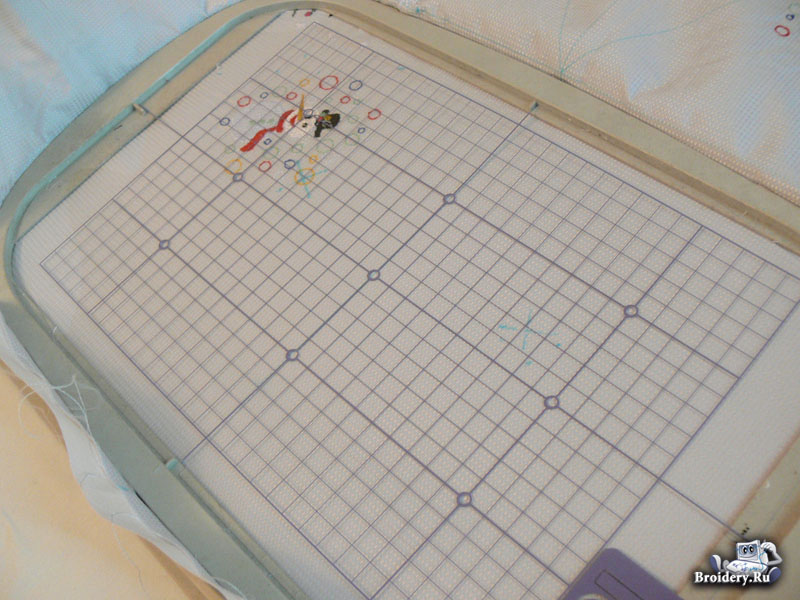
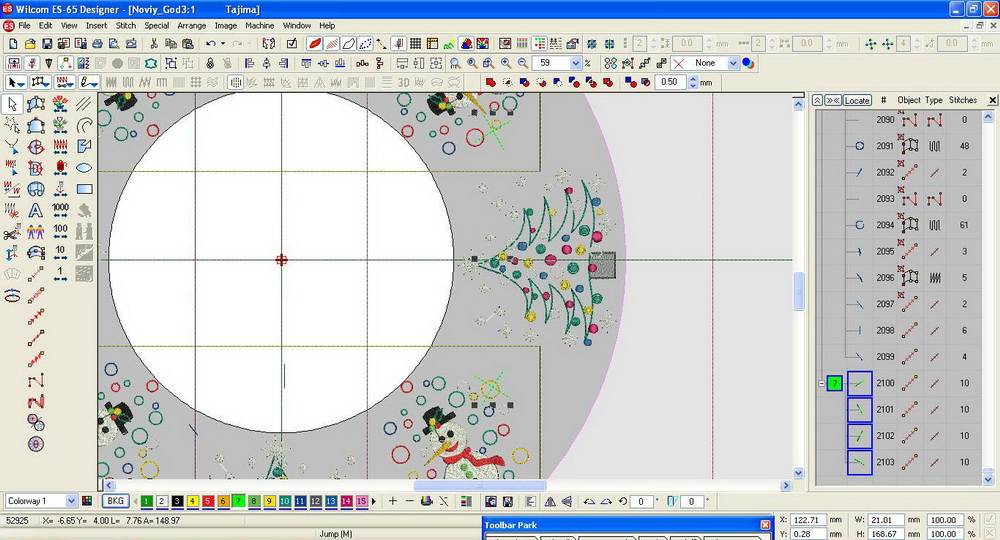
Check the design position against the alignment crosses or the scanned image. Embroider your design.
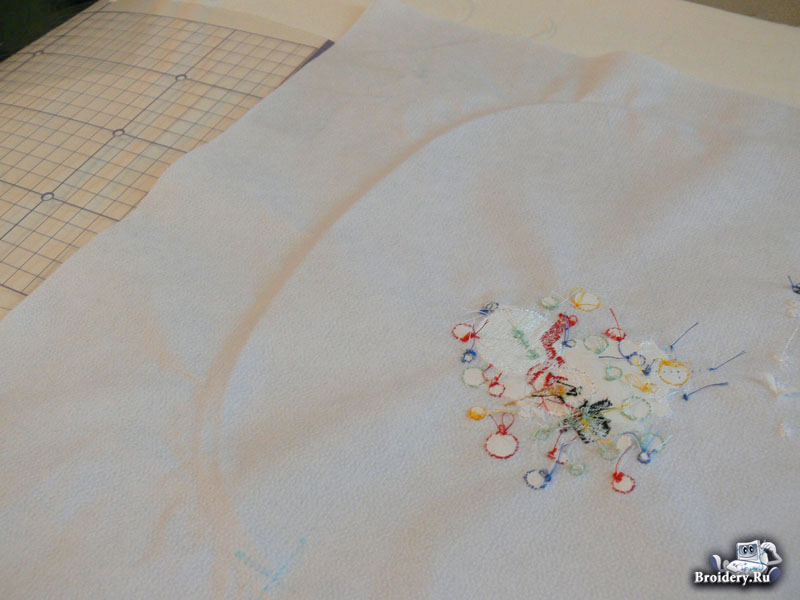
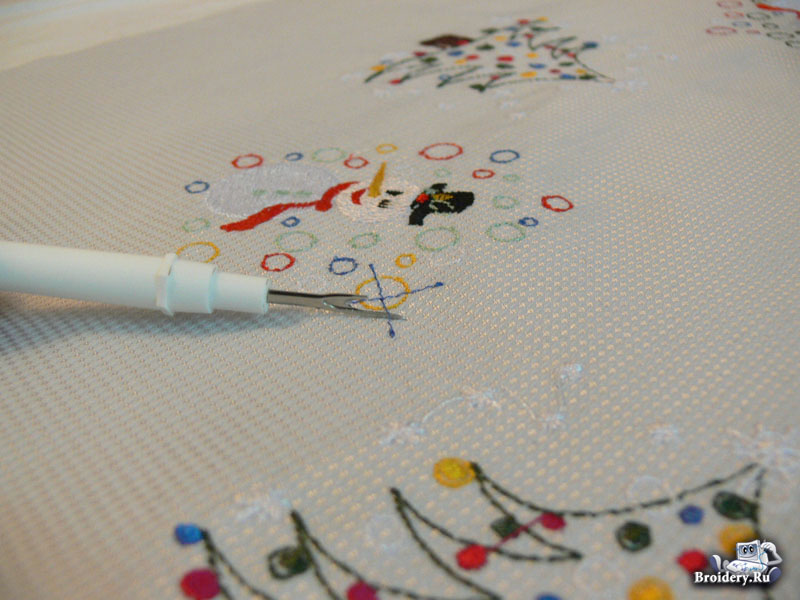
Embroider the remaining parts in the same fashion. After having embroidered the circular design, carefully remove the alignment crosses.
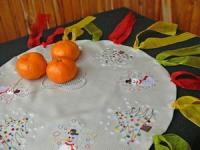
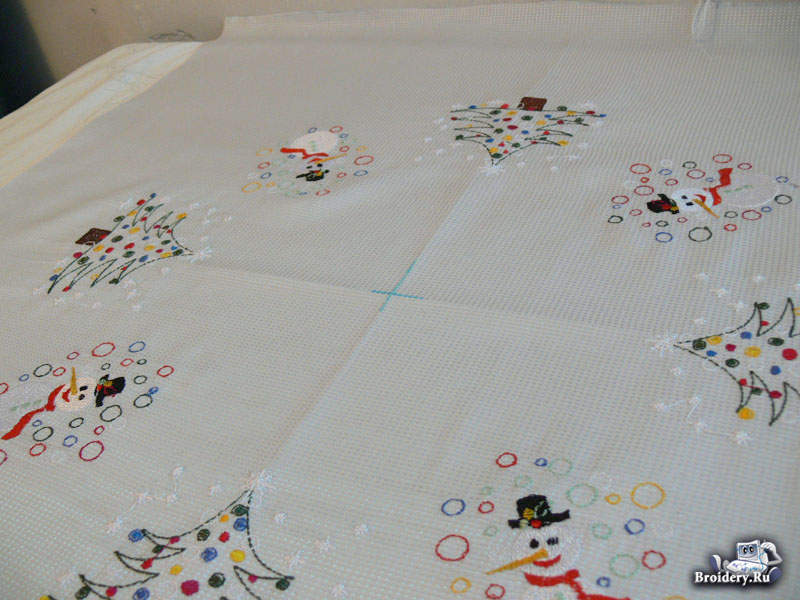
Embroidering a round napkin
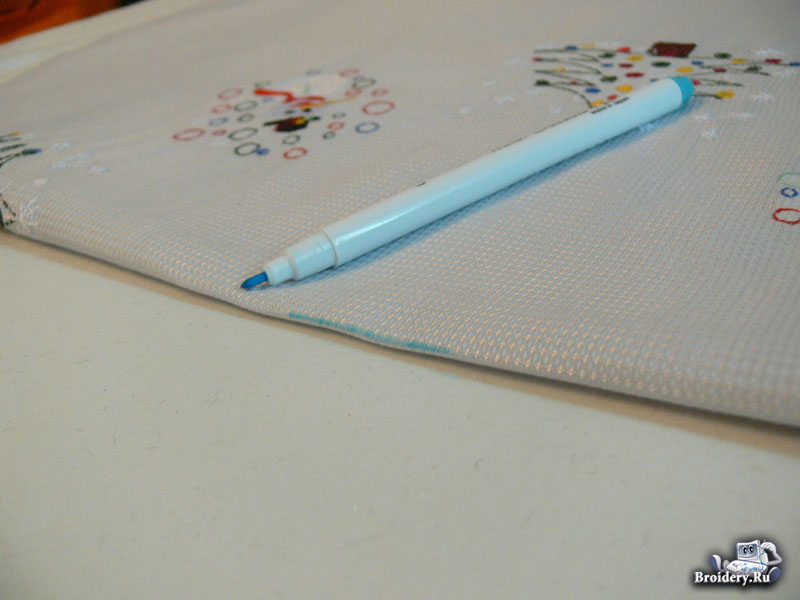
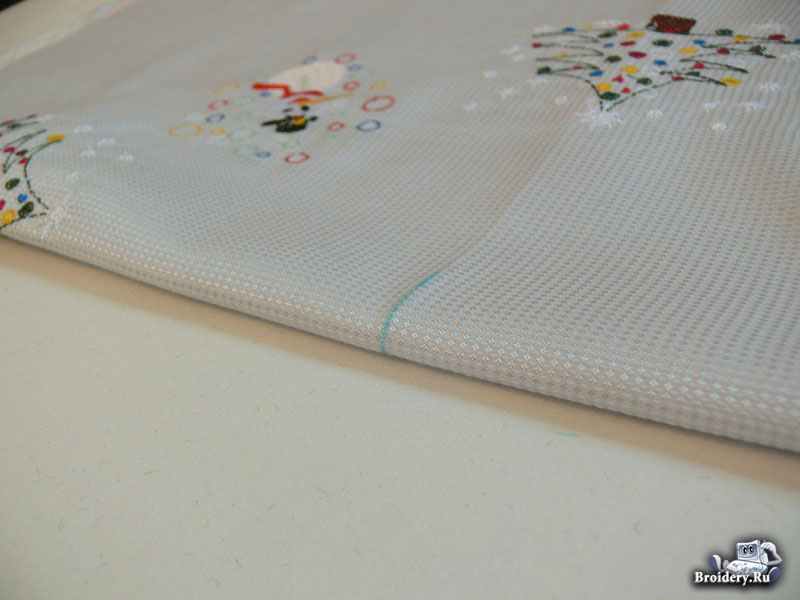
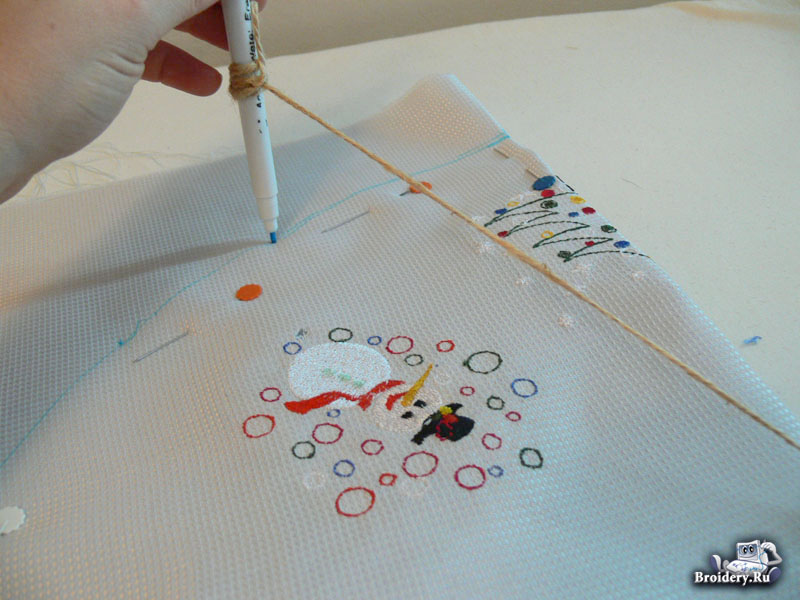
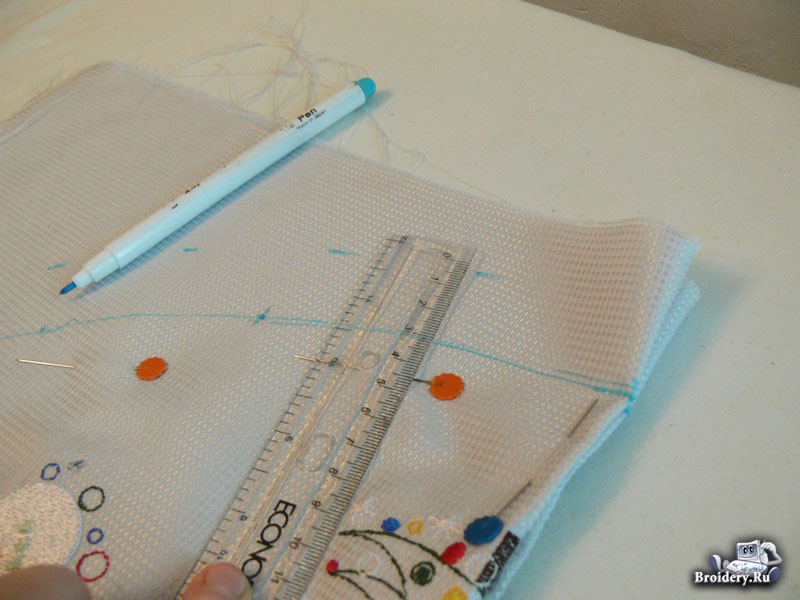
Fold the detail in two and draw a line with a water-soluble pen, then fold in the opposite direction and mark it. This will be the center line of your napkin.
In order to draw a neat edge, use this simple method. Fold your fabric in four. Pick up a strong thread. Tie one end to the pen and the other – to a nail or a needle. Insert your nail in the center of your future napkin and draw the edge of an item with a pen in the way you'd make a circle with the compasses (you can use a ruler instead). Don't forget seam allowance if you're going to turn-up the edge.
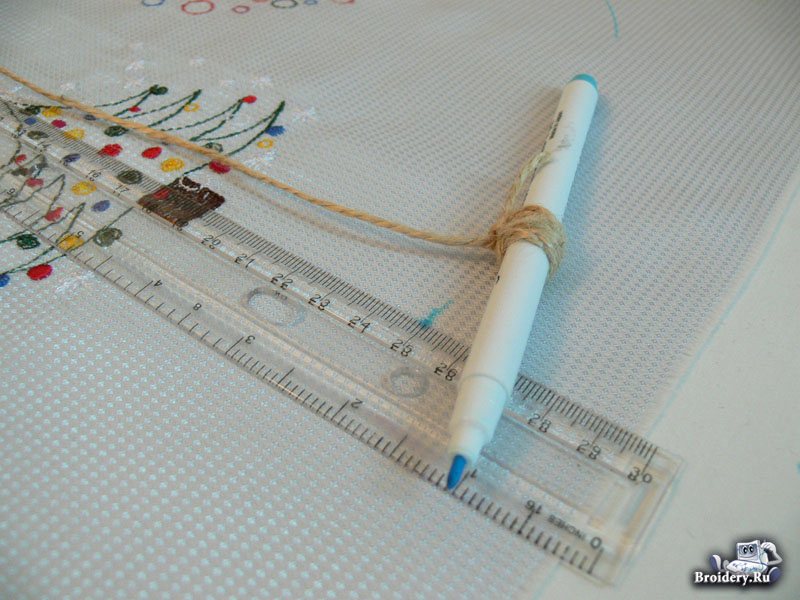
If you're going to finish the edges with a border, seam allowance won't be needed.
If the fabric sheds, overlock the edge, turn it up and iron it, then add a blind hem on your sewing machine. Finish the openings with the basting stitch or make them into lacing holes. Draw various decorative ribbons through and tie them in knots.
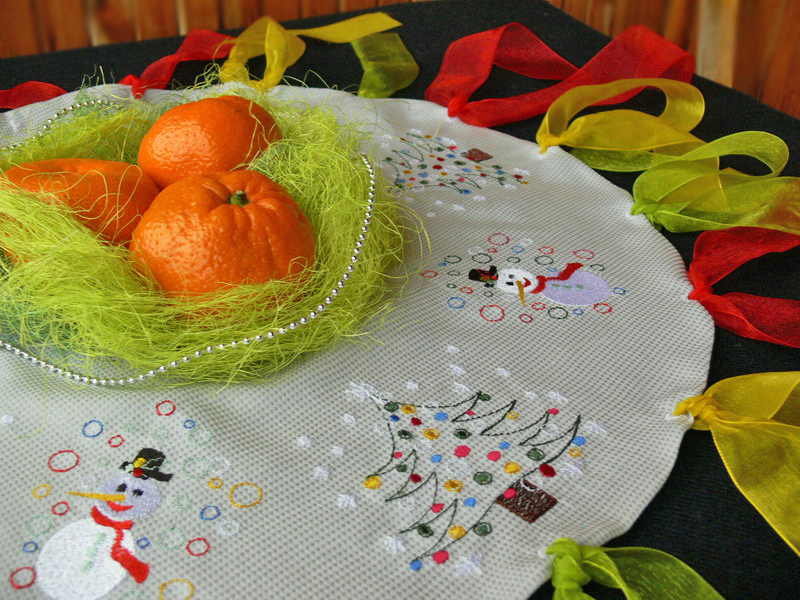
Now the edge is finished and the napkin is ready.
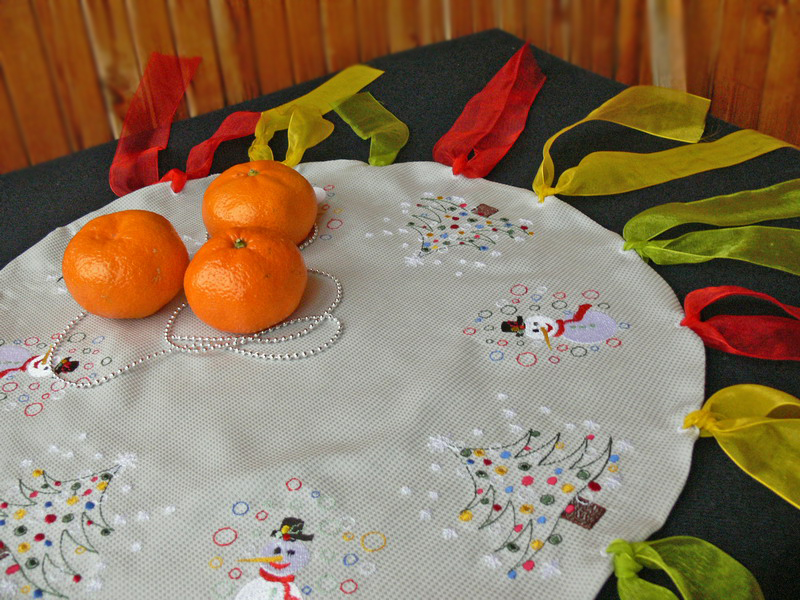
P.S. You can choose from a wide variety of Christmas designs in our shop.
-
 1
1