

Original text by Nadezhda Agureeva
Broidery.ru magazine
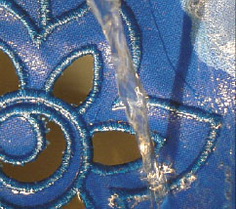
Machine embroidered cutwork (also called richelieu) is not that different from the free-motion cutwork. The smoothness of the satin column is determined at the stage of the design creation, and it's within your power to preserve the beauty of this particular kind of embroidery with the help of careful hooping and stabilizing.
Unlike the free-motion embroidery, the machine embroidery has both advantages and disadvantages. On one hand, there is a vast majority of beautiful ready designs as well as the automation of the embroidery process, and on the other hand, there is a high possibility of encountering a poor quality design.
The embroidery process, for our purpose, may be divided into four steps: fabric preparation, basting, cutting out pieces of fabric and then making bridges, nets, and satin columns.
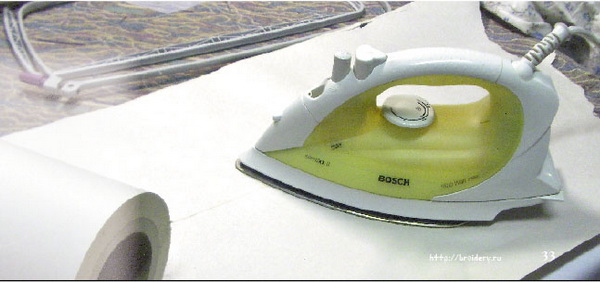
Fabric preparation
The preparation of the fabric consists of choosing the right type of stabilizer and careful hooping. As the fabric often shrinks after washing, I recommend washing or steaming the fabric in advance so as not to damage the embroidery. Choose your bobbin thread with attention. On some of the home embroidery machines automatic thread tensioner just doesn't work as it should, therefore, the underthread may show on the right side. I recommend using the bobbing thread of the same color as the main one.
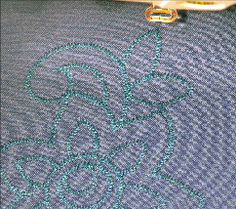
Basting
As a rule, the designs are created with the consideration that the machine should make a stop after stitching the outline so as to give the embroiderer a possibility of cutting out pieces. If you have an embroidery editor, watch the whole process in the embroidery simulator. Pay attention to the number of colors in your design. Home embroidery machines make a stop when a color change is needed; therefore, your design should contain two colors at least. If your design is monochromatic, you will have to follow the embroidery process closely so that to manually stop the machine when it is needed.
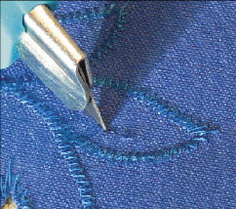
Making holes
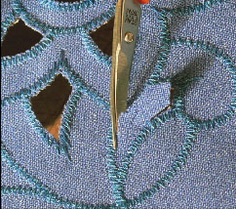
Pay attention to cutting out pieces of fabric when you're making your cutwork. Be patient and prepare the sharp scissors. When doing the cutting out take your hoop off the machine, but, in any case do not unhoop the fabric! When making holes, try to avoid shifting of the fabric in the hoop. Because the final step of your embroidery process depends on that.
A hole made correctly will guarantee an almost 100% success.
Finalizing
Having cut out all of the pieces, proceed to the final step — making bridges. This process is automatic, so it won't require your involvement.
Before embroidering on your main fabric or item, make a test piece first. And while you're doing it, pay attention to how the thread lies on the fabric, and what steps of your embroidery process cause your difficulties. If you chose a proper stabilizer and hooped the fabric correctly, but the quality of the sample did not satisfy you, you'd probably better choose another design.
Making cutwork on your embroidery machine: the process
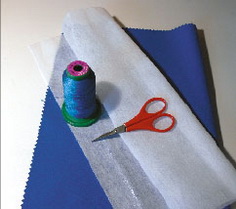
- We will need the fabric, threads and two kinds of stabilizer (the topping and the backing).
- Stick your backing to the wrong side of the fabric. If you wrong side is unlined, I advise you to use a tear-away stabilizer.
- Carefully hoop your fabric. Make the fabric drum tight and tighten the screw.

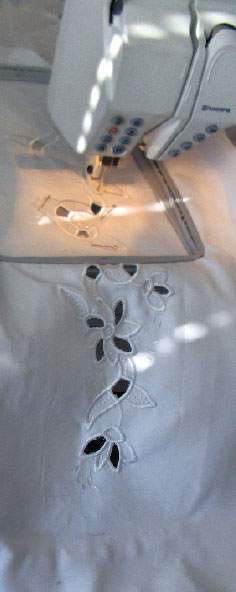
- Place the hoop into your embroidery machine and start the embroidery.
- After having stitched the basting stitch the machine should make a stop. To do this, you need to choose a design that contains at least two colors. Take your hoop off the machine. In any case, do not unhoop the fabric.
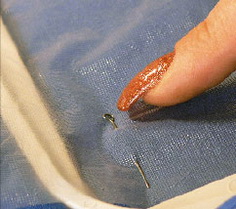
- Take any sharp instrument and make a small cut in it, in order to cut the holes with scissors later.
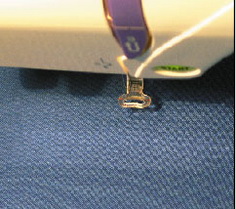
- Make the holes in it using scissors. Try not to distort your fabric and catch the stitches that are already there.
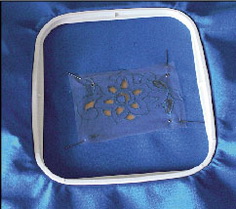
- To continue our work, we'll need water soluble topping.
- Carefully pin the stabilizer to the fabric.
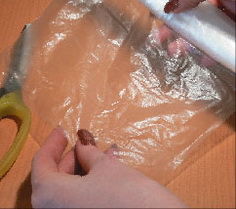
- Is is not necessary to use the stabilizer for the entire embroidery area. Just covering the areas you're going to cut out will be sufficient. This will prevent stitches from sinking in places where the fabric is missing.
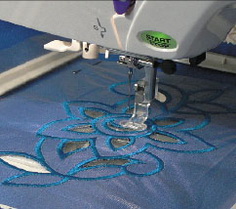
- Insert your hoop back into the machine and proceed with your embroidery.
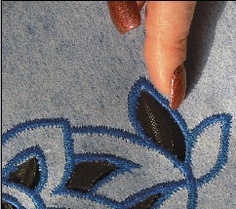
- Remove the jump stitches after the completion. The wrong side should be as neat as the right side!
- Rinse your ready item with water, in order to remove the topping from the right side of the embroidery and the backing leftovers from the wrong side.
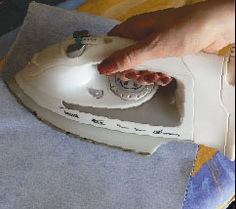
- Having completed this task, remove the leftovers of the backing from the wrong side of the embroidery and iron the item.
Edited by Irina
-
 1
1
There are no reviews to display.