
Original text by Marina Belova
I like to embroider items that don't need any sewing on the follow-up. The ones that come out of the hoop completely ready. Not so long ago I saw how to make a simple bag for the ordinary paper tissues and decided to do one myself. Make use of my designing skills, after all. The current season calls for paper tissues.
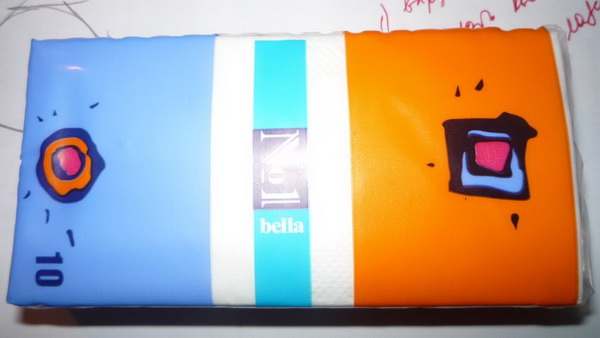
I measured an ordinary pack:
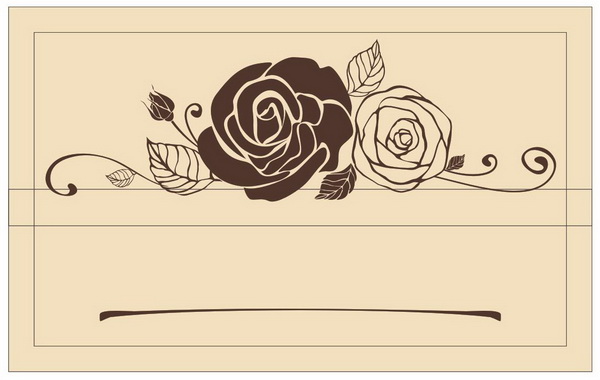
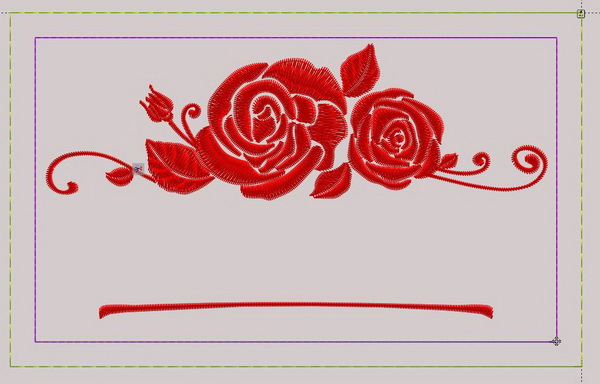
That gave me an idea for the item size and various details, such as interlocking flaps, so I chose a simple picture. For this, I used CorelDraw and here is what I got:
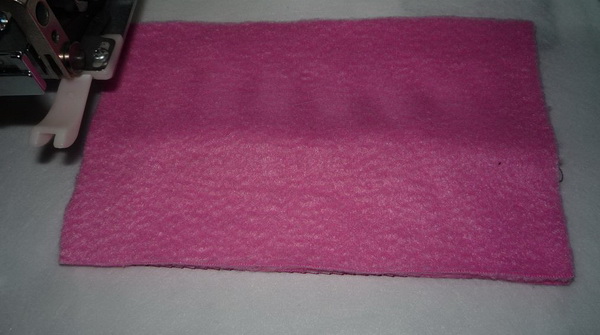
When creating a design, I bore in mind the fabric type. I'd chosen fleece, for it does not fray and, therefore, doesn't require an edge finish.
The next steps are simple, as are all truly great things.
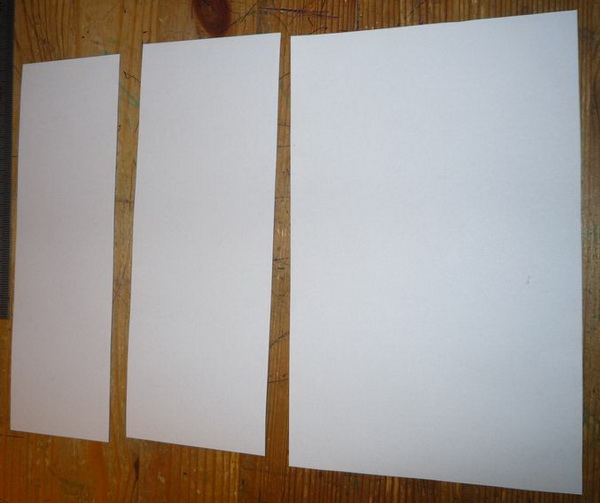
You print the templates for the details of your future item on paper:

Cut them out:
Sprinkle them with temporary spray adhesive and arrange them on the fabric:
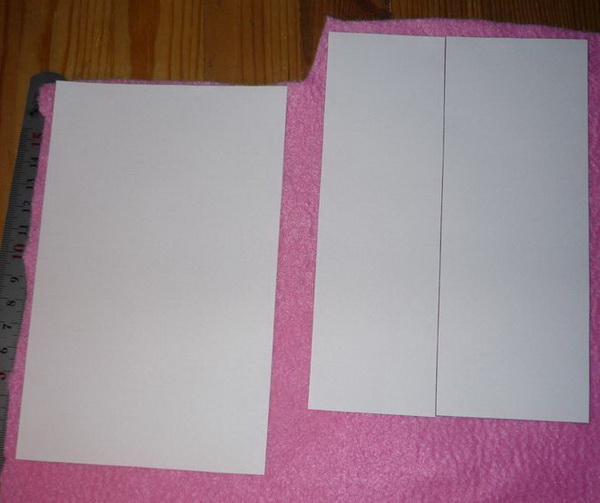
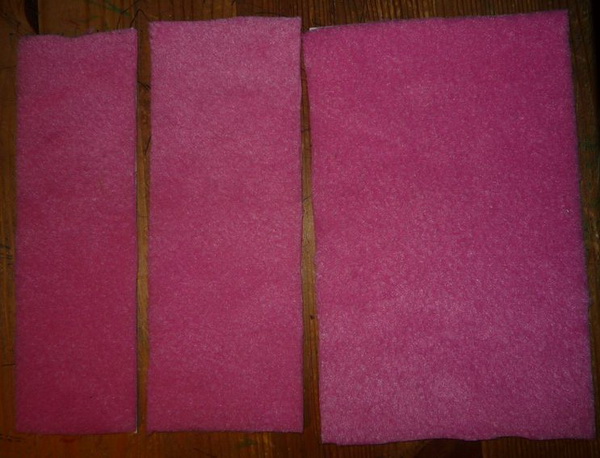
Now cut out the details:
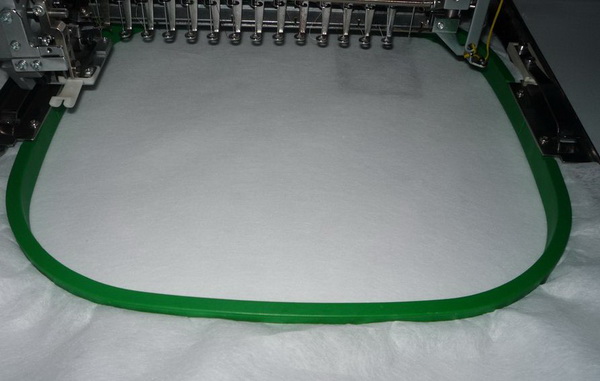
Hoop the stabilizer only: I used a middle-weight cut-away stabilizer as I'm going to embroider on fleece.
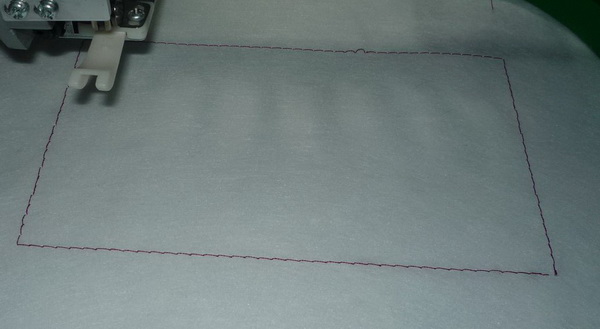
Now load the design and embroider a guideline:
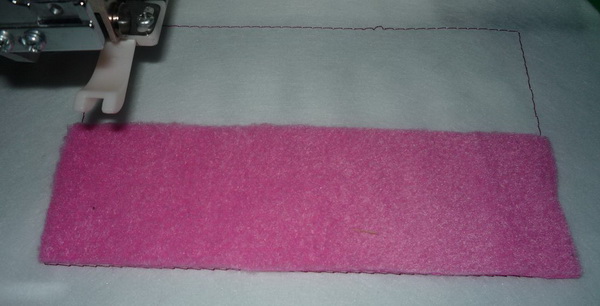
Pick up the flaps, sprinkle them with temporary spray adhesive and arrange in the area outlined with the basting stitch with their right side up:
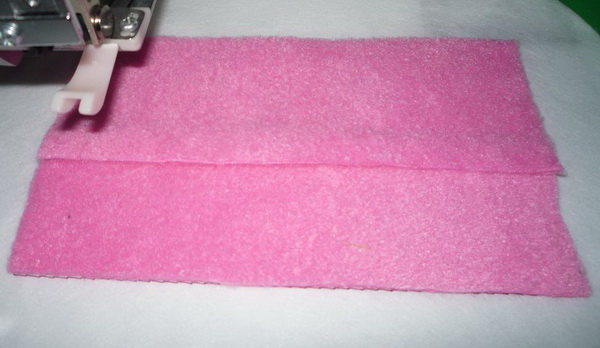
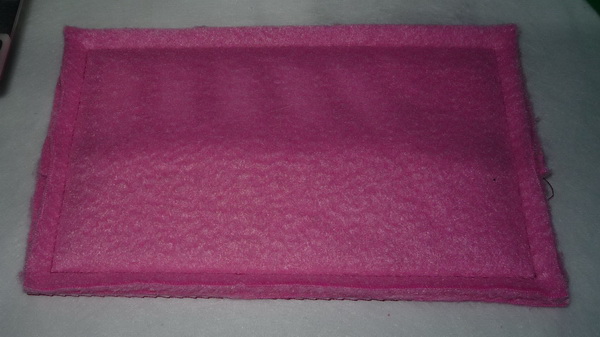
Start your embroidery machine and stitch the details along the perimeter to attach them to the stabilizer:
My fleece has rather high pile, so I covered it with a piece of thin water-soluble film:
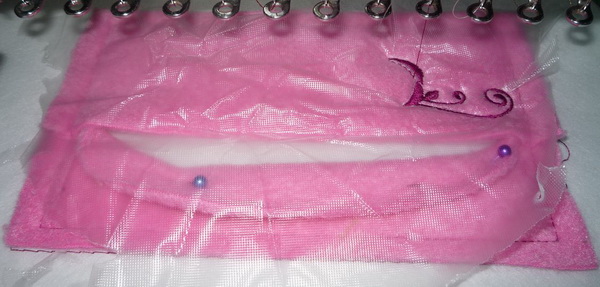
At this point, I realized that I made a little mistake while planning an embroidery sequence, and if I didn't turn the flap back, the roses in the upper part would stitch both flaps together. This is how I wiggled out of it: turned the fabric back (it appeared to be stretchy) and secured it with pins.
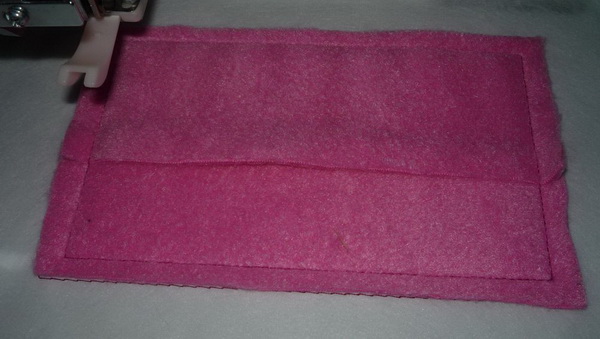
Here is what I got:
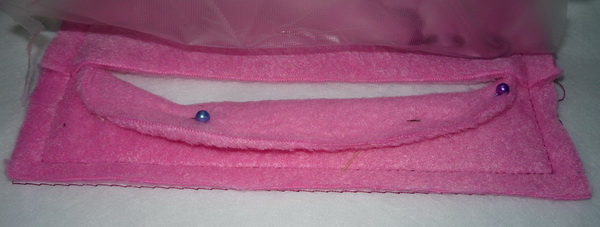
Before embroidering the lower flap I took the pins out:
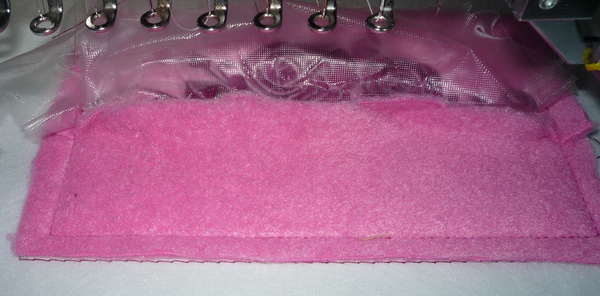
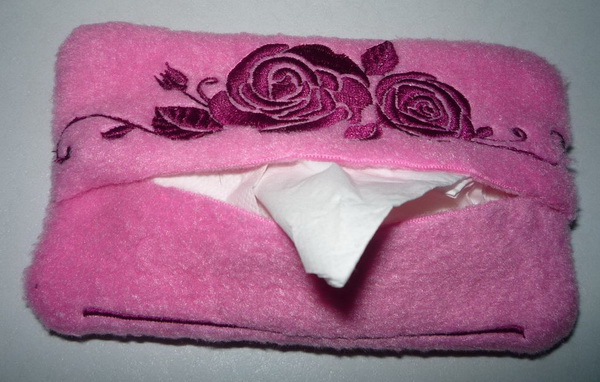
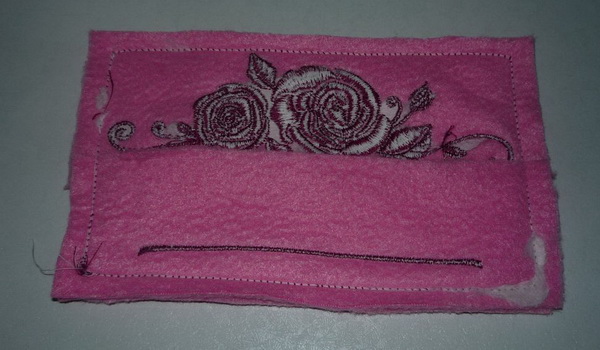
And this is how the end result looks:
After that I tore away the film, sprayed the other detail with adhesive and secured it on top of the one already embroidered with its wrong side up:
I hit the start button and stitched the whole "sandwich" perimeter-wise:
Unhooped the embroidery, tore away the stabilizer and removed the leftovers of the film:
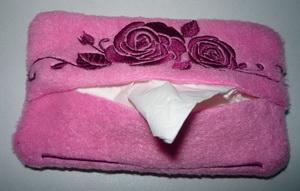
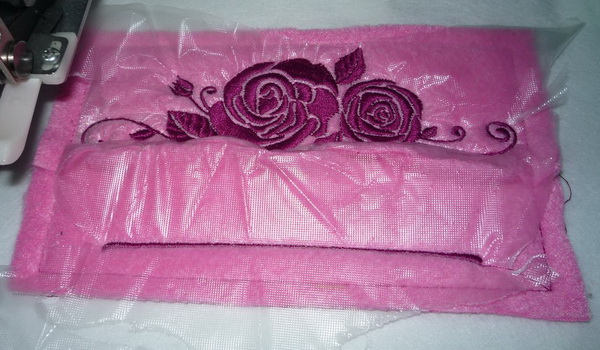
Turned the item the right side up and got a bag. The work is finished!
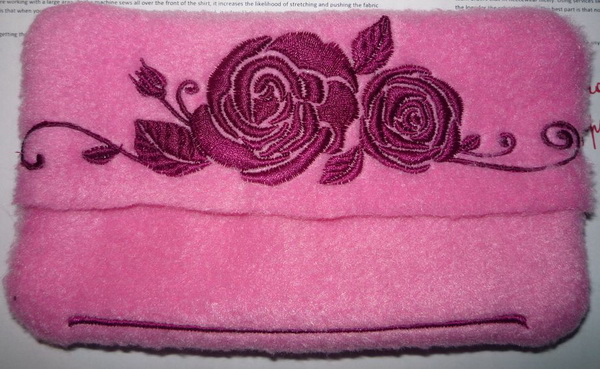
After seeing the right side it became clear that the embroidery on the lower flap should have been placed higher. I can now put the tissues in my bag.
In the nearest future, I intend to write an article about digitizing and embroidering on fleece.
Edited by Irina
-
 1
1
-
 1
1
Recommended Comments
Join the conversation
You can post now and register later. If you have an account, sign in now to post with your account.