

Original text by Marina Belova
I decided to make another double-sided applique: a pencil holder right in the hoop. The idea of making such a thing appealed to me.
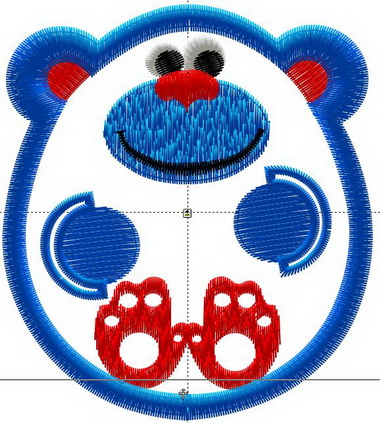
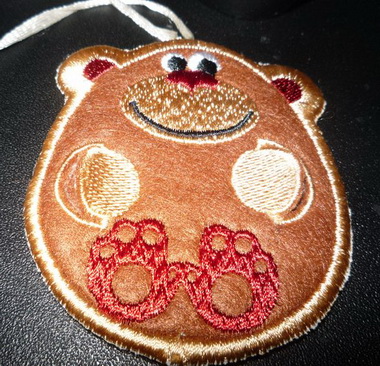
The idea itself did not belong to me, I just imitated something I've seen using an image of a suitable shape. It proved to be not an easy task, but then I stumbled upon this egg-shaped monkey:

I had to modify the design so that it better suited my purposes. In the end, I got a design file with just 6321 stitches in it.
I chose brown felt as the basis for my embroidery. It was rather thick, about 2 mm. Therefore, I found it inconvenient to trim it while in the hoop. So I created a paper template:
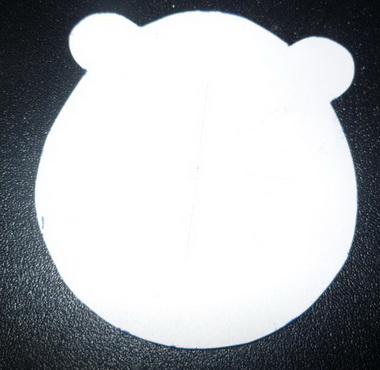
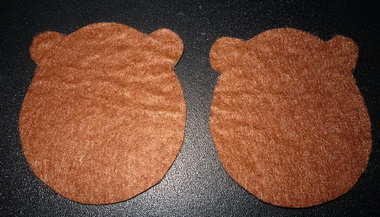
By it, I made 2 felt cut-outs: for the right and the wrong side.
Time to embroider now. I hoop the stabilizer. I'm accustomed to the middle-weight cut-away variety (because I have two 100 m rolls of it). But a tear-away one would be even better, for it will detach more easily around its edges.
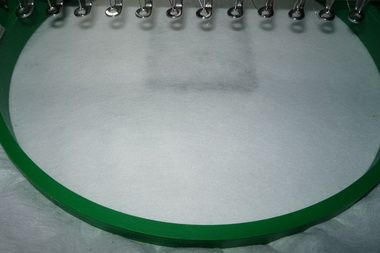
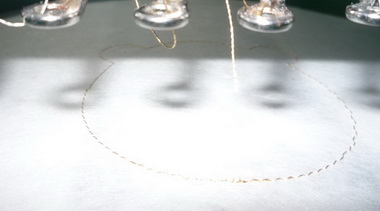
I load a design file and hit the start button. First, the machine stitches a basting stitch that will show me where to put my cut-outs:
I sprinkle the felt with the temporary spray adhesive and arrange the pieces however more carefully inside the contour:
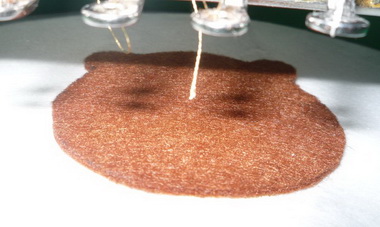
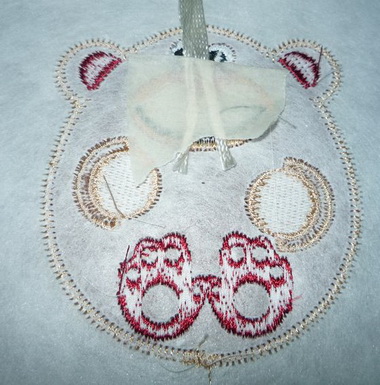
After that I switch on the machine and embroider the entire front side:
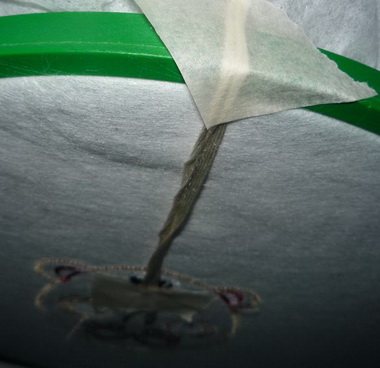
Now we've come to the most interesting part of this simple project. I take the hoop off the machine and turn it to the wrong side. Then, I cut off a piece of ribbon for my eyelet and attach it to the wrong side of the embroidery with the most ordinary painter's tape.
Observe the way I stick the upper end of the ribbon to the hoop in order to prevent it from loosening up or being accidentally stitched:
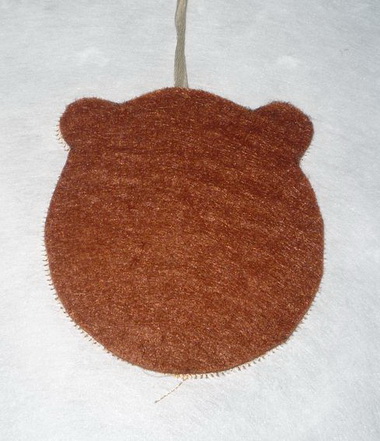
Then I take the other piece of felt and attach it to the wrong side of the embroidery with the same adhesive:
Having done that, I turn the hoop back into its original position, carefully (so that not to dislocate any of the details) insert it into the machine and embroider the border.
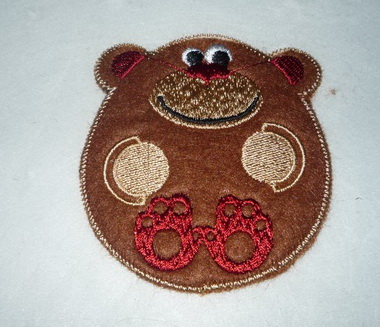
After embroidery is completed, I unhoop the whole thing and take it out:
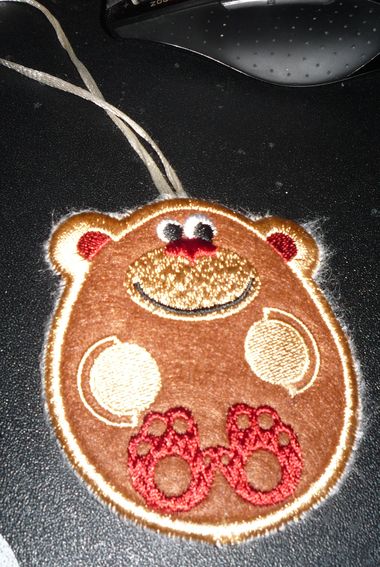
Singe the leftover fibers of the stabilizer with a lighter. Mine is made of polyester, and therefore, burns well. Cut out the holes for my pencil in accordance with the marks:
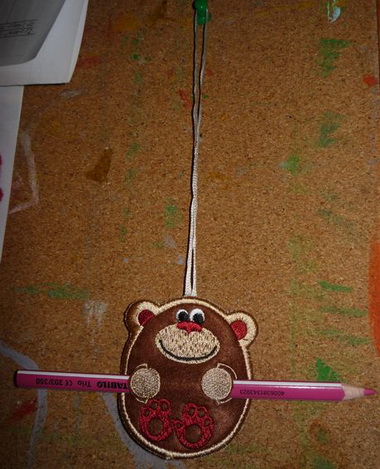
Insert the pencil and hang the thing on the wall or somewhere. Simple, isn't it?
In retrospect, I can say for sure that it was the first time I used a ready template. Now I understand why an embroidered applique on cheap items usually turns out very untidy – too many steps, and, therefore, possibilities to make a mistake. Such as making of the templates, attaching them and, of course, digitizing. You lose control somewhere in between. But the making of the templates speeds up the embroidery process, especially if there is a laser cutting machine involved.
-
 1
1
-
 2
2
There are no reviews to display.