

Original text by Marina Belova
Time to invent presents for the 8th of March. I need to create several, preferably with the names on them. I've been searching for an idea of hand-made items for quite a long time and settled on this one: monogrammed sachets. But to make them not as packets, as they are usually made, but as small cushions with fragrant herbs inside. Also, to plan the embroidery sequence in such a way so as not to have to use a sewing machine.
Here is what I got:
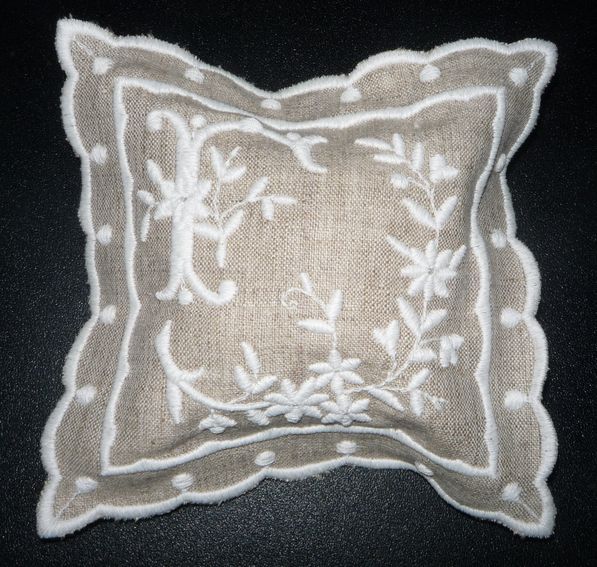
Now I'll show you how this was made. I chose a monogram depicting the letter F, which can be easily changed into the Russian letter "Г" and fit it into the sachet. The size of my design is just 13.5x13.5 cm.

I created a simple design:

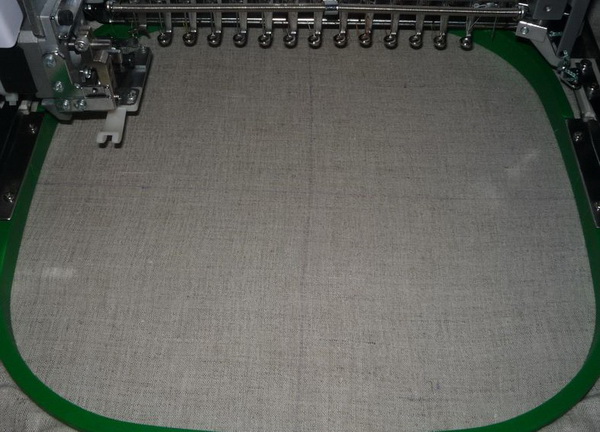
Picked a piece of linen fabric. And cotton threads. With them, the item will have a nobler vintage look than with lustrous rayon or polyester ones.
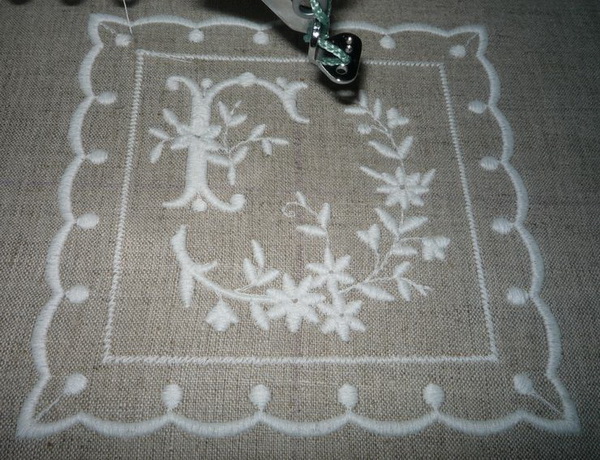
No stabilizer can be used here, for I need the embroidery to have a neat wrong side. So I simply hooped the fabric, after having marked it in order to avoid its displacement. On the other hand, it is not so important for an item like this one:
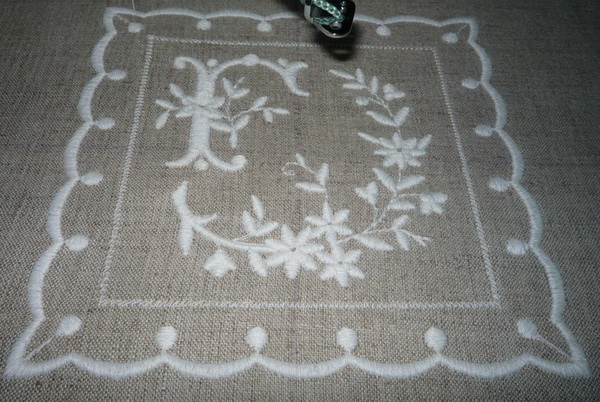
After that, I embroidered almost the entire design and the machine stopped because if was time for the back side of my sachet:
I took the hoop out of the machine and turned the embroidery the wrong side up:

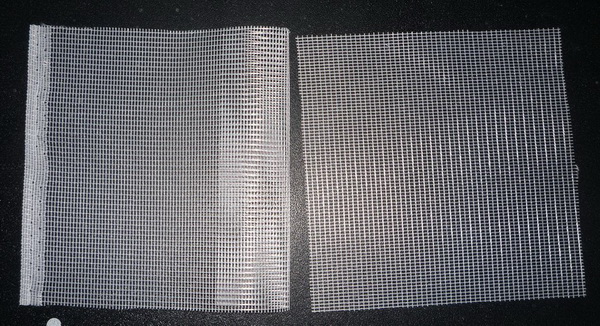
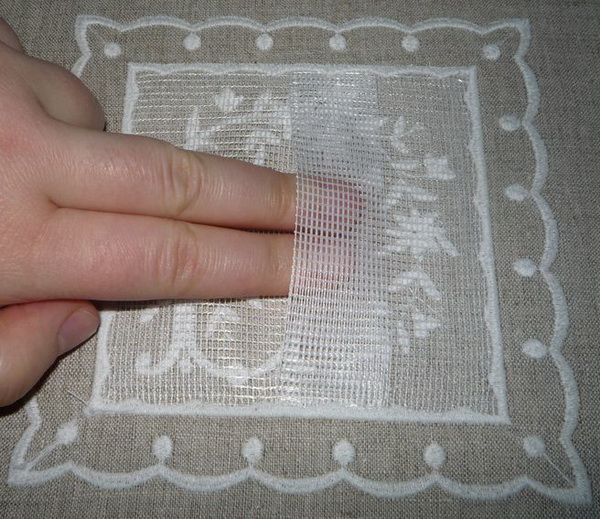
I decided to use the net for the back side (flaps) for better breathing. Another reason was that the net doesn't fray at the edges, which is very convenient. I made two cutouts:
Placed them on top of each other and secured them with a painter's tape. I used the tape because temporary spray adhesive proved absolutely useless here:

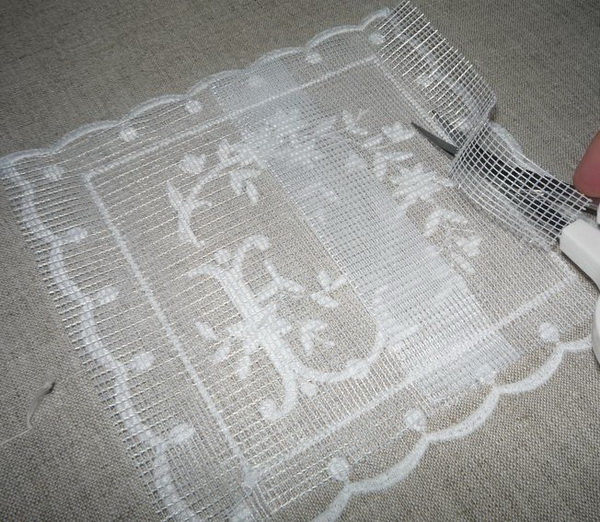
Then I very carefully, so as not to shift anything, put the hoop back into the machine and stitched the net to the fabric with a zigzag:
Again, I took the hoop off the machine and trimmed the extra net:
Almost ready. I inserted the hoop into the machine and embroidered the finishing border:

The wrong side was very neat, the flap worked alright, the net didn't fray or stick out of the border:
I unhooped my future sachet and trimmed it along the perimeter:

Here is what I got:

The only thing left is to put herbs into my sachet – lavender, for example. I need to put the herbs in a small bag first so that they don't sift through the net. Then to wrap my gift and to give it.
Real easy.
And if you tinker with the technique a little, you can create such sachet out of the fabric scraps, using appliqué. But you'll need a stabilizer (a water-soluble or a heat-away one) for that.
-
 1
1
There are no reviews to display.