
By diver361 in Embroidery digitizing
· 4,479 views
Embroidering on leather is one of the most sought after applications by high end customers, including sports fans, corporations and more. In this blog we will give you tips and tricks on how to work with leather to help familiarize your techniques. The problem with leather it comes it different thickness, and different cuts or skins, making your life a battle.
Leather Thickness
You will be asked to embroidery on different materials for different applications in the image below you will find a chart that indicates the different thickness of leather. Its very important that you compensate your needles and threads and the design for the different thicknesses.

Soft Leathers
When embroidering soft leathers you will find that they can take a wider range of stitches as they have a bit of give to them. I recommend using a adhesive with your backing , I also recommend a weaved med-heavy backing to hold the stitches from coming through the back. I often use a 30 weight thread and a 75/11 sharp needle for this application. I tend to slow the machine down to 400 rpm.
Thick Leathers
On thick leathers, from 4 ounces and thicker I recommend using a 75/11 Titanium Teflon Coated Sharp point needle and a polyester thread, I also recommend a weaved med-heavy backing to hold the stitches from coming through the back. I tend to slow the machine down to 400 rpm I also try to stagger the stitch pattern and avoid underlay, when possible. Depending on the thickness you may need to go to a 80/12 needle or a 90/14 needle if you end up with this make sure your using 30 or 20 weight of thread to compensate.
Hooping Leather
Depending on the type of hoop your using , you may want to place tear away backing where your hoops are going to be placed on the garment this will reduce the amount of marks left of the leather from the hoops sliding against the surface.
If you have a clamp or magnetic hoop they work the best.
Design Characteristics
When digitizing your embroidery designs I recommend using programmed fills, and or light densities to create patterns, large fills with dense areas will cause the leather to rip. Opt out on this using a heavier thread type to fill in the area. a 30 weight thread you can often get away with a density of 50 spi and a 20 weight thread you can get away with a density of 35 spi. If you can use satin stitches, stagger the over laps, change the stitch direction when ever possible this will eliminate some of the over lapped penetration points. Keep trims to a minimum.
Alternate Methods
If you have the option I would recommend embroidering the design on to a structured surface like felt and embroidering that on to the leather. This is great for sports jackets, motorcycle jackets, and similarly style of coats where it make not take a heavy design. Applique can be used to make the jacket look great.
Finishing the Garment
You need to take great care in trimming the leather, it will not give like other fabrics, On some leathers the machine may leave foot depressor marks, caused by the machine, if you get these use a soft brush or tooth brush and stroke the leather this will often take the marks out. If the leather has nicks in it you may want to get a dye similar color to the leather and treat those areas.
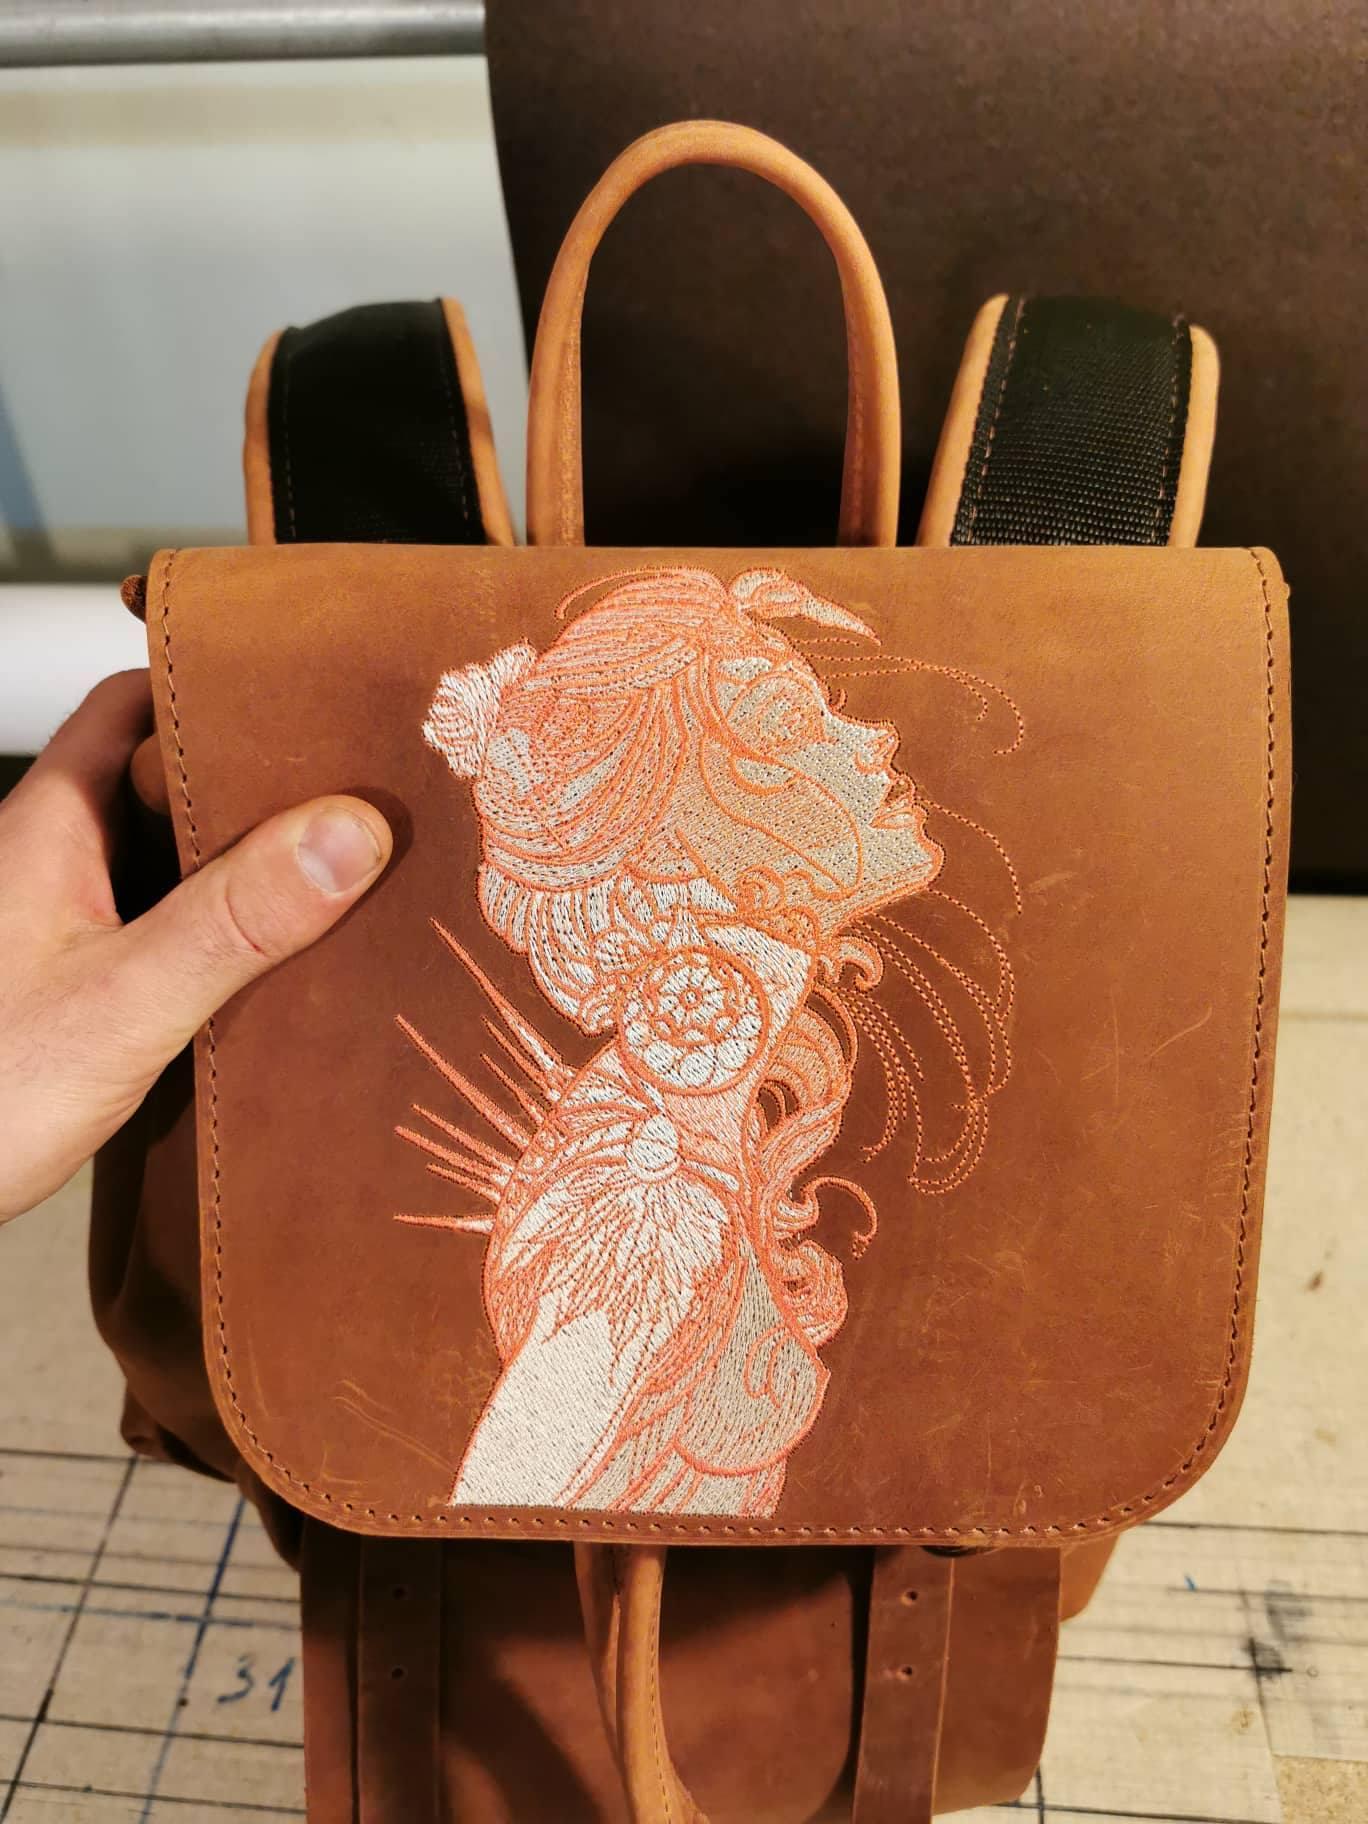
Samples
1. Appliqued embroidery designs stitched on felt.

2. Stitched on the arm of a garment .

-
 1
1
Recommended Comments