Embroidery on leather infographic showing materials, patch

By diver361 in Embroidery machine practice
· 15 views
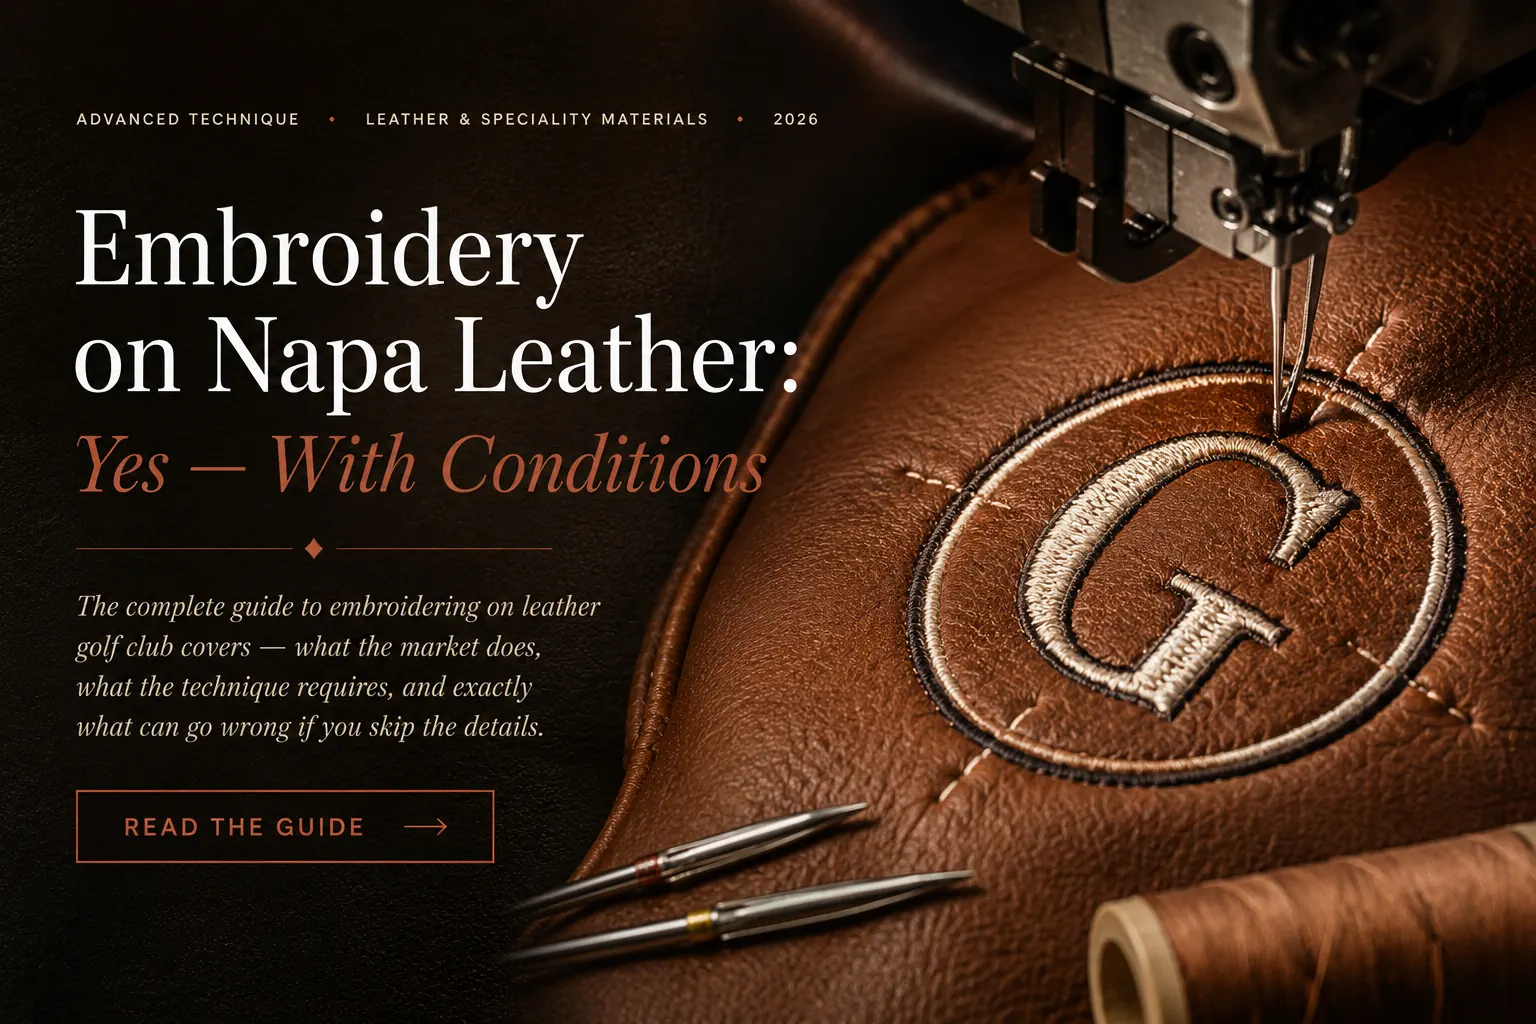
Embroidery on Napa Leather:
Yes — With Conditions
The complete guide to embroidering on leather golf club covers — what the market does, what the technique requires, and exactly what can go wrong if you skip the details
The question arrives in our inbox regularly: can I embroider a university logo on my napa leather golf club covers? The answer is yes. The full answer is considerably longer.
Leather embroidery is one of the most consistently requested techniques in the embroidery community — and one of the most consistently misunderstood. The market confirms the appeal: custom leather golf club covers embroidered with designs and names of the owner's choice are sold by specialist makers across the US, handmade to order. Premium collections feature leather headcovers with white embroidery and coloured outlines as a core product line, not a novelty. The commercial demand is real. The technique to meet it is specific.
What the market doesn't show you is the number of leather pieces that were ruined before the sellable ones were produced. Leather does not forgive experimentation. Every needle hole is permanent. Every tension error is visible. Every mistake is, quite literally, written into the material. This guide is the one you should read before you start.
The design file is 50% of the result.
You supply the other 50%.
This is not a disclaimer. It is a description of how leather embroidery actually works. A professionally digitized design file contains correct stitch types, appropriate density and logical construction sequence. It is optimised for the embroidery process. But when you put leather under the needle instead of cotton or polyester, you introduce a material that behaves completely differently from everything the machine was designed to work with — and the file cannot account for that on its own.
The needle you choose, the stabilizer you use, the tension you set, the speed you run, the density you select — these are your 50%. Get them right and the result is indistinguishable from professional commercial work. Get them wrong and no design file in the world will save the piece.
What the golf headcover market actually uses
Before diving into technique, it helps to understand what professional makers are actually working with. Genuine Nappa leather is a premium material prized for its softness, suppleness, and luxurious feel — it is the material that makes a golf cover look and feel expensive. But synthetic leather can closely mimic the texture and grain of real leather, providing a sophisticated and stylish finish at significantly lower cost and with considerably more forgiving embroidery behaviour.
The practical distinction matters enormously for embroiderers. Genuine napa leather is a natural material with variable thickness, natural oils, and inconsistent surface texture from piece to piece. Synthetic leather (PU, faux leather) is manufactured to consistent thickness and surface properties, making it more predictable under the needle. Custom leather driver headcovers use reverse appliqué on the logo treatment and embroidery as a complementary technique — suggesting that even professional makers combine methods rather than relying on direct embroidery alone for complex designs.
The most honest summary from the market: genuine napa leather embroidery is a premium technique that commands premium prices precisely because it is genuinely difficult to execute well. Treat it accordingly.
Four variables that determine everything
The needle — the non-negotiable starting point
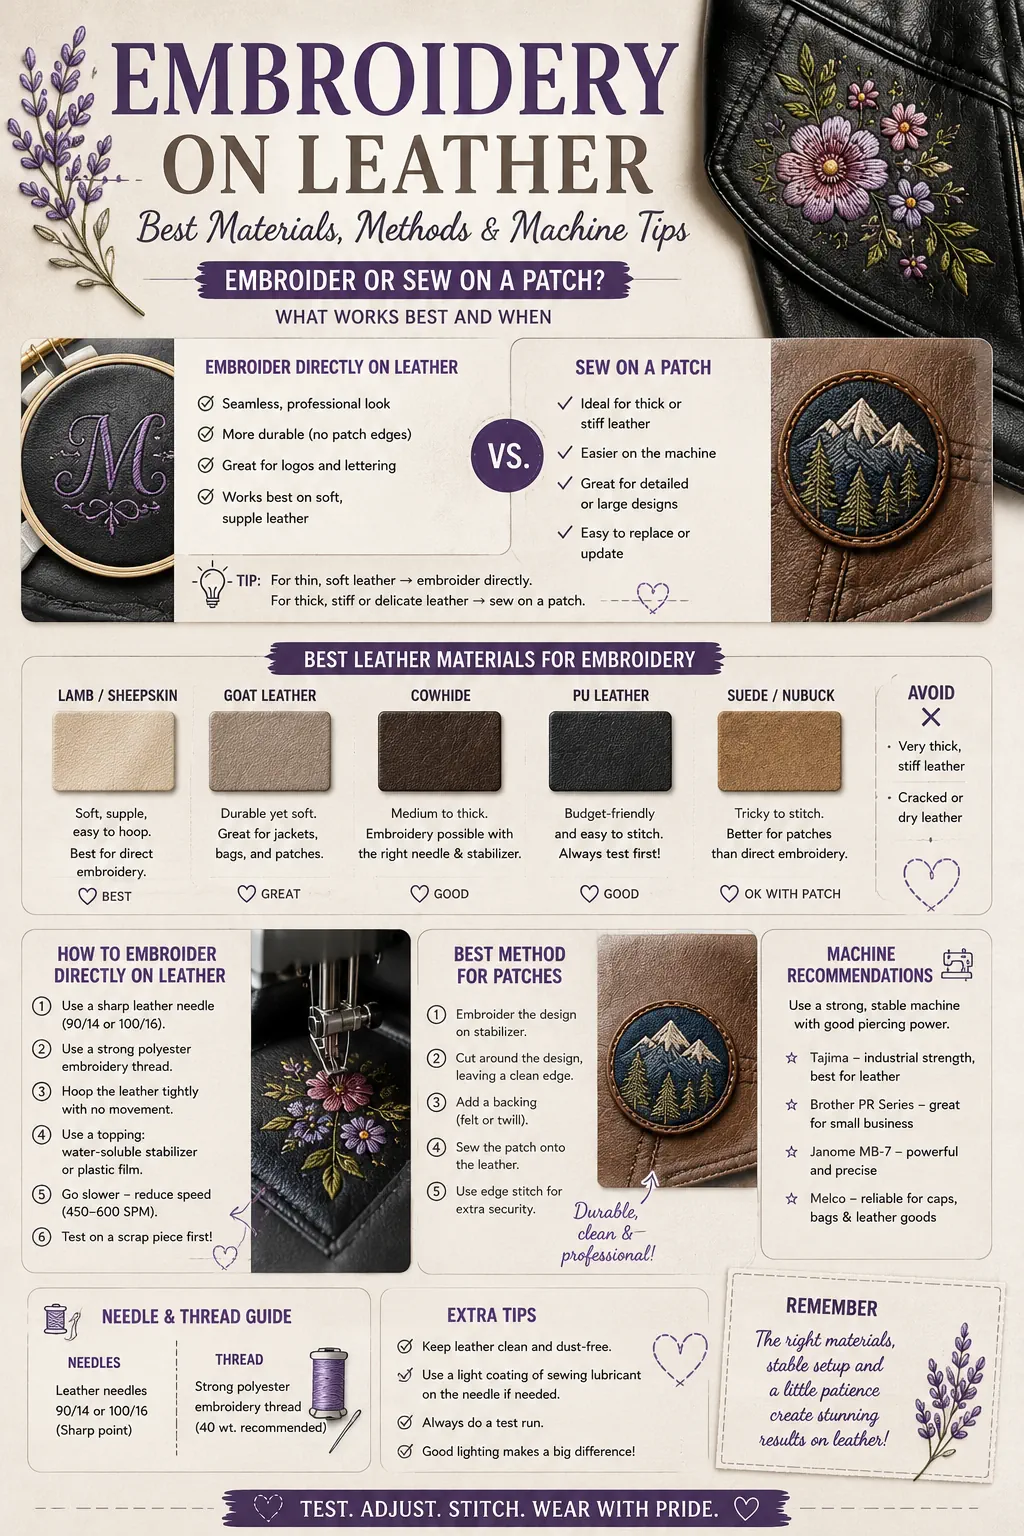
A standard embroidery needle has a sharp, round point that is designed to part fabric fibres and pass through the weave. Leather has no weave — it is a solid material that must be pierced, not parted. A standard needle passing through leather creates a round hole that the leather cannot close. It leaves a permanent mark whether the stitch is correct or not.
A leather needle (also called a wedge-point or cutting-point needle) has a triangular or wedge-shaped tip that cuts a slit rather than a round hole. The slit is smaller in cross-section than the thread that fills it — meaning the leather closes slightly around the thread after penetration, creating a cleaner, tighter stitch and a more finished appearance.
Use: Size 90/14 leather (wedge-point) needle for napa leather. Size 100/16 for heavier or stiffer leather. Replace the needle every 2–3 hours of leather stitching — leather dulls needles faster than any other material, and a dull leather needle tears rather than cuts.
Stabilizer — cut-away only. No exceptions.
Tear-away stabilizer is removed by tearing — applying mechanical force to the back of the embroidered surface. On fabric, this is fine. On leather, the tearing force pulls at the needle holes, enlarging them and creating a ragged, damaged back that compromises the structural integrity of the leather around the design. If moisture is involved in the removal process, the leather can warp or stain.
Cut-away stabilizer is trimmed with scissors after stitching — close to the design edge, carefully, with no mechanical force applied to the leather. It remains permanently in place where it is not trimmed, providing ongoing support to the stitch structure. For golf covers that will be put on and removed repeatedly, this permanent support is also functionally important: it prevents the design from distorting over time as the leather flexes.
Also use: A water-soluble topping over the leather surface before stitching. Napa leather is smooth and slightly slippery — the topping prevents the needle from skating across the surface at speed and gives the presser foot better purchase on the material. Rinse away with a damp cloth after stitching.
Thread tension — calibrated, not guessed
Fabric stretches slightly under thread tension — this elasticity allows the fabric to absorb small tension errors and return to its original shape. Leather does not stretch. It also does not give. Thread tension that is slightly too tight on cotton might produce a barely noticeable effect. The same tension on leather will pucker the surface permanently — pulling the leather upward toward the needle entry point and creating a raised, distorted texture around the design that cannot be pressed flat.
Too loose, and the stitches lie on the surface without engaging the leather properly — they snag on objects, lose colour intensity, and look unfinished from any angle.
Calibration method: Stitch a test swatch on the same leather as your project at your machine's default tension. Examine both sides. The bobbin thread should be just barely visible at the edge of each stitch on the top surface — this indicates the threads are meeting exactly in the middle of the leather thickness. If the bobbin thread shows clearly on top: top tension too tight. If the needle thread pulls through to the back: top tension too loose. Adjust one step at a time and test again.
Stitch density — the structural limit of the material
Every needle penetration in leather creates a permanent hole. In a densely filled design area — a fully packed satin fill, for example — hundreds of needle holes are concentrated in a small area. Each hole slightly weakens the leather at that point. When density is high enough, the cumulative effect is that the leather in the fill area becomes perforated beyond its structural capacity: it tears along the stitch lines under the tension of the thread itself, before the piece is even removed from the machine.
University logos — Penn State, Maryland, LSU and similar — typically use bold outline lettering with moderate fill density. These translate well to leather specifically because the outlined, structured style limits the total needle penetrations per unit area while maintaining visual clarity.
Practical rule: Choose the smallest size from the design's available sizes — this directly reduces the total stitch count while maintaining the proportional design structure. If the design offers sizes from 3" to 8", try the 3"–4" version on leather first. Fewer stitches equals fewer holes equals safer leather.
Golf club covers specifically — what works and why
Golf club covers present a specific structural challenge beyond the leather itself: the cover is a three-dimensional object with internal padding, a sock lining and a shaped profile that resists being flattened for hooping. The same float-hooping logic that applies to pet carriers and structured bags applies here — hoop the stabilizer, not the cover. But leather adds another layer: leather should not be aggressively spray-adhesive basted, as many adhesives can permanently stain or discolour the material.
Hoop cut-away stabilizer drum-tight. Use a leather-safe temporary adhesive spray (3M Repositionable or similar — test on a scrap first). Position the golf cover's front panel flat over the stabilizer. Use flat-head pins pushed through the stabilizer only — not through the leather — at the edges to hold position. The leather should be flat and smooth across the embroidery area with no puckers or bubbles.
The internal sock lining of a golf cover will be picked up by the needle if you are not careful. Push the sock fully into the cover before positioning on the stabilizer, then tape or clip the sock opening away from the embroidery area. Check the needle travel range by hand before the machine runs — move the hoop through its full range in all directions and confirm the throat plate can reach without obstruction.
Run at 60–70% of maximum speed on leather. At full speed, the needle generates enough heat from friction to temporarily soften the leather surface around the penetration point — this can cause the hole to close slightly around the thread before the thread is fully seated, creating thread breakage and registration errors. Slower stitching equals cooler needle equals cleaner penetration.
Before embroidering any golf cover, stitch the complete design on a scrap piece of the same leather — same thickness, same finish, same dye colour — with the same stabilizer, the same needle, the same tension and the same speed you will use on the real piece. Examine the test piece under good light from multiple angles. Check the back. Check the edges of the fill areas for any sign of perforation stress. Only proceed to the actual cover when the test piece is exactly what you want.
Genuine napa vs synthetic leather — an honest comparison
| Factor | Genuine Napa | Synthetic / PU Leather |
|---|---|---|
| Embroidery difficulty | High — variable thickness, natural oils | Medium — consistent, predictable |
| Needle penetration | Wedge-point essential | Wedge-point recommended |
| Hole permanence | 100% permanent | Permanent but less visible |
| Density tolerance | Low — perforates under dense fills | Medium — handles moderate density |
| Visual result quality | Exceptional when done correctly | Very good — consistent |
| Recommended for beginners | No — practice on synthetic first | With caution — test pieces required |
| Market price premium | Significant — justifies higher retail | Moderate |
The honest verdict for golf club covers
University logos on napa leather golf covers are commercially viable — the market proves it. Makers who do this work charge $50–100+ per cover for exactly this reason: the skill required, the material cost and the zero-error tolerance all contribute to a price point that reflects genuine craft difficulty.
For an embroiderer approaching this for the first time, the recommended path is clear: start on synthetic leather with the smallest available design size and the technique setup described above. When the synthetic result is exactly right — clean penetration, flat design, no puckering, perfect tension on both sides — move to genuine napa with a new test piece before touching the final cover.
Quick checklist before you start
When the preparation is correct, napa leather embroidery is one of the most beautiful results machine embroidery can produce. When it isn't, it's one of the most expensive lessons the craft can teach.
Questions about leather embroidery? Ask in the comments.
Recommended Comments