
Original text by Marina Belova
Today I'll continue my article about padded appliqué and show the simple yet effective technique of making it on an example.
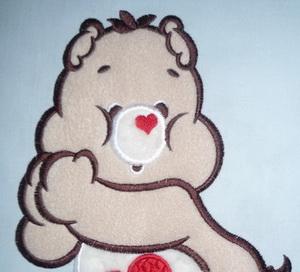
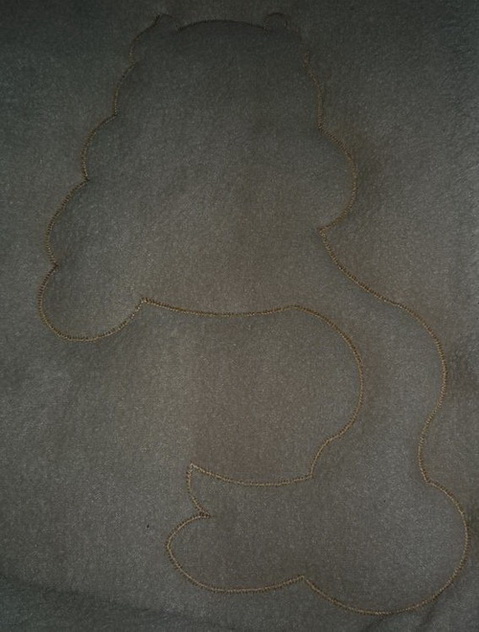
I'll make this teddy bear:
I chose this particular image of a teddy bear because its simplicity perfectly suited my goals:

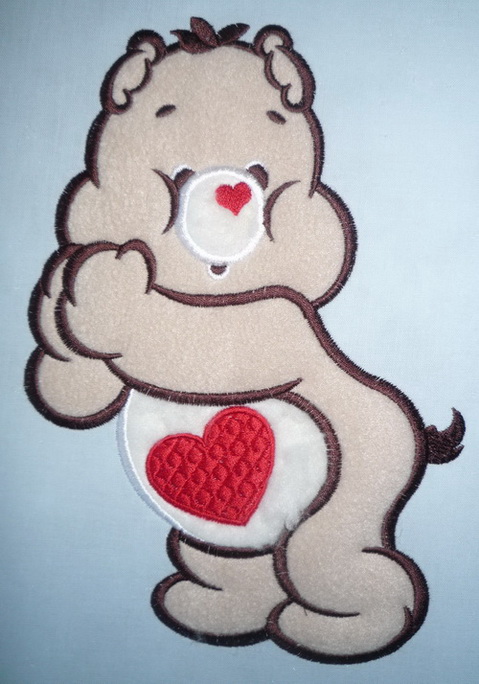
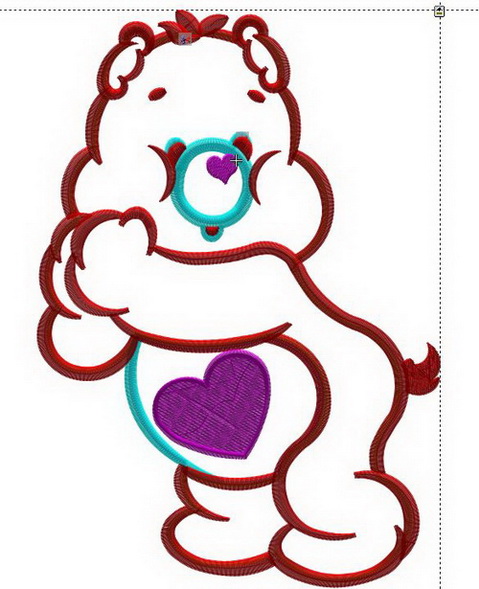
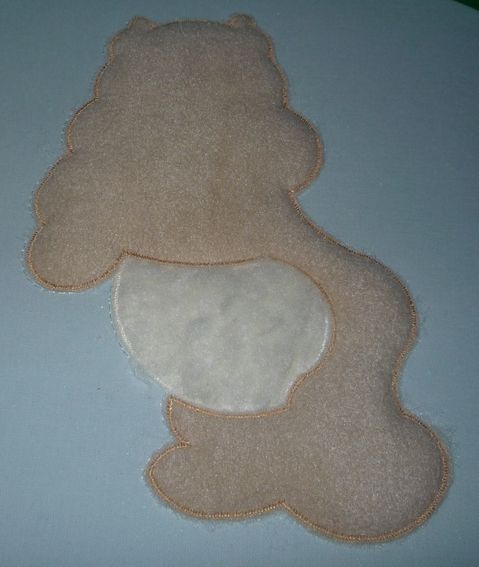
So I digitized the image and got a machine embroidery design. It's a very simple design, an ordinary patched appliqué. See the preview below:
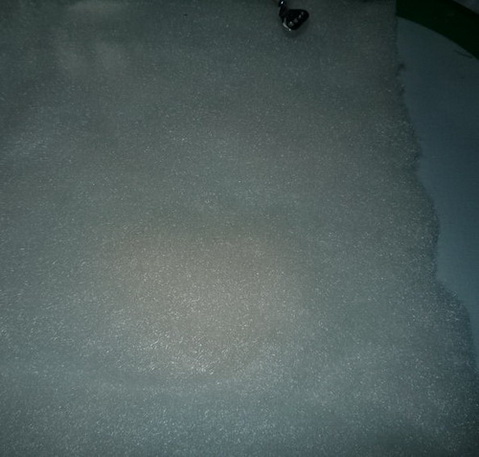
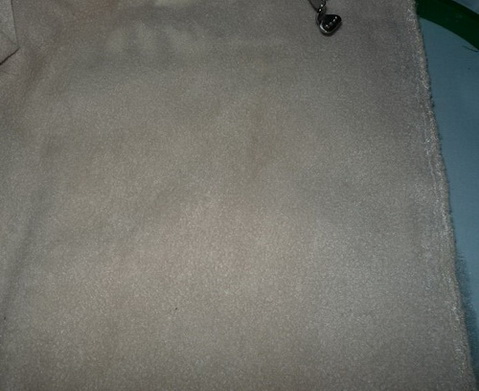
I chose a stretchy and fluffy knitwear fabric for the teddy's body – namely, fleece. For the face and the belly, I took out trims of fake fur that remained of a stuffed toy I hadn't made. I used polyester batting for stuffing it. Despite the batting being thin (1 cm), I nevertheless decided to use only one layer of it. Now I realize that I could have used 2 layers to make the embroidery puffier.
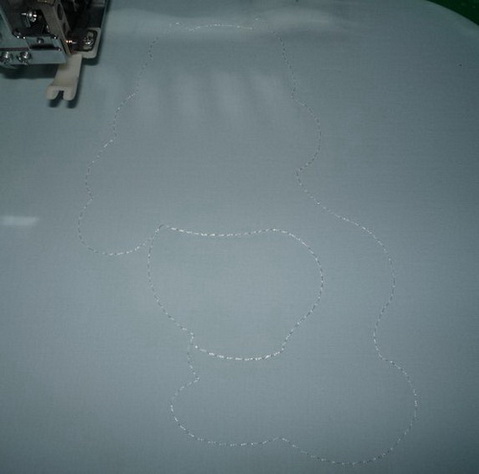
So, let's proceed to action. I hoop the fabric together with the stabilizer:

Load the design into the machine and start the embroidery. The first step is the simplest – a guideline for positioning of the appliqué:
When creating an embroidery sequence, I planned to sew on the belly first. Because the fake fur itself has volume and also does not stretch, I will not put a polyester batting under it. I'll only use fur instead. I place the fur where the belly is intended to be:
I start the machine and sew on the fur with a small zig-zag stitch:

Now I pick up the scissors and trim the extra fur along the perimeter as close to the zig-zag stitch as possible so that the fur won't show from under the finishing border in future:
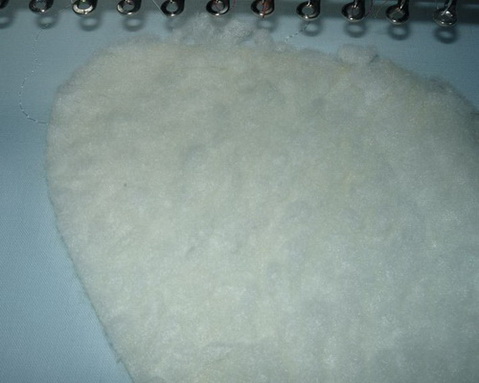
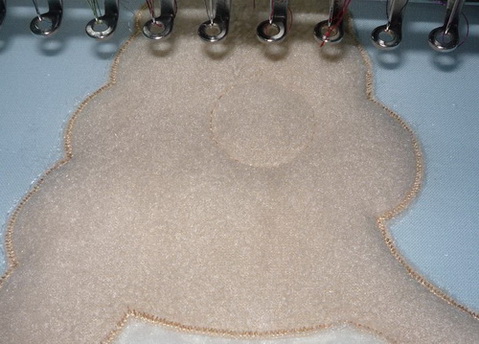
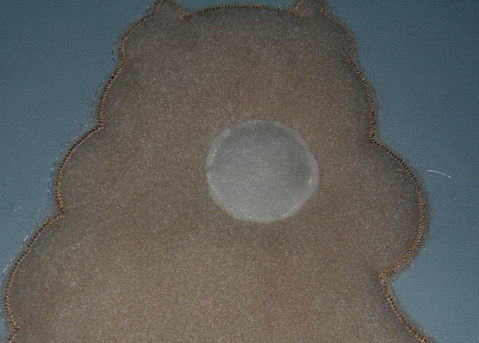
Right after trimming I place polyester batting on top of the embroidered outline of the bear:
Fleece goes on top of that:
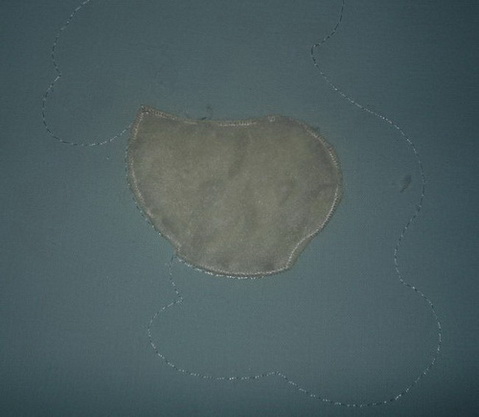
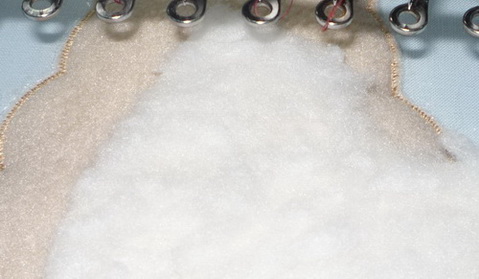
I start the machine and stitch one more zig-zag stitch. This time it outlines the body of the bear.
I take the hoop off the machine, pick up the scissors and trim the entire "layer cake" perimeter-wise:
After that, I embroider the outline showing where to put the face:
I put the fur on top of that outline:
Stitch the fur with a zig-zag stitch and trim the extra material:
Then I start the machine again and embroider the rest: finishing borders, eyes, nose, and so on.
I decided against the water-soluble film, despite fleece being a piled fabric, but I used a plastic bag when embroidering the heart on the fur (I tore the leftovers prior to embroidering the border around the heart):
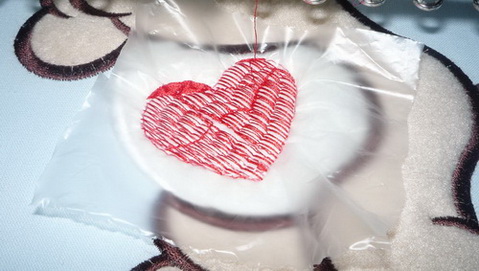
The resulting embroidery is quite neat – nothing shows through the satins, and that indicates that I chose the right border width, 5–6 mm).
That's all that is to it. The whole thing isn't much different from an ordinary appliqué, except perhaps trimming – I had to trim the layers of the "cake" separately: first polyester batting and then fleece.
Edited by Irina
-
 5
5
There are no reviews to display.