
Original text by: Marina Belova
The ideas for machine embroidery and the methods for bringing them into life are everywhere around, the only thing you have to do is adopt them. Some time ago I was puzzled by a curious way of border alignment, but then I grasped what it was about:
Judging from the images shown, it turns out that this method does not require printing a template on paper, nor doing any measurements.
The supposed steps for doing the alignment, as I understand, are the following:
1. Hoop only a water soluble or a cutaway or a tearaway stabilizer if the look of the wrong side is not so important.
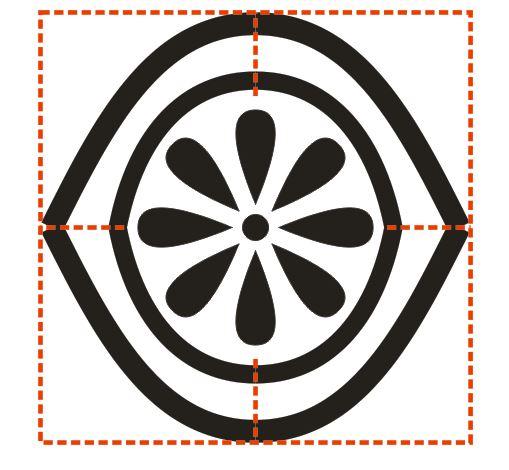
2. Before embroidering the design itself you first embroider a rectangular — a guide stitch for future alignment that must outline the embroidery accurately. This should be not a simple rectangle, but with the center marks, as on the picture below (marked with the red dotted line):

3. Apparently, these marks help to position the next part of the embroidery properly. The rectangle is embroidered with the dark-colored thread so as to be visible through the fabric.
4. The fabric is stuck onto the stabilizer. You can do it in a number of ways including spraying it with temporary spray adhesive or using pins.
5. Embroider the design itself.
6. Then unhoop the stabilizer, but don't touch the wrong side just yet.
7. Hoop a new piece of a stabilizer.
8. Embroider the new rectangle.
9. Stick or pin the fabric onto the stabilizer. The main reference point is whether the sides of the outlined rectangle match.
10. Embroider the design.
11. And so on, until you won't embroider all that is needed.
12. In the end you remove all the excessive stitches and the stabilizer from the wrong side.
You should get something like this:

Everything is rather simple, as usual. But in my opinion, this method is not commonplace. In general, it somewhat reminds the standard way of border alignment with the help of alignment crosses or lines, which I have already described, but looks much easier and requires only one thing: to neatly align the pieces against each other. And because the fabric is not hooped but placed on top instead, you do it more easily.
-
 1
1
-
 4
4
Recommended Comments
Join the conversation
You can post now and register later. If you have an account, sign in now to post with your account.